


Chapter 11
Page no. 120
11-viewer.fm
GE Healthcare
Senographe DS Acquisition System
Revision 1
Operator Manual 5307907-3-S-1EN
Viewer
4-6
Print to laser camera
Click this button to print the displayed image to a Laser camera (if present). Refer to Chap-
ter
4-7
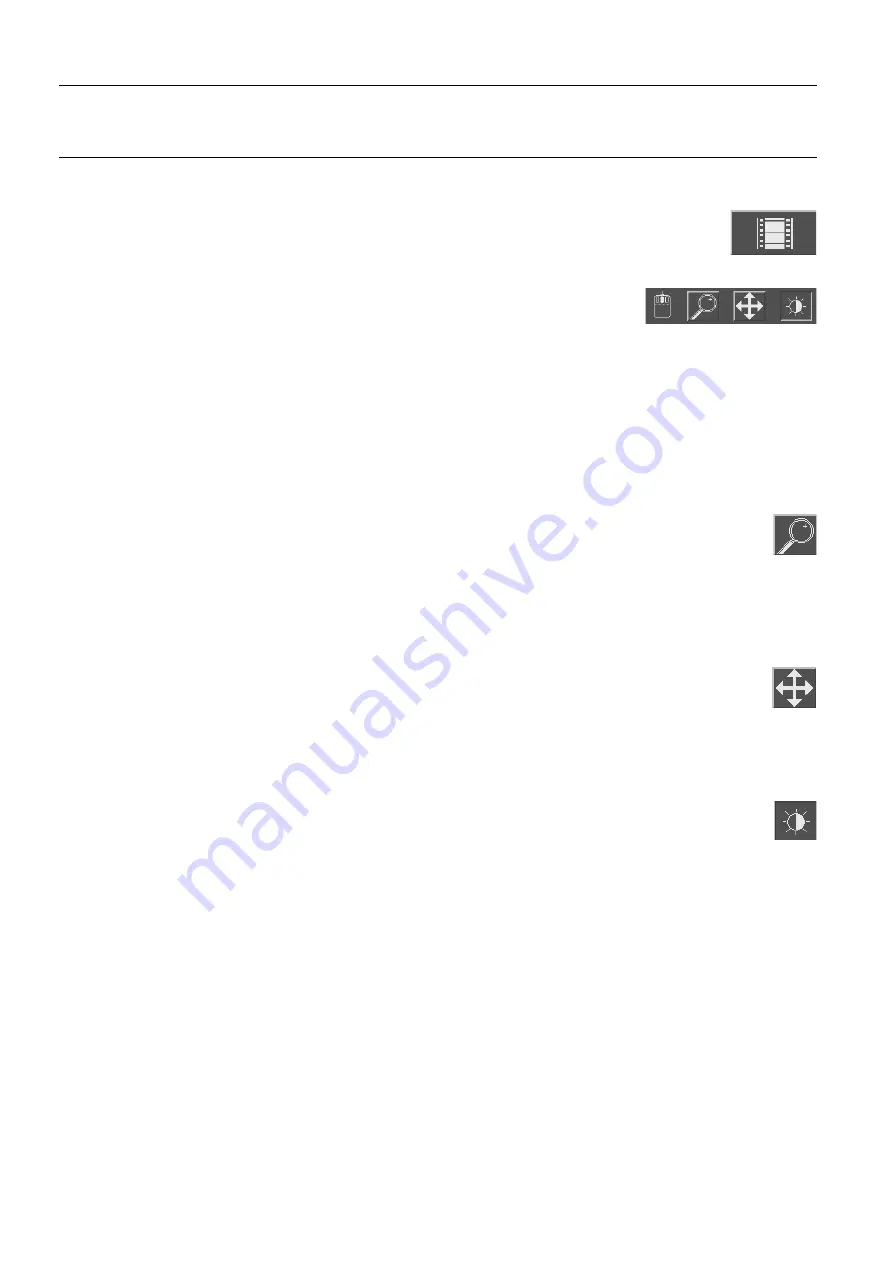
Middle Mouse button
Click one of the buttons on this panel to select one of three functions to be per-
formed by the middle mouse button. See below for descriptions of these func-
tions; the default is Contrast/Brightness control (WW/WL).
4-7-1
Magnifying glass
Provides a magnified view (x 2) of part of the image in a moveable square zone. If the initial zoom of the
image is
True Size
,
Fit to Screen
or
Zoom=1/2
, zoom factor inside the magnifying glass is 3, which cor-
responds to a full resolution display (each pixel on the screen corresponds to a pixel on the Digital
Detector).
It the initial zoom of the image is
Zoom=1
, zoom factor inside the magnifying glass is 6, which corre-
sponds to a double resolution display (a pixel on the digital detector is displayed on 4 pixels on the
screen).
•
To select the function, click with the left mouse button on the
Magnifying glass
button.
•
To use the function, move the mouse pointer to the part of the view you are interested in;
press and hold the
middle
mouse button.
Any annotations or graphics in the magnified zone temporarily disappear.
4-7-2
Image scroll
When all of an image is not visible, for example when you have magnified an image by using the Zoom
function, this function allows you to move the visible window around the image.
•
Click with the left mouse button on the
Scroll
button to select the function.
•
To use the function, move the mouse pointer onto the view; press and hold the middle mouse
button to move the image as required.
If the full content of the image is already displayed, the Image Scroll function has no effect.
4-7-3
Contrast/Brightness control
This function allows image contrast and brightness to be adjusted by moving the mouse.
•
Click with the left mouse button on the
Contrast/Brightness
button to select this function.
•
To use the function, move the mouse pointer onto the view; press and hold the middle mouse
button:
Contrast
is controlled by a horizontal movement of the mouse, to the left for more contrast, and to the
right for less.
Brightness
is controlled by a vertical movement of the mouse, up to decrease brightness, and down
to increase it.
Note:
Image contrast and brightness can also be adjusted using the Contrast and Brightness sliders, or
the Auto Contrast control, all available from the View Control Control Panel.
FOR
TRAINING
PURPOSES
ONLY!
NOTE:
Once
downloaded,
this
document
is
UNCONTROLLED,
and
therefore
may
not
be
the
latest
revision.
Always
confirm
revision
status
against
a
validated
source
(ie
CDL).


