MCTB
188
IMPORTANT: Do not import configuration files that are not intended for use with the current hardware
configuration of the MCTB as unexpected operation may result.
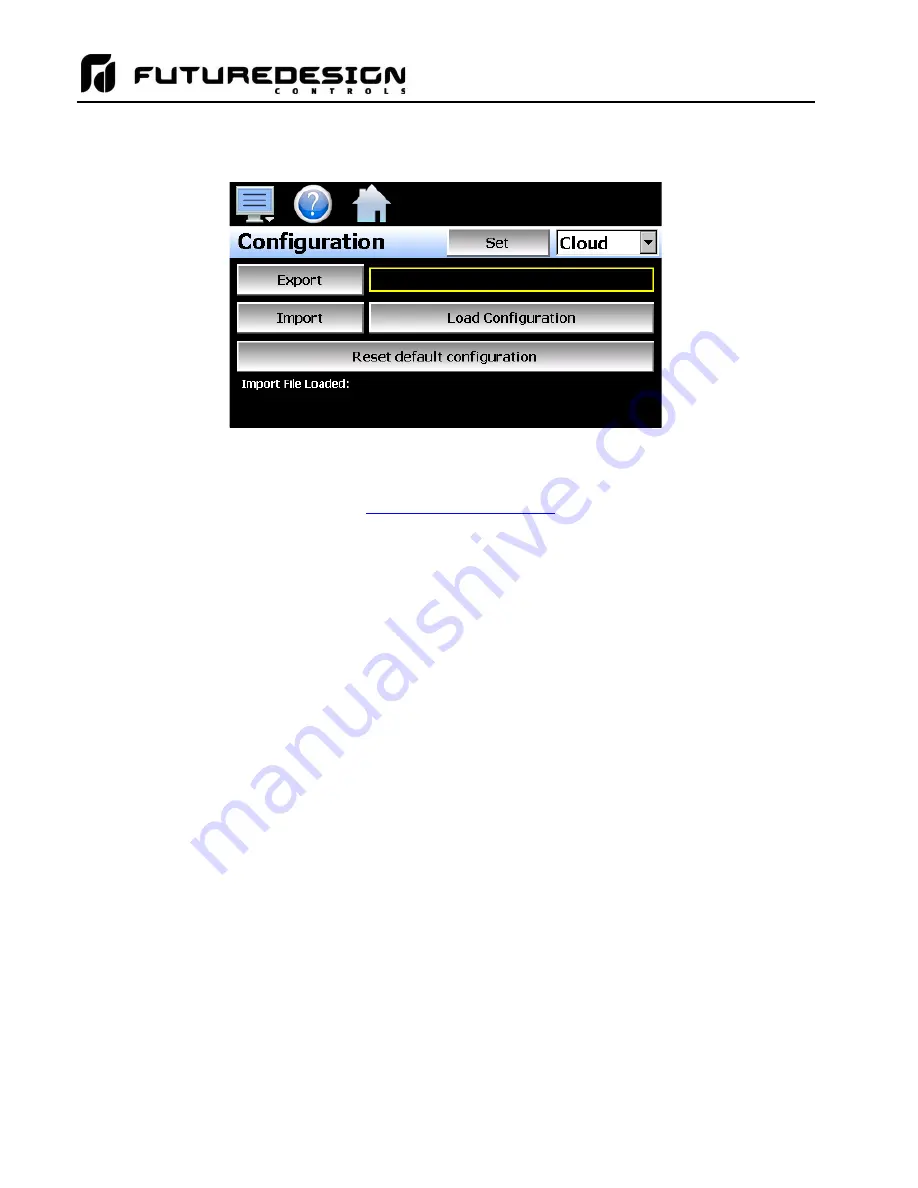
By default, the import/export procedure is set to operate via USB. To perform import/export operations from a
remote server, use the drop-
down menu to select “Cloud”. When “Cloud” is selected, a “Set” button will appear
to the left of the drop-down menu. Pressing the button will display the Cloud setup screen where the remote
server settings can be entered (see section
). The settings only need to be entered
once as they can be saved and used for any future import/export operations.
When the
Export
button is pressed, the MCTB configuration data will be written to the USB memory device or
remote server. The export file function will use the name entered in the text field to the right of the export button
and create a directory on the memory stick with that name, to contain the configuration data. The filename can
be entered with up to 10 characters which permits multiple configurations to be identified and saved for later
retrieval. The export files will be saved to a directory with
a name format of “MCTA_
filename
_mm-dd-yyyy-hh-
mm-s
s” to identify the configuration according to the date and time it was created. This prevents multiple
configuration files with the same name from overwriting previous files. It also allows the user to identify a
backup of the MCTB so that it could be reconfigured to a previous date if multiple back-ups are created.
If the export is being sent to a remote server, a single file is created with the format of “MCTA_
filename
_mm-
dd-yyyy-hh-mm-s
s.ccg”. The file is encrypted and automatically signed with a digital signature in order to
protect it and prevent alteration of the file. Should a file be tampered with, it would fail the import, thus protecting
the MCTB from accepting a bad configuration file.
The
Import
button is used to configure the MCTB according to the currently loaded configuration file. To load
a configuration file, the USB memory device must first be inserted into the USB port (or the remote server has
to be properly configured and the MCTB connected to the internet when Cloud is selected). When the
Load
Configuration
button is pressed, a list of available configuration files from the memory stick (or remote server)
will be shown. Select the desired file from the list and press “Open” to load the file. Once the file is loaded, the
import process can be started. Pressing the “Import” button will begin the process. When the import is
complete, you must cycle power to the MCTB in order for the new configuration data to be loaded into runtime
memory for proper operation.
The
Reset default configuration
button can be used to clear the current MCTB configuration and reset the
system back to default values. This function clears all user and/or OEM configuration values and returns the
system to
an “as new” factory state allowing the system to be configured from scratch. This function is provided
as a means to start over in the event that the system configuration has been altered to an unknown state and
is not operating properly, and a known good configuration is not available to import. Rather than go through
every setting of every feature to try and determine where the configuration error exists, this allows the system
to be cleared so that it can be reconfigured from a clean slate.
Содержание MCTB 4.3
Страница 24: ...MCTB 24...
Страница 195: ...MCTB 195...
Страница 227: ...MCTB 227 A 5 SmartIO Monitor Module Specifications...
Страница 228: ...MCTB 228 A 6 Expansion IO Module Specifications...
Страница 229: ...MCTB 229 A 7 Power Supply Specifications DIN Rail Mount Power Supply Specifications...
Страница 230: ...MCTB 230...
Страница 231: ...MCTB 231 Open Frame Power Supply Specifications...
Страница 232: ...MCTB 232...
Страница 233: ...MCTB 233 A 8 Power On Delay Relay Specifications GE1A C10HA110...
Страница 234: ...MCTB 234...


