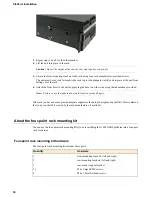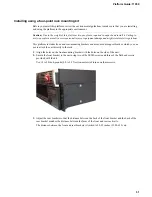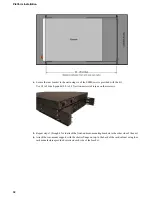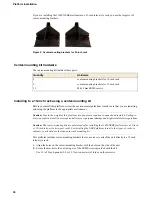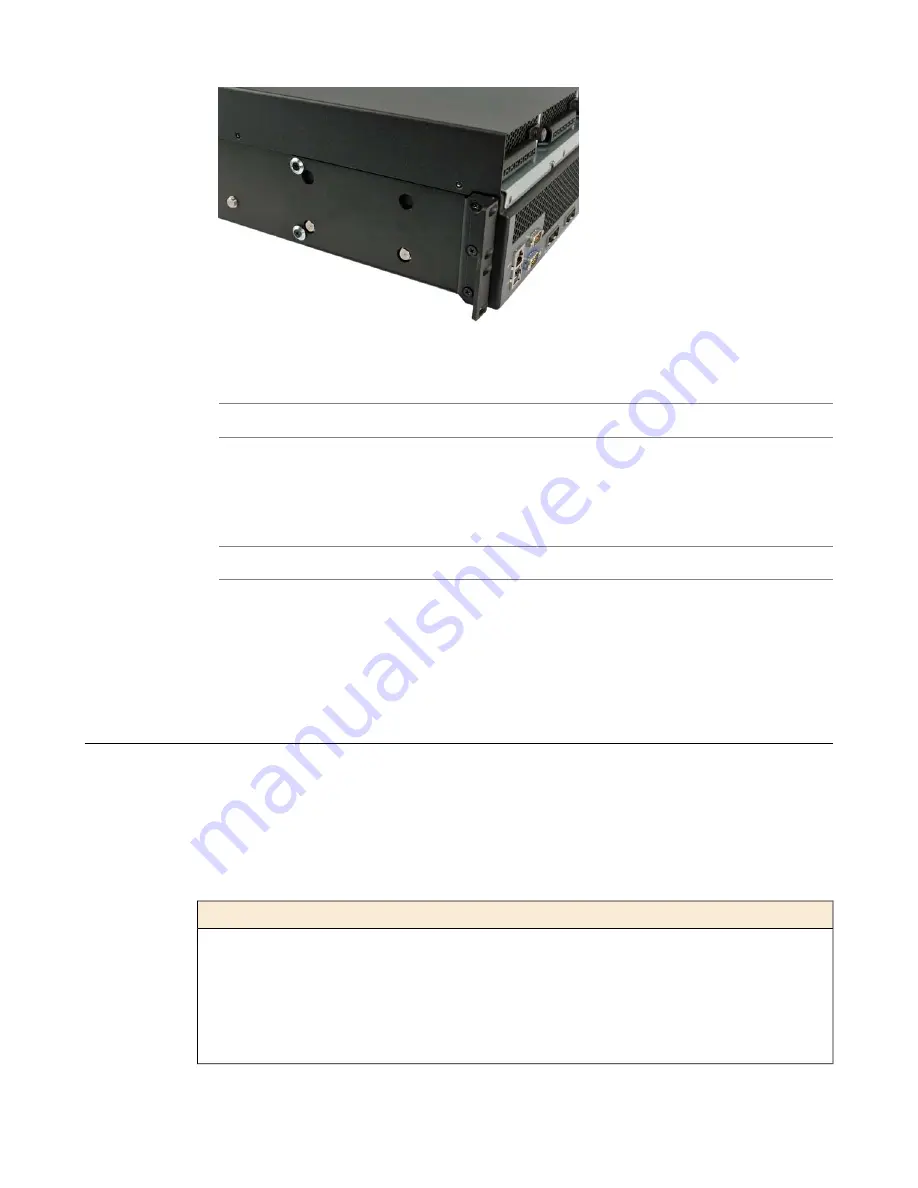
3.
Repeat steps 1 and 2 for the other bracket.
4.
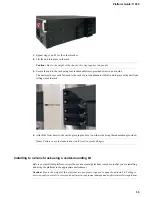
Lift the unit into place in the rack.
Caution: Due to the weight of the chassis, this step requires two people.
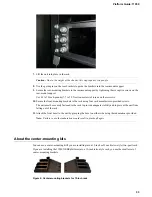
5.
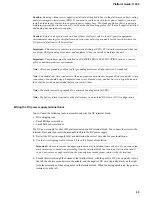
Secure the front-mounting brackets to the rack using four rack manufacturer-provided screws.
The unit must be securely fastened to the rack to provide adequate stability and to prevent the unit from
falling out of the rack.
6.
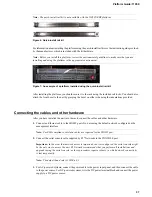
Attach the front bezel to the unit by grasping the bezel on either side using the indentations provided.
Note: Failure to use the indentations could result in pinched fingers.
If the rack you have does not provide adequate support for the unit, you might need a shelf kit. We recommend
that you use a shelf kit created by the rack manufacturer, if available.
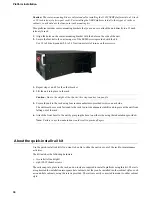
About the four-point rack mounting kit
You can use the four-point rack mounting kit if you are installing the 11050 NEBS platform into a four-post
rack or cabinet.
Four-point rack mounting kit hardware
The four-point rack mounting kit includes these parts.
Hardware
Quantity
front-mounting brackets (left and right)
2
rear-mounting brackets (left and right)
2
rear-mount support bracket
1
M4 x 8mm SEMS screws
16
M4 x 10mm flat head screws
6
30
Platform Installation
Содержание BIG-IP 11050
Страница 1: ...Platform Guide 11050 MAN 0322 03 ...
Страница 2: ......
Страница 26: ......
Страница 39: ...Chapter 3 Platform Maintenance About platform maintenance ...
Страница 55: ...Figure 13 Airflow in the 11050 platform 55 Platform Guide 11050 ...
Страница 56: ......
Страница 63: ...Appendix C China RoHS Requirements Hazardous substance levels for China ...
Страница 65: ...Appendix D Repackaging Guidelines About repackaging the platform ...
Страница 67: ...5 Place the accessory box on the foam insert 6 Close and seal the shipping box 67 Platform Guide 11050 ...
Страница 68: ......


