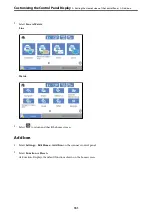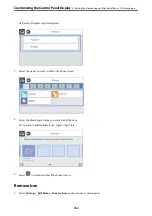
3.
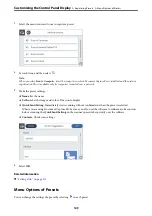
Select the menu you want to use to register a preset.
4.
Set each item, and then select
.
Note:
When you select
Scan to Computer
, select the computer on which Document Capture Pro is installed, and then select a
registered job. This is available only for computers connected over a network.
5.
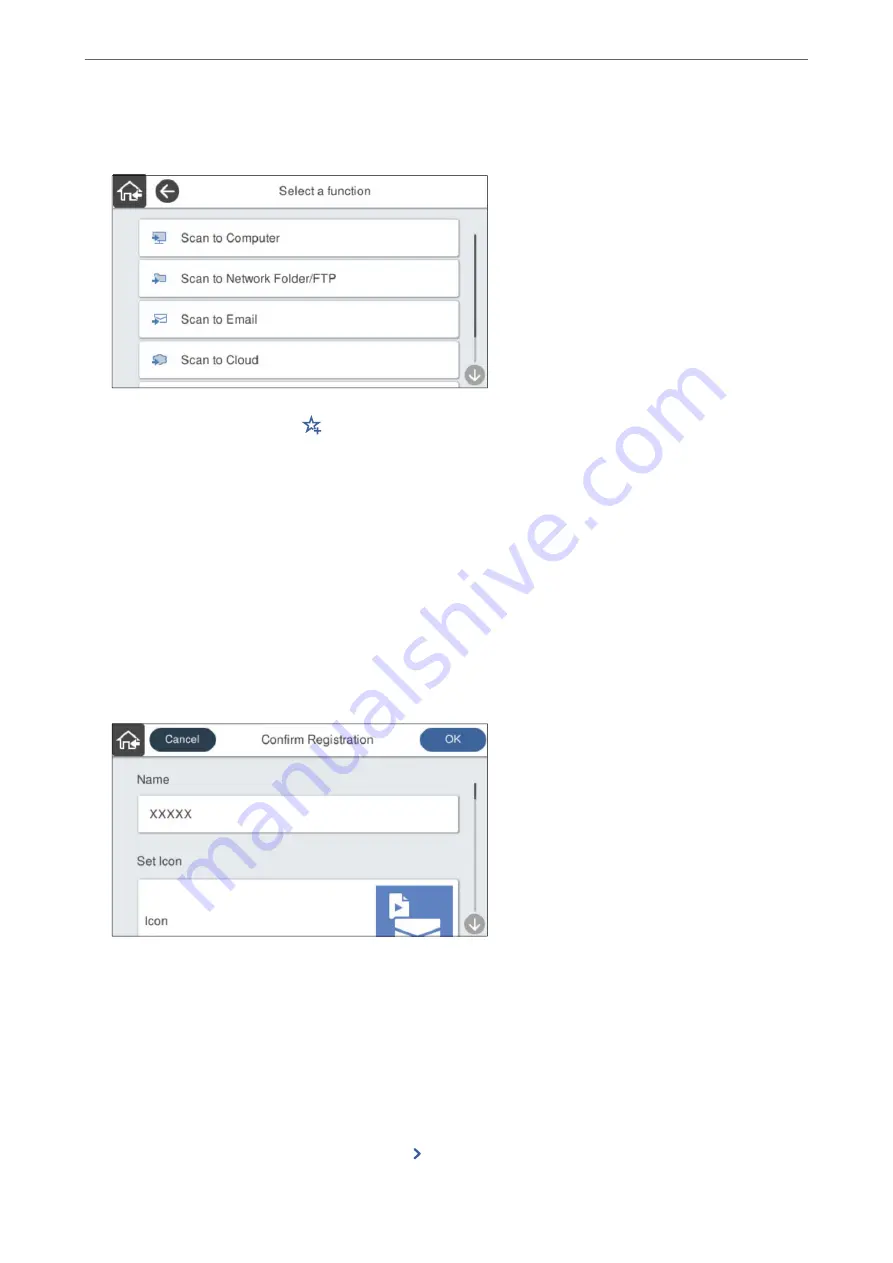
Make the preset settings.
❏
Name
: Set the name.
❏
Set Icon
: Set the image and color of the icon to display.
❏
Quick Send Setting
: Immediately starts scanning without confirmation when the preset is selected.
When you are using Document Capture Pro Server, even if you set the software to confirm a job's contents
before scanning, the
Quick Send Setting
on the scanner's preset takes priority over the software.
❏
Contents
: Check scan settings.
6.
Select
OK
.
Related Information
&
Menu Options of Presets
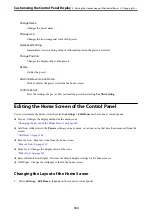
You can change the settings of a preset by selecting
in each preset.
Customizing the Control Panel Display
>
>
149
Содержание DS-790WN
Страница 17: ...Color Grayscale Black White Product Features High Quality Scanning with Automatic Document Detection 17 ...
Страница 34: ...Specifications and Placing of Originals Specifications of Originals 35 Placing Originals 40 ...
Страница 133: ...3 Click Edit Required Settings for Scanning Setting a Shared Network Folder Creating the Shared Folder 133 ...
Страница 147: ...Customizing the Control Panel Display Registering Presets 148 Editing the Home Screen of the Control Panel 150 ...
Страница 245: ...Where to Get Help Technical Support Web Site 246 Contacting Epson Support 246 ...

