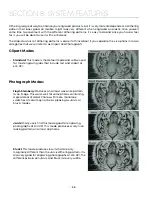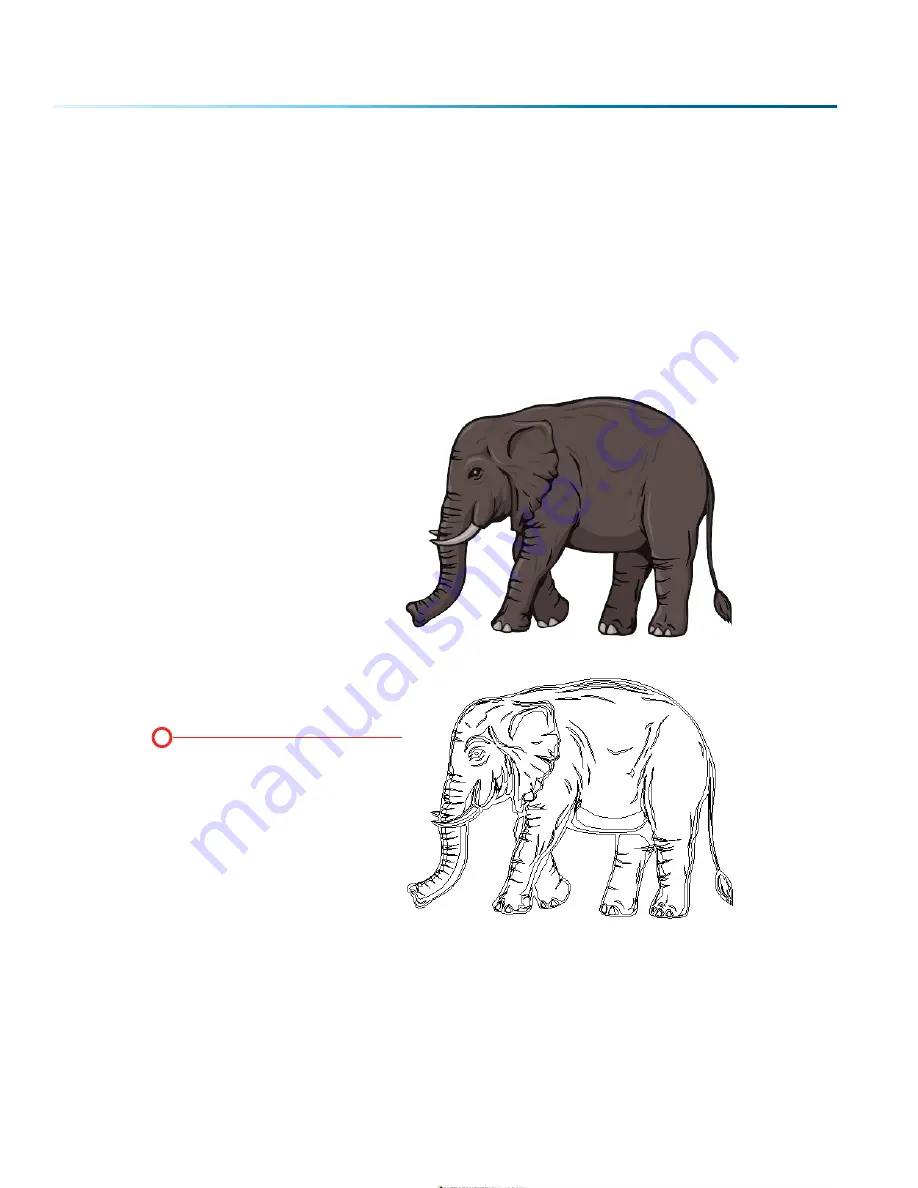
hidden lines that you send to the laser using Combined mode. The artwork shown below is a good
example of a piece of clipart as it appears on the screen (top) and the hidden lines (bottom) that will
vector cut if you are in Combined or Vector mode. If you only want to raster engrave, make sure you
select Raster mode in the Epilog Dashboard.
In CorelDraw you can view just the lines (bottom view) by clicking on the
View
key in the menu bar and
selecting
Simple Wire Frame
. The upper image is a complex piece of clipart. The lower image shows all of
the hidden lines that are in this piece of clipart. If this clipart image were run in Combined mode, it would
first raster engrave most of the elephant then vector cut any of the thin lines below .003” (0.077 mm) in
CorelDraw, or .001” (0.025 mm) in Adobe Illustrator. You can also use the Preview function of the Epilog Job
Manager to view only vector lines. See
“Previewing Your Job” on page 38.
Setting a Vector Cutting Line
With the new Job Manager you have many options for setting your Vector Cutting lines. The easiest way
to do it is by line width, but you may also set it to Vector by a specific color or by selecting the individual
processes in the Job Manager that you want to cut instead of engrave. The key is to be consistent in
which method you pick to avoid confusion.
Clipart that looks like it is a
raster file is actually often
made up of small lines. If the
lines are set too thin, then it
may cut as well as engrave
if you send it to the laser in
combined mode.
- 80 -
SECTION 7: QUICK START GUIDE
Содержание FusionPro 32
Страница 2: ......
Страница 10: ...The following diagrams show the location of each specific label Fusion Pro 32 6 SECTION 1 SAFETY ...
Страница 11: ...Fusion Pro 48 7 SECTION 1 SAFETY ...
Страница 12: ... 8 SECTION 1 SAFETY ...
Страница 24: ......
Страница 74: ......
Страница 82: ......
Страница 100: ......
Страница 118: ......
Страница 130: ......
Страница 132: ......
Страница 136: ......
Страница 144: ......


