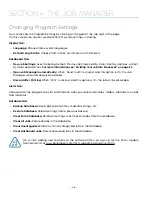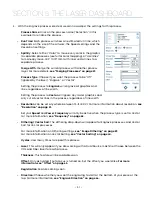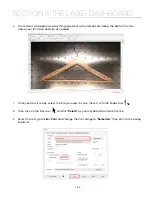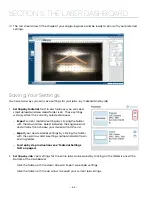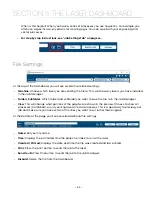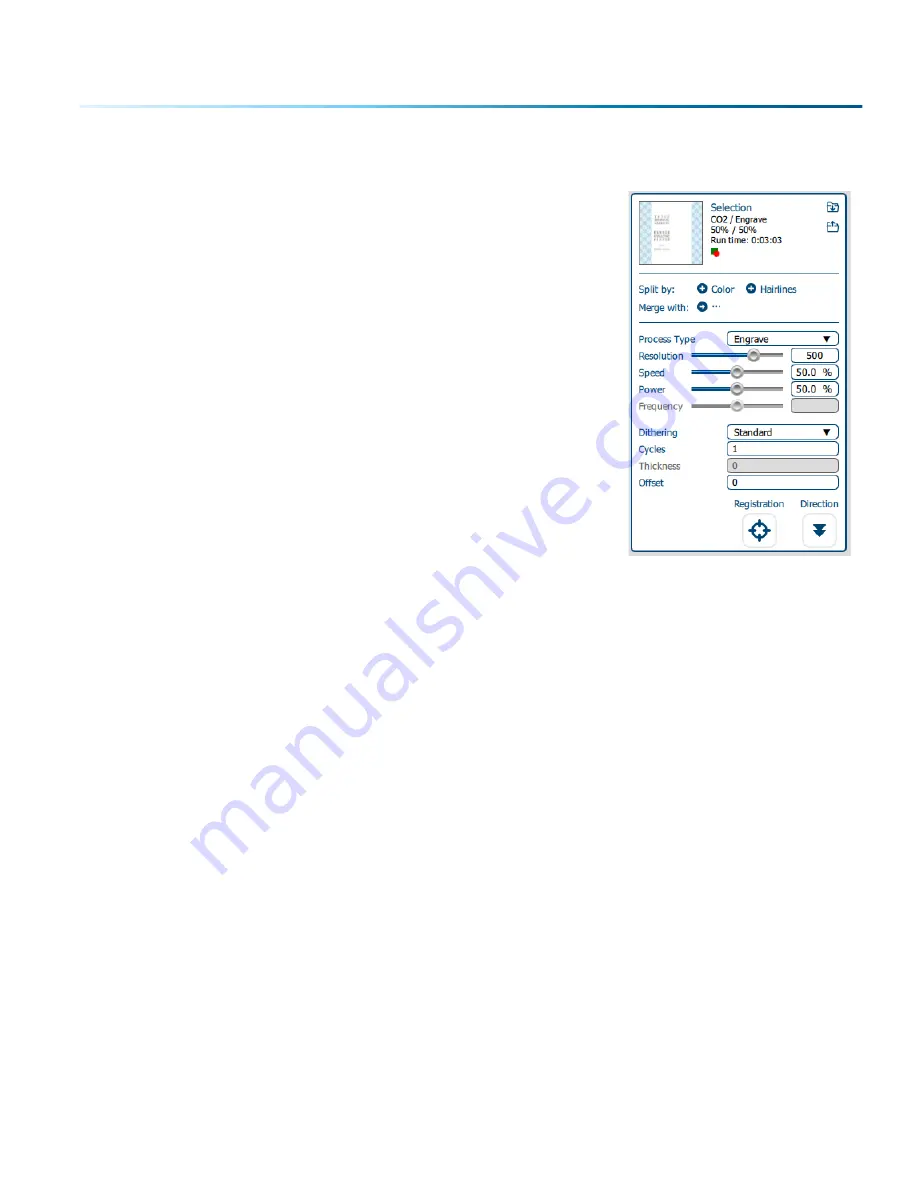
5. With the Engrave process selected, we can now adjust the settings for this process.
•
Process Name
: Click on the process name (“Selection” in this
example) to rename the process.
• Run Time:
Each process will show an estimated run time, which
depends on the size of the artwork, the Speed settings and the
Resolution settings.
• Split By
: Select either “Color” to move every color in the graphic
to separate processes (useful for color mapping), or “Hairlines”
to manually move .003” (0.077 mm) or thinner vector lines to a
separate process.
•
Merge With
: Merge the current process with another process
layer. For more details,
see “Merging Processes” on page 57.
•
Process Type
: Choose if you want the process to be “Off”
(ignored by the laser), “Engrave”, or “Vector”.
Setting the process to
Engrave
will engrave all graphics and
lines, regardless of line width.
Setting the process to
Vector
will ignore any raster graphics and
only cut all vector lines in the process, regardless of line width.
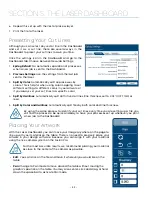
• Resolution
can be set anywhere between 75-1200 DPI. For more information about resolution,
see
• Set your
Speed
and
Power
.
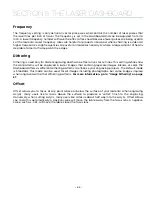
Frequency
will only be active when the process type is set to Vector.
For more information,
• Dithering / Vector Sort
: The dithering drop-down will appear for Engrave processes, and Vector
Sort for Vector processes.
For more information on Dithering settings,
see “Image Dithering” on page 87.
For more information on Vector Sorting,
see “Vector Sorting” on page 40.
•
Cycles
: How many times to repeat this process.
• Laser
: This will only appear if you are working with a Dual Source machine. Choose between the
CO2 and Fiber laser for each process.
•
Thickness
: This feature will be available soon.
•
Offset
: Only activated if Auto Focus is turned on. Set the offset you would like.
For more
information, see “Offset” on page 65.
•
Registration
: Feature coming soon.
• Direction:
Choose whether you want the engraving to start at the bottom of your piece or the
top. For more information,
see “Engrave Direction” on page 64.
- 51 -
SECTION 5: THE LASER DASHBOARD
Содержание FusionPro 32
Страница 2: ......
Страница 10: ...The following diagrams show the location of each specific label Fusion Pro 32 6 SECTION 1 SAFETY ...
Страница 11: ...Fusion Pro 48 7 SECTION 1 SAFETY ...
Страница 12: ... 8 SECTION 1 SAFETY ...
Страница 24: ......
Страница 74: ......
Страница 82: ......
Страница 100: ......
Страница 118: ......
Страница 130: ......
Страница 132: ......
Страница 136: ......
Страница 144: ......

