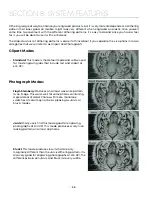
• Bayer:
This mode is an efficient and widely used
halftoning technique. It is easily distinguished by its
noticeable crosshatch patterns. Bayer (ordered) dithering
is more suitable for line-art graphics.
Experiment with the different dithering patterns to determine which effect is most pleasing. It is not
mandatory that you use the clipart modes with only clipart images or photograph modes with all
photographs. Many users prefer one of the photograph modes for many clipart images, and one of the
clipart modes for photographs. The choice is entirely up to you and will take some experimentation.
Color Mapping
Using Color Mapping
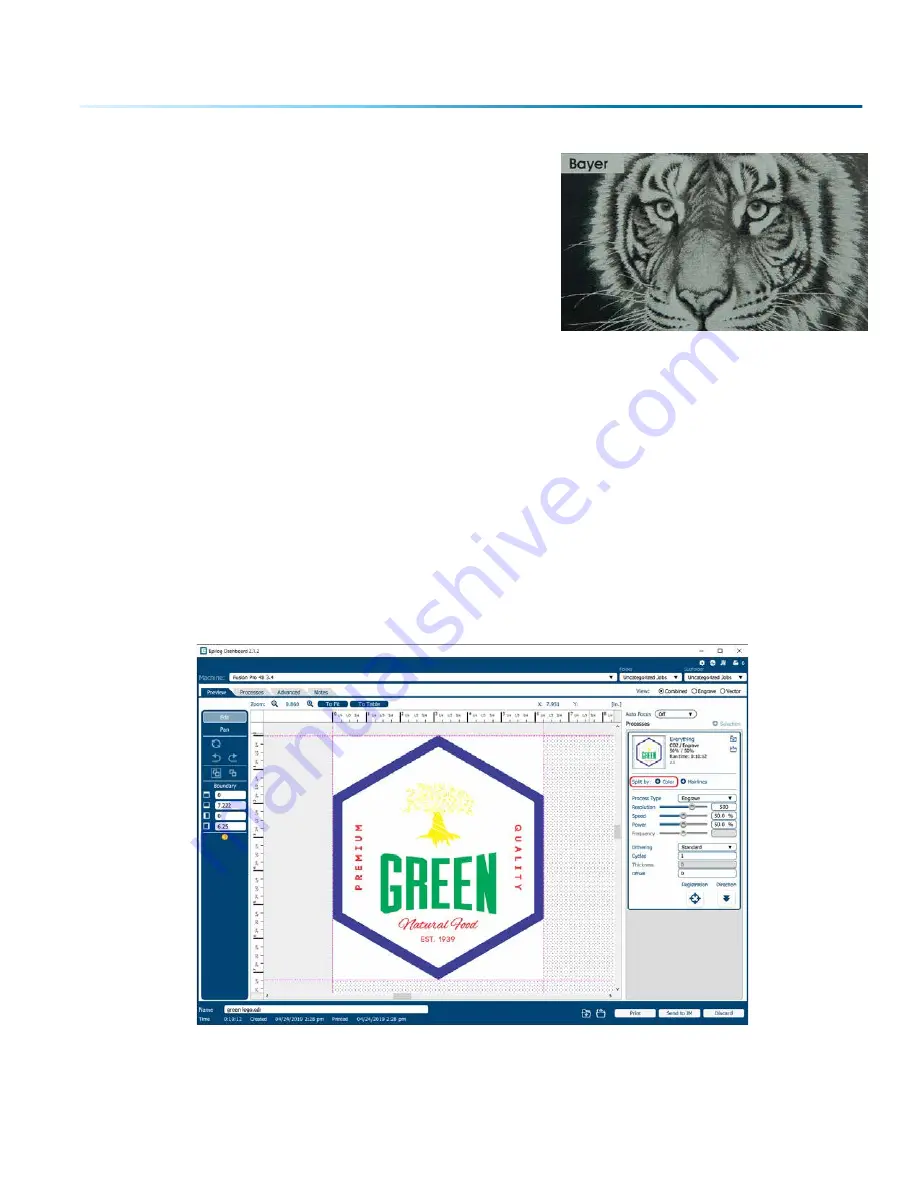
When the
“Split By Color”
option is selected, the graphic’s single process will split into separate processes
by each color, allowing you to apply each color’s settings individually. The laser will then use the settings
assigned to each color.
Dithering is a great way to enhance your engraved products, but it is very material dependent. A dithering
pattern that looks good on marble, might look very different when engraved on plastic. Give yourself
some time to experiment with the different dithering patterns. It’s easy to do and once you have a feel
for it, you will be able to use it with confidence
The drop-down list of dithering patterns is easier to think about if you separate the six options into two
categories that we will refer to as Clipart and Photograph:
Clipart Modes
• Standard:
This mode is the default mode and will be used
for most engraving jobs that include text and clipart at
600 DPI.
Photograph Modes:
•
Floyd-Steinberg:
Produces an almost wave-like pattern
to an image. This works well for some photos containing
a great deal of detail. Photos with more monotone
swatches of color may not be as pleasing as Jarvis or
Stucki modes.
•
Jarvis:
Many users find this mode good for engraving
photographs at 300 DPI. This mode produces a very nice
looking pattern on almost all photos.
•
Stucki:
This mode produces results that are only
marginally different than the Jarvis dithering pattern. It is
also very good for engraving photographs at 300 DPI. The
differences between Jarvis and Stucki are very subtle.
- 89 -
SECTION 8: SYSTEM FEATURES
Содержание FusionPro 32
Страница 2: ......
Страница 10: ...The following diagrams show the location of each specific label Fusion Pro 32 6 SECTION 1 SAFETY ...
Страница 11: ...Fusion Pro 48 7 SECTION 1 SAFETY ...
Страница 12: ... 8 SECTION 1 SAFETY ...
Страница 24: ......
Страница 74: ......
Страница 82: ......
Страница 100: ......
Страница 118: ......
Страница 130: ......
Страница 132: ......
Страница 136: ......
Страница 144: ......


