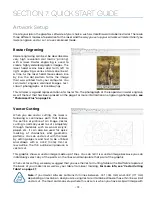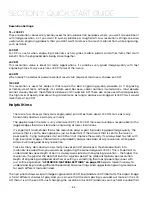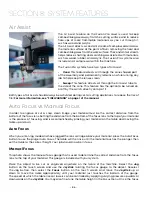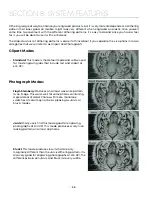
Additional Color Mapping Notes
• When color mapping is used, it always starts from the top color in the Map List and then descends
through the remaining colors.
• There’s one important distinction to recognize about how colors are raster engraved in standard
engraving mode vs. Color Mapping mode. In standard engraving mode different colors are
interpreted as different shades of gray that will produce different fill patterns when engraved. In
Raster Color Mapping mode all of the different colors are engraved as if they have a black fill. There
is no way for a color to produce both a fill pattern and be color mapped at the same time.
Non-Mapped Colors
Non-mapped colors will be processed last and will be processed using the Speed and Power settings
from the General tab. An example would be artwork that has black lines as well as the red and green we
are mapping. The black lines will be processed last at the speeds and powers that are set in the General
tab.
Color Mapping in Combined Mode
Color Mapping in combined mode requires a little more planning than Raster only or Vector only modes.
1. Any object that is color mapped will be raster engraved first in the order the colors appear in the
Summary section of the tab. Any other raster objects that are not color mapped will then be raster
engraved using the raster settings found in the General Tab.
2. After all of the raster objects have all been engraved, the vector objects will be vectored in the
order they appear in the Summary section of the tab. Any other vector objects that are not color
mapped will then be vectored using the vector settings found in the General Tab.
For most jobs, Color Mapping is a powerful and easy tool to use and understand. Please keep
in mind that because you can control seven different variables and 17 different colors doesn’t
mean that you should. With so many different settings available in a single setup it has the
potential to get overly complicated. Sometimes it’s easier to scale back on how many colors
a job should use.
Red Dot Pointer
The Red Dot Pointer is a visible laser beam that runs in the same line as the invisible CO2 laser beam. It is
useful for showing the location of the laser head when using Jog or Focus mode.
- 93 -
SECTION 8: SYSTEM FEATURES
Содержание FusionPro 32
Страница 2: ......
Страница 10: ...The following diagrams show the location of each specific label Fusion Pro 32 6 SECTION 1 SAFETY ...
Страница 11: ...Fusion Pro 48 7 SECTION 1 SAFETY ...
Страница 12: ... 8 SECTION 1 SAFETY ...
Страница 24: ......
Страница 74: ......
Страница 82: ......
Страница 100: ......
Страница 118: ......
Страница 130: ......
Страница 132: ......
Страница 136: ......
Страница 144: ......

