120
Basic Setting
Control System WS1 Color / WS1000 Color
• Version: 14.12.2016 • Technical changes and errors excepted.
6.1.11.Define channel order
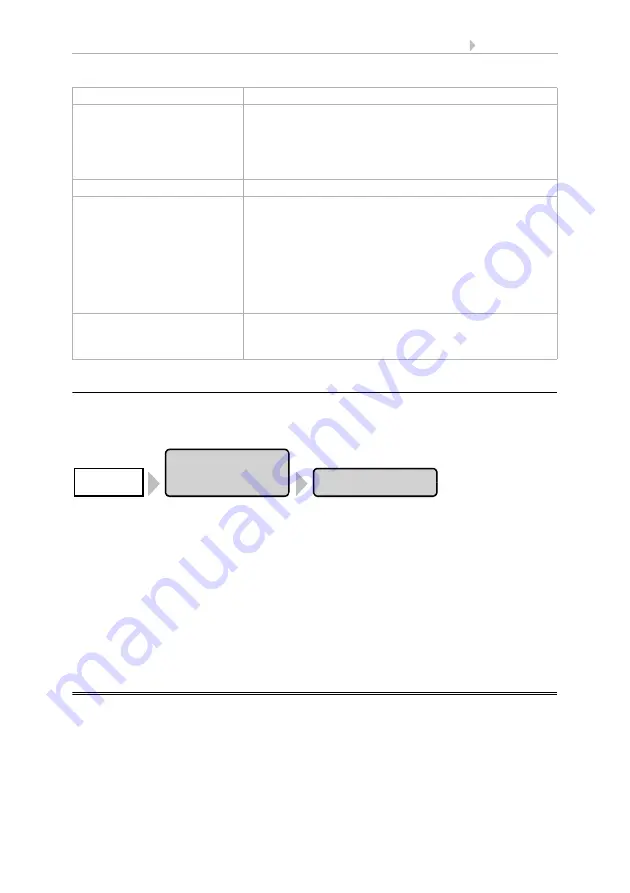
This is where you define the order in which the drives and devices are shown in the
menues. Press the buttons:
Here all configured drives and devices (“channels”) are displayed. Note that the list
also includes those channels that do not appear in the manual menu. The display in the
manual menu can be activated or de-activated in the base settings for every single
channel.
6.1. Set up drives and drive groups
Press the button of the channels to be changed and shift them with the arrow keys that
appear on the right.
Confirm the new sequence with the
OK
button.
6.2.
WS1 / WS1000 Settings
In the menu area
System > WS1 / WS1000 Settings
you can adjust the following
settings:
•
Change personal data such as time/date and location and adjust the screen
display to your personal preferences (Settings)
•
Restart, reset to factory defaults and change internal settings of the control
(Service)
Sensor type
Display "WS1 TH"
Name
Press the button with the device's designation (pre set-
ting: Thermo/hygro), in order to change the name.
Enter the desired name using the key pad that appears.
Confirm your selection using
OK
.
2.4. Input keyboard for names and codes
Status
Display of status
Measured values
Display of the current values.
Press the button
Adjust
to adjust the sensor. Adjust the
value at "displayed temperature/humidity". A correction
to the values measured may be necessary if the temper-
ature/humidity on the sensor does not match the aver-
age for the room (e.g. if the WS1 Color is installed at a
site that is warmer than average). Confirm your selec-
tion using
OK
.
Settings
Press the
Manual Menu
button in order to set whether
the drive/sensor shall be displayed in the manual menu
or not. Confirm your selection using
OK
.
Installation
Channel Order
System


