Zero 88 FLX Lighting Console
–
User Manual
Page
54
of
64
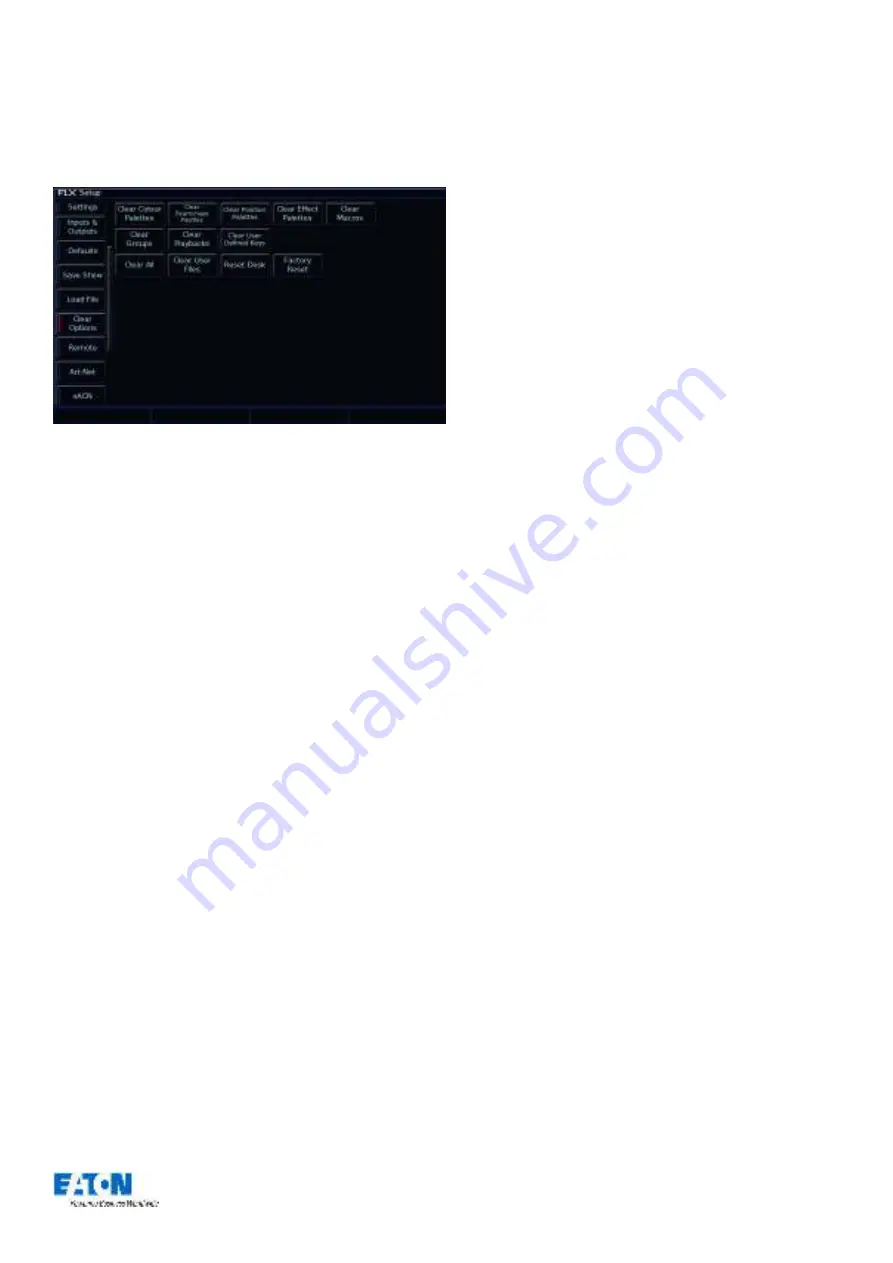
Clear Options
Clear options allows you to clear certain areas of the
console, or reset the console back to factory settings.
The “Clear Options” section of Setup
Clearing specific areas of the console
Data stored on the console is separated into eight areas,
each of which can be cleared independently to each other.
Alternatively, “Clear All” will clear all eight sections in one
go. Selecting any of these options will offer confirmation
before clearing. Once confirmed, this action cannot be
undone. These eight areas are:
-
Colour Palettes
-
Beamshape Palettes
-
Position Palettes
-
Effect Palettes
-
Macros
-
Groups
-
Playbacks
-
User Definable Keys
Clear User Fixture Types
A separate option, that is not included within “Clear All”, is
“Clear User Files”. This removes all User Fixture Types
from the internal library. Although this removes user fixture
types from the console, any fixtures being used within a
specific showfile are stored within that showfile itself.
(See
37 for more information)
.
Reset Desk / Factory Reset
“Reset desk” will reset all settings and data on the console.
This cannot be undone. “Factory Reset” completely wipes
the console back to a fresh installation of ZerOS, requiring
the console to be restarted before you can continue.
Remote (mobile apps)
This section of Setup enables access to the console from
the “Windows Remote Monitor” application (available as a
free download from the Zero 88 website) and the “ZerOS
Remote” and “ZerOS Monitor” m
obile apps. These are
available free of charge from the iOS App Store and
Google Play respectively.
“ZerOS Remote”
is designed to work as a "rigger's
remote" to wirelessly control fixtures etc, especially
during a focus session.
“ZerOS
Monitor
”
is designed to work as a "remote
monitor", just like the physical touch screen monitor you
can plug into the back of the console. Whatever you
can do on that monitor, you can do with this app.
Whatever you can't do on that monitor, you can't do on
this app! Although this app can work on any screen, it's
not really designed for a smartphone sized screen.
To use these features, the console must be plugged into a
wireless network. To enable access to the console from
these apps, change “Remote” to “Enabled”.
You’re wireless network should already include security
measures to ensure unauthorised access isn’t possible,
however you can also add a password on the console as
an additional layer of security by enabling “Security” (this
security is simply a password the remote will prompt you
for before connecting - ensure you change the password
from the default one).
If you enable “Use DHCP Address”, the console will
request an available IP address from the router. This will
only work if your router supports DHCP. Alternatively,
disable DHCP to display two more options
–
IP Address
and Subnet Mask.
At the bottom of the remote setup screen, a message
should appear - "Remote Active". If "Remote Not Active -
No DHCP Address" is displayed, ensure that DHCP is
enabled on the router and reboot the desk. Assuming
"Remote Active" is displayed and the mobile device is
connected to the wireless network, you should be able to
start the app on the device and the desk should be
detected. Press on the Desk name and click the connect
button.


