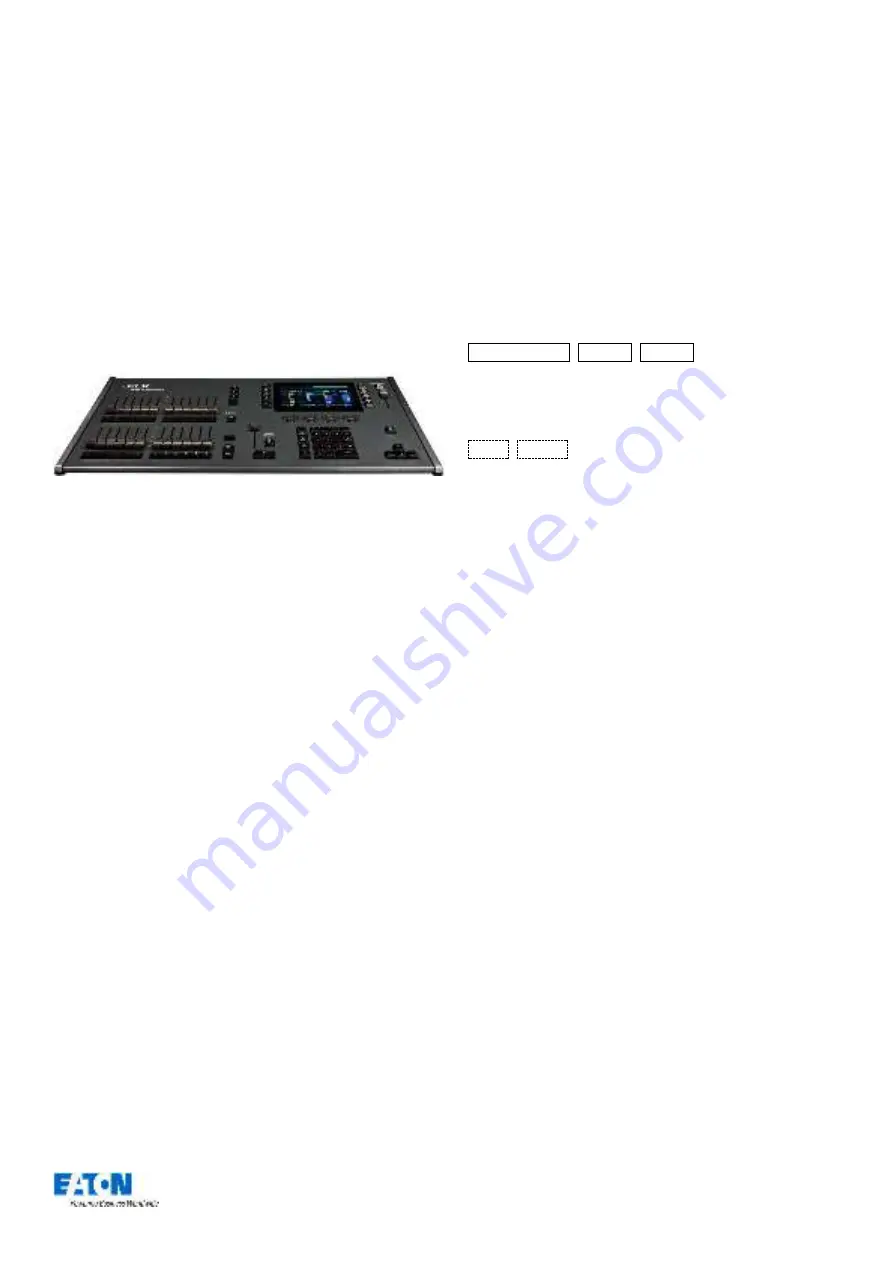
Zero 88 FLX Lighting Console
–
User Manual
Page
5
of
64
Introduction
FLX Lighting Console
The FLX lighting console is a portable control system,
running the ZerOS Operating System to control up to 4096
channels (2048 as standard).
From design to manufacture, the FLX lighting console has
been developed to work in a wide range of demanding
situations, with specific considerations for live events &
hire, touring productions, multipurpose venues, theatres
and educational applications.
ZerOS (Operating Software)
ZerOS is regularly updated to bring new features and to
keep your console stable and secure. Software updates
are free of charge and can be downloaded from
zero88.com/software. It is strongly recommended to
always be running the latest release of software.
Phantom ZerOS (offline editor)
Phantom ZerOS is free to download, and can emulate any
console which runs our ZerOS software, including FLX.
Show files can be loaded, saved and transferred to “real”
consoles, useful to setup your show, or make slight
changes while
you’re not at the console.
Phantom ZerOS can also be unlocked to output Art-Net or
sACN with the addition of the “Phantom ZerOS Unlock
Dongle”. This allows it to run as a console itself, or to back
up another console.
Phantom ZerOS can be downloaded from the Zero 88
website.
This manual
This manual describes the operation of the FLX lighting
Console. For detailed information on each function, the
manual has been divided into chapters - one for each
major area of the console
Throughout this manual the following conventions are
used:
References to physical front panel controls and buttons
appear within a solid border, for example:
Grand Master , Colour , UDK 3 .
References to “soft buttons”,
which appear on the monitor,
are displayed in italics, within a dotted border, as follows:
Next
,
Picker
.
Experience is the best way of fully learning the console.
Through time you will develop your own operating style.
Getting started
…
Turning the console on
The mains cable should be connected to the FLX before
any other cables are connected. A safety earth is provided
through this connection to help protect both the user and
the product if there’s a fault with anything plugged into the
console.
If you are using an external monitor, plug this in prior to
powering up the console. Once done, power on the
console using the switch on the rear panel. When you
power on the console, FLX will run through its power up
routine.
Adding dimmers
Before you can control any fixtures, you need to “patch”
them into the console. When you first turn on your console,
FLX will offer to patch any number of basic dimmers for
you automatically
. These will be patched as a “1
-to-1
patch”, meaning if you choose 48 dimmers, they will be
patched as Channels 1 - 48, on DMX addresses 1 - 48, on
Universe 1.
(
See “
37 for more info).


