Zero 88 FLX Lighting Console
–
User Manual
Page
46
of
64
System Settings
System Settings within the Setup menu allows you to
change various settings that affect the ZerOS system, such
as the date and time and monitor settings, or switch
between the various modes available.
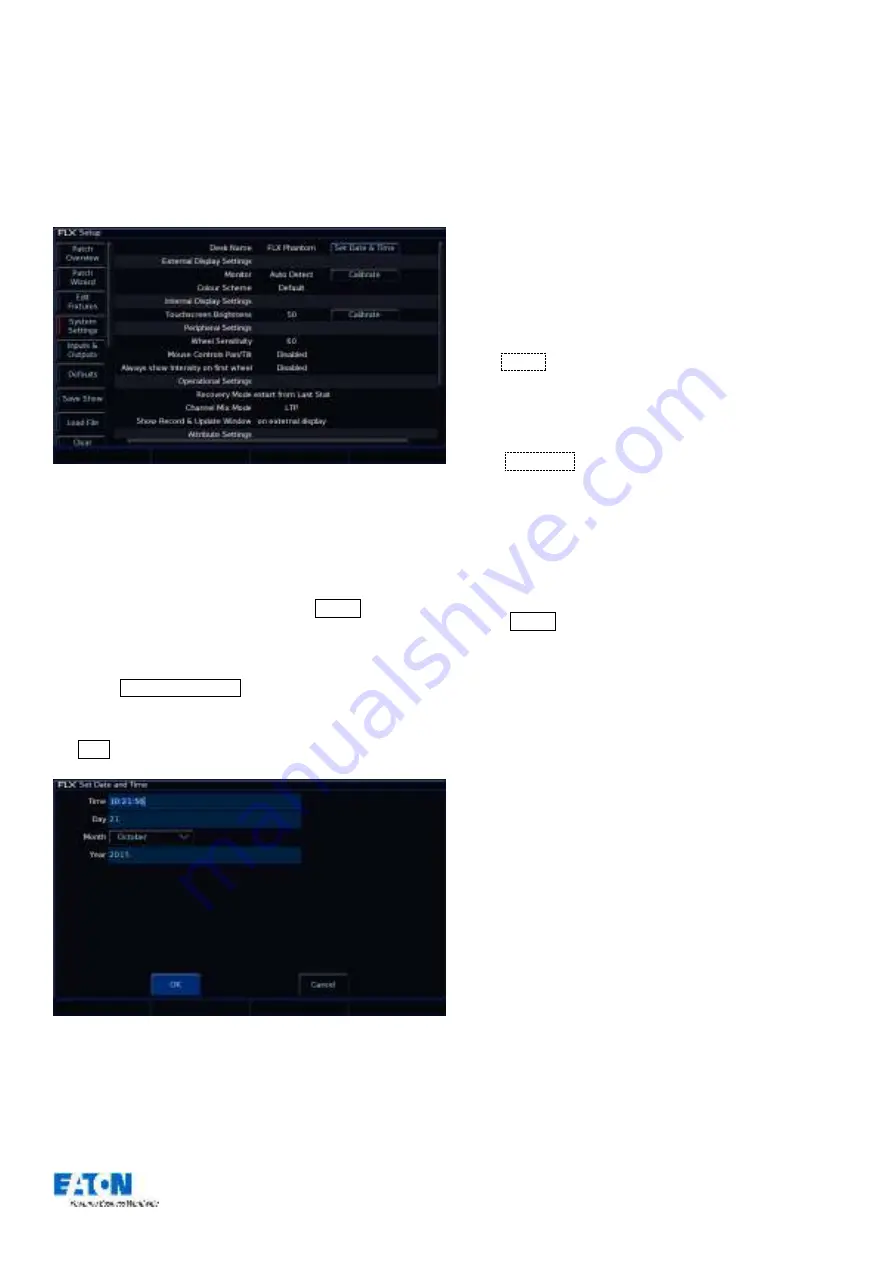
The “System Settings” window
Desk Name
The desk name is used to identify itself. For example,
when using the mobile apps, the name of every console on
the network will be displayed. By default, the desk name
will be “FLX” followed by the serial number, but this can be
changed by selecting the cell, pressing Enter and using
an external keyboard to type a new name.
Set Date & Time
Press the Set Date & Time key on the monitor to open
the below window. Enter the correct time, day, month and
year in the fields provided and then confirm by selecting
the OK button.
Changing the time and date on the console
External Display Settings
FLX supports one external monitor, plugged into the “DVI
-
D” connector on the rear of the console. This monitor can
also be touchscreen if desired, which also plug into one of
the USB connectors with a second cable.
FLX will automatically detect if the external monitor is
present, and the best resolution to use for that monitor.
To manually change if a monitor is present or not, change
“Monitor” to “Enabled” or “Disabled” (by default, this is set
to “Auto Detect”).
This will
change what’s displayed on the internal
monitor
–
see “
Using FLX without an External Display
” on page
7 for more
information.
To change the monitors resolution, change “Resolution”
fro
m “Auto Detect” to one of the listed resolutions. FLX will
change the resolution for 15 seconds, and then
automatically revert it to the previous setting unless you
click
Keep
on the internal monitor within those 15
seconds.
If using a touchscreen, this monitor will need to be
calibrated before the touch functionality will work.
Click
Calibrate
under the External Display Settings. The
external monitor will now guide you through the calibration
process
–
press the orange cross in the upper left corner,
then the lower right corner, then the upper right corner.
This completes the calibration and ZerOS will ask you to
draw on the screen to check the calibration has worked
correctly. You should ensure that the line drawn is
displayed in the same place you touch the monitor.
Press Enter to confirm and return to System Settings.
A number of external touchscreens are supported by FLX.
Although we will endeavour to add support for other
screens where possible, we make no guarantees about
this since the drivers may not be available in the correct
format for the desk operating system. If you want us to add
support for a different screen, then we may ask you to loan
us the screen (including the drivers CD that came with it)
for a short time for testing. Please contact Zero 88 for
details.


