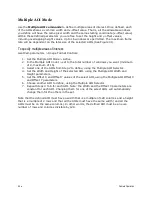
Camera Operation
•
75
6.
Click on
Save
. The flat field correction data is saved as a TIF image with a file name
of your choice (suggestions are the camera name and its serial number).
Using Flat Field Correction
When using CamExpert, from the menu bar enable Flat Field correction (Pre-Processing >
Flat Field Correction > Hardware). Now when doing a live grab or snap, the incoming image
is corrected by the current flat field calibration data for each pixel. Use the CamExpert menu
function Tools > Flat Field Correction > Load to load in a flat field correction image from
previously saved calibration data. CamExpert allows saving and loading calibration data for
all cameras used with the imaging system.
Uploading Coefficient to the Camera
Flat field coefficients can uploaded to the camera via the file access control features. The
Flat Field Coefficients File is a standard TIF file. A Sapera application (such as CamExpert)
creates a new SapBuffer object of the same width as the image buffer but with twice the
number of lines. This provides the room to store both offset and gain Flat Field data. The
Flat Field offset data is contained in the top half of the new buffer, while the gain buffer is in
the bottom half.
A Sapera application saves the new buffer using SapBuffer::Save with the "-format tiff"
option, which allows saving data without loss of significant bits.
Defective Pixel Detection and Replacement
The camera has two methods of replacing pixels. Static pixel replacement uses the FFC
coefficients to mark pixels that will be replaced. Dynamic pixel replacement consists of a
median filter that is applied when the given pixel is above a threshold when compared to
adjacent pixels.
Static Pixel Replacement
This is a technique for the elimination of dead or hot pixels. A pixel on the left edge
(beginning of the line) would be replaced with the pixel to its right, while a pixel on the right
edge (end of the line) is replaced with the pixel to its left. Any pixel within a line is replaced
with the average of its neighboring pixels (on the same line). For color sensors, the same
algorithm is used except the replacement pixel is of the same color. Note that three
horizontally adjacent defective pixel cannot be replaced.
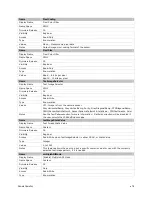
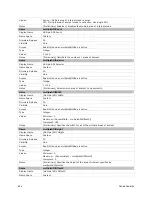
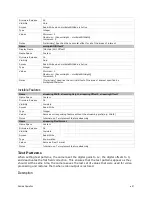
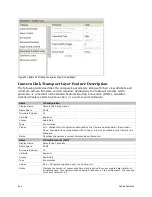
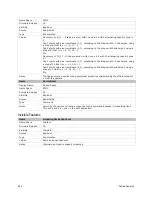
The camera uses the FFC coefficients to indicate which pixels need to be replaced. If a pixel
has a Gain (PRNU) coefficient that is equal to the maximum gain (i.e. approx 1.5 for High
resolution and 2 for High Gain mode then the pixel will be marked for replacement.
Additionally, a pixel will be replaced if has an Offset (FPN) coefficient that is greater than
the pixel replacement threshold (
flatfieldCorrectionPixelReplacementThreshold
). Lowering
this threshold will remove more pixels with high offset coefficients.
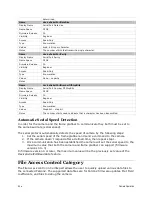
Most hot and dead pixels will be identified when a FPN or PRNU calibration is performed in
camera. The user can also manually mark a pixel for replacement by setting its Offset
Coefficient to 127. After the flat field calibration has been performed, the user can increase
the exposure time, cover the sensor, and run a pixel replacement calibration
(
flatfieldCalibrationPixelReplacement
). See the section entitled Hot Pixels and Long Exposure
Times for more information on why this needs to be done.
Содержание FA-80-12M1H-XX-R
Страница 1: ...Falcon2 Camera User s Manual 4M 8M and 12M Area Imaging P N 03 032 20107 04 www teledynedalsa com ...
Страница 14: ...14 The Falcon2 Cameras Figure 3 Quantum Efficiency INSERT QE GRAPH HERE ...
Страница 17: ...The Falcon2 Cameras 17 Mechanicals Figure 5 Camera Mechanical ADD MECHANICAL PDF HERE ...
Страница 53: ...Camera Operation 53 Figure 19 Advanced Processing Control ...

