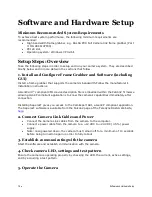
Software and Hardware Setup
•
19
At this point you will be ready to start operating the camera in order to acquire images, set
camera functions, and save settings.
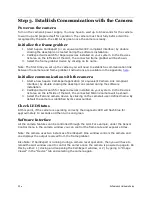
Step 1. Install and configure the frame grabber
and Software
Install Frame Grabber
Install a compatible Camera link frame grabber according to the manufacturer’s description.
We recommend the X64 Xcelera-CL PX8 frame grabber or equivalent, described in detail on
the teledynedalsa.com site
here
.
Install Sapera LT and CamExpert
Communicate with the camera using a Camera Link-compliant interface. We recommend
you use CamExpert. CamExpert is the camera interfacing tool supported by the Sapera
library and comes bundled with SaperaLT. Using CamExpert is the simplest and quickest
way to send commands to and receive information from the camera.
Camera link Environment
These cameras implement the Camera link specification, which defines the device
capabilities.
The Camera link XML device description file is embedded within the camera firmware
allowing Camera link-compliant applications to recognize the camera’s capabilities
immediately after connection.
Step 2. Connect Power, Data, and Trigger Cables
Note: the use of cables types and lengths other than those specified may result in increased
emission or decreased immunity and performance of the camera.
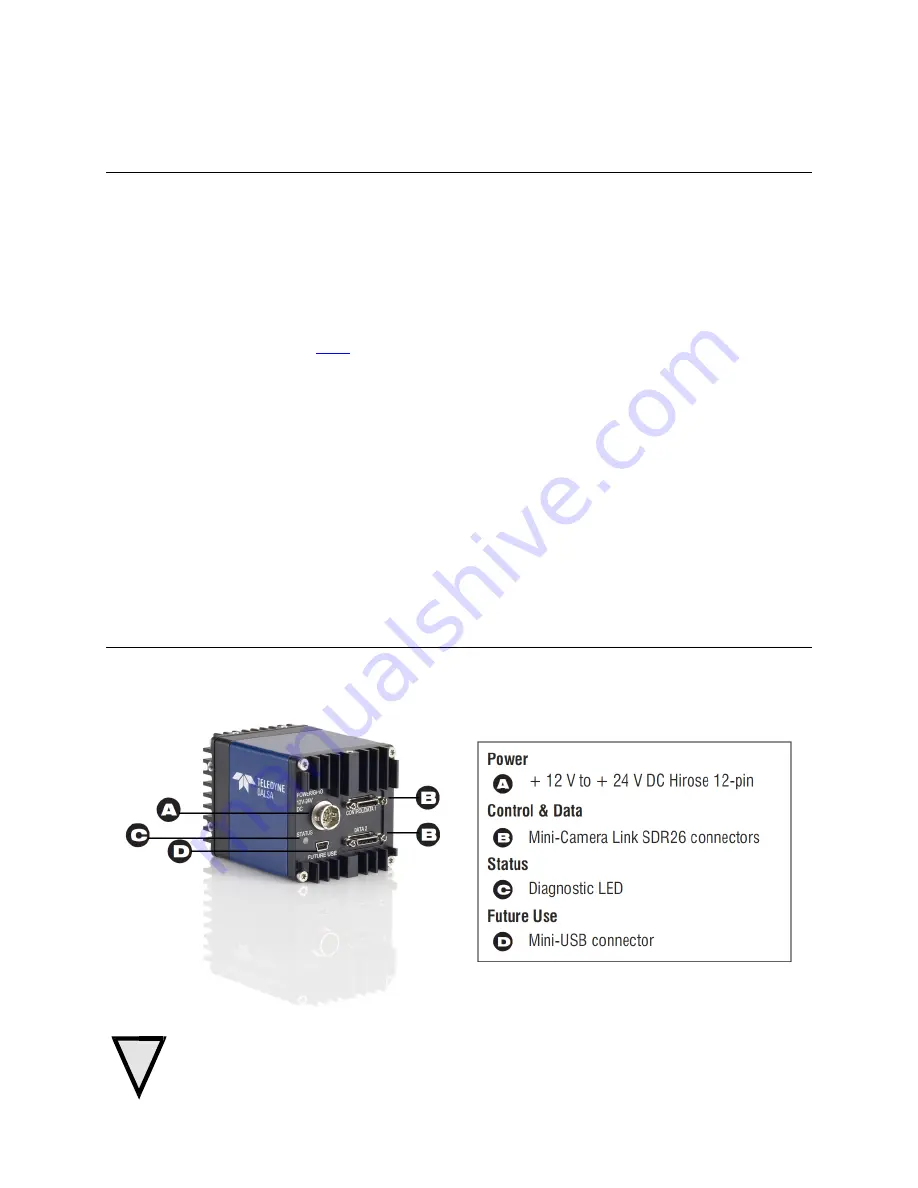
Figure 6: Input and Output, trigger, and Power Connectors
WARNING! Grounding Instructions
!
Содержание FA-80-12M1H-XX-R
Страница 1: ...Falcon2 Camera User s Manual 4M 8M and 12M Area Imaging P N 03 032 20107 04 www teledynedalsa com ...
Страница 14: ...14 The Falcon2 Cameras Figure 3 Quantum Efficiency INSERT QE GRAPH HERE ...
Страница 17: ...The Falcon2 Cameras 17 Mechanicals Figure 5 Camera Mechanical ADD MECHANICAL PDF HERE ...
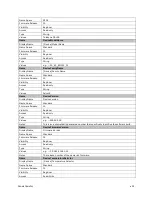
Страница 53: ...Camera Operation 53 Figure 19 Advanced Processing Control ...


