Eclipse
|
Upgrade Guide
Page 193
Type
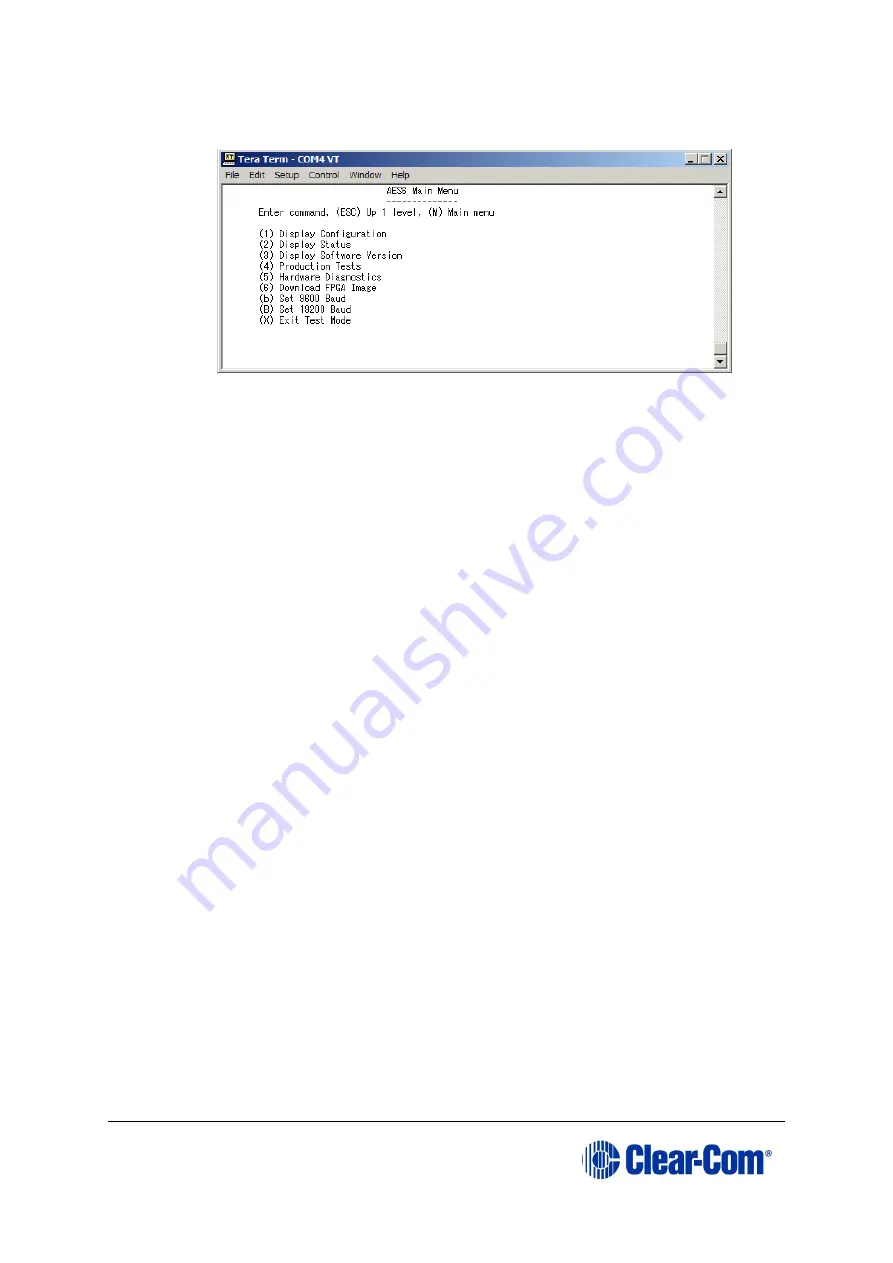
testmode
into the Tera Term window and press Enter (return). The
card enters test mode and displays the following menu:
Figure 16-2: AES-6 main menu
b.
Select option 6,
Download FPGA Image
.
c.
You are prompted to delete the old FPGA image. Press
Y.
Note:
Key entry is case sensitive, so Y must be a capital.
The card deletes the old image and then prompts you for a new FPGA
image:
d.
In Tera Term, select
Send File
and select the FPGA image, which is
located on the Drivers USB:
•
Drivers USB > ECLIPSE DRIVERS > Other_Software > xxxxxx - AES-6
FPGA
(where
xxxxxx
represents the product number).
Note:
During the download the six yellow LEDs illuminate in a circulating anti-
clockwise direction.
e.
When the download is complete, the six yellow LEDs should be off and the
following text should be displayed in TeraTerm:
Содержание Eclipse HX series
Страница 1: ...Eclipse Upgrade Guide Part Number 399G240 Rev A Date 07 August 2017 User Guide...
Страница 119: ...Eclipse Upgrade Guide Page 119 21 Power down the MVX A16 card and remove the Xilinx programming tool...
Страница 146: ...Eclipse Upgrade Guide Page 146 Figure 10 2 IVC 32 LMC 64 MK2 card detail...
Страница 195: ...Eclipse Upgrade Guide Page 195 Figure 16 5 FPGA upgrade completed c Reset the card to complete the upgrade...
Страница 203: ...Eclipse Upgrade Guide Page 203 Normal running watchdog enabled settings for CPU card DIP switches...
Страница 204: ...Eclipse Upgrade Guide Page 204 Appendix C PiCo card layout...
Страница 206: ...Eclipse Upgrade Guide Page 206 Figure 17 4 Normal running watchdog enabled settings for Eclipse HX PiCo DIP switches...
Страница 221: ...Eclipse Upgrade Guide Page 221 Figure 17 26 Completion screen Click Finish to exit the installer...


