Eclipse
|
Upgrade Guide
Page 174
2.
Start Tera Term.
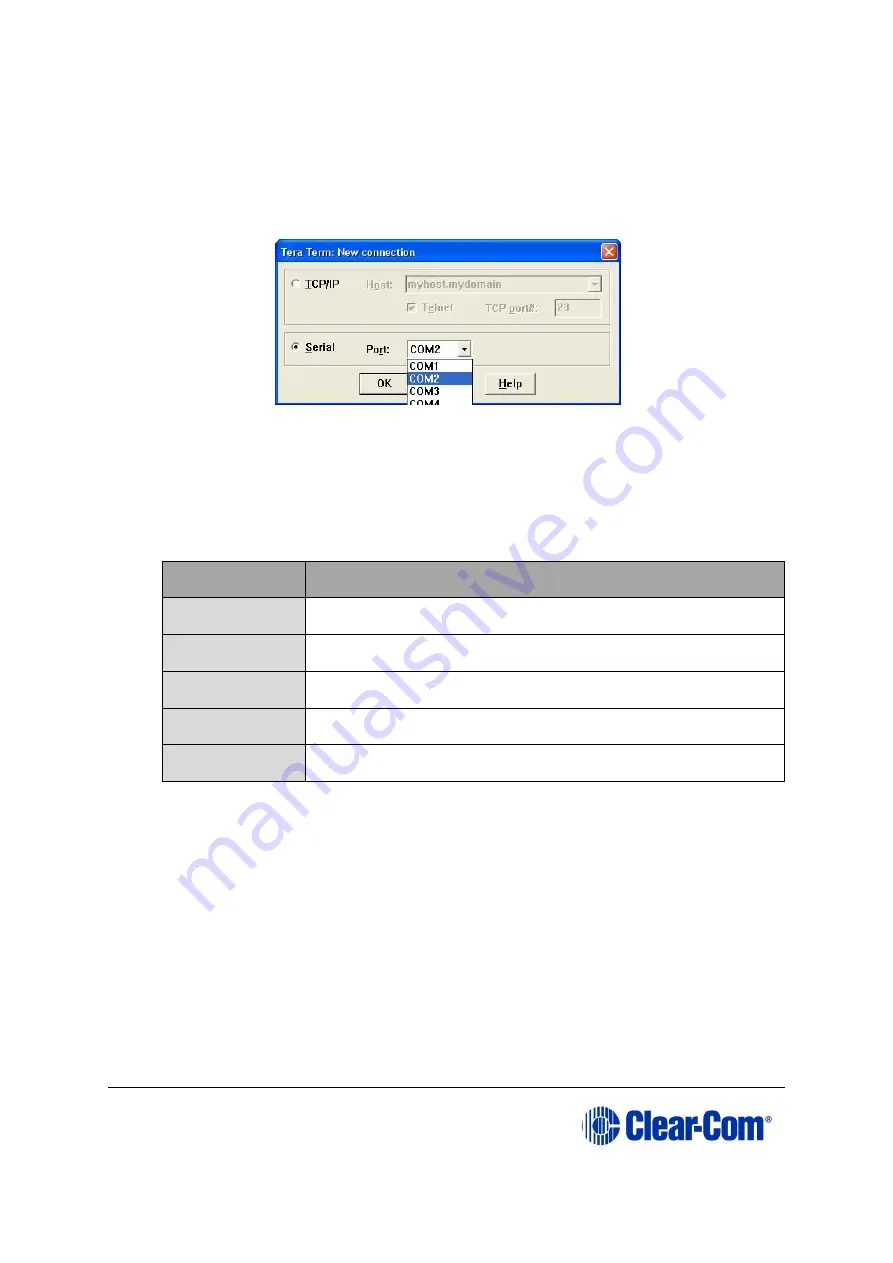
Configure Tera Term for the appropriate COM port on the PC, as shown in the
following figure. Select the
Serial
radio button and then the correct COM port
setting for the PC from the
Port
drop-down menu. Click
OK
.
Figure 14-12: Tera Term: COM port setting
3.
From the Tera Term main screen select
Setup > Serial port…
.
The serial port setup screen should now be visible. Select the following settings to
configure Tera Term for updating the E-station:
Field
Setting
Baud
19200
Data
8 bit
Parity
None
Stop
1 bit
Flow Control
None
Table 14-4: Serial port setup screen settings
Note:
Do not configure (ignore) the Transmit delay settings.
Click
OK
.
4.
Power up the E-station into maintenance mode by first holding in the recessed
button found on the rear panel during a simultaneous AC power up.
The reset button must be held in until all front panel keys turn
bright red
and
the front panel display modules show the message
Display Module Test, Press
All Buttons 3x
.
If the recessed button cannot easily be accessed, use a bent paper clip or small
flat blade screwdriver to press the button in.
The following Tera Term boot up message is displayed.
Содержание Eclipse HX series
Страница 1: ...Eclipse Upgrade Guide Part Number 399G240 Rev A Date 07 August 2017 User Guide...
Страница 119: ...Eclipse Upgrade Guide Page 119 21 Power down the MVX A16 card and remove the Xilinx programming tool...
Страница 146: ...Eclipse Upgrade Guide Page 146 Figure 10 2 IVC 32 LMC 64 MK2 card detail...
Страница 195: ...Eclipse Upgrade Guide Page 195 Figure 16 5 FPGA upgrade completed c Reset the card to complete the upgrade...
Страница 203: ...Eclipse Upgrade Guide Page 203 Normal running watchdog enabled settings for CPU card DIP switches...
Страница 204: ...Eclipse Upgrade Guide Page 204 Appendix C PiCo card layout...
Страница 206: ...Eclipse Upgrade Guide Page 206 Figure 17 4 Normal running watchdog enabled settings for Eclipse HX PiCo DIP switches...
Страница 221: ...Eclipse Upgrade Guide Page 221 Figure 17 26 Completion screen Click Finish to exit the installer...


