Eclipse
|
Upgrade Guide
Page 179
3.
Open My Computer and navigate to your C: drive. Create a new directory called
C:\TFTP
.
4.
In the
C:\TFTP
directory:
a.
Create another directory called
Release
.
b.
Copy the following file from the Drivers USB to the
C:\TFTP\Release
directory
:
•
Drivers USB > ECLIPSE DRIVERS > Panel_Software > V-Series
> Main_Board > xxxxxx- Panel UBOOT TFTP Image > u-boot.ldr
Where
xxxxxx
represents a product number.
c.
Copy the following files from the software USB to the
C:\TFTP\Release
directory
:
•
Drivers USB > ECLIPSE DRIVERS > Panel_Software > V-Series
> Main_Board > xxxxxx- Root File System > rootfs.cramfs
•
Drivers USB > ECLIPSE DRIVERS > Panel_Software > V-Series
> Main_Board > xxxxxx- Panel Kernel > vmImage
•
Drivers USB > ECLIPSE DRIVERS > Panel_Software > V-Series
> Main_Board > xxxxxx - Panel Application > sbin.jffs2
Where
xxxxxx
represents a product number.
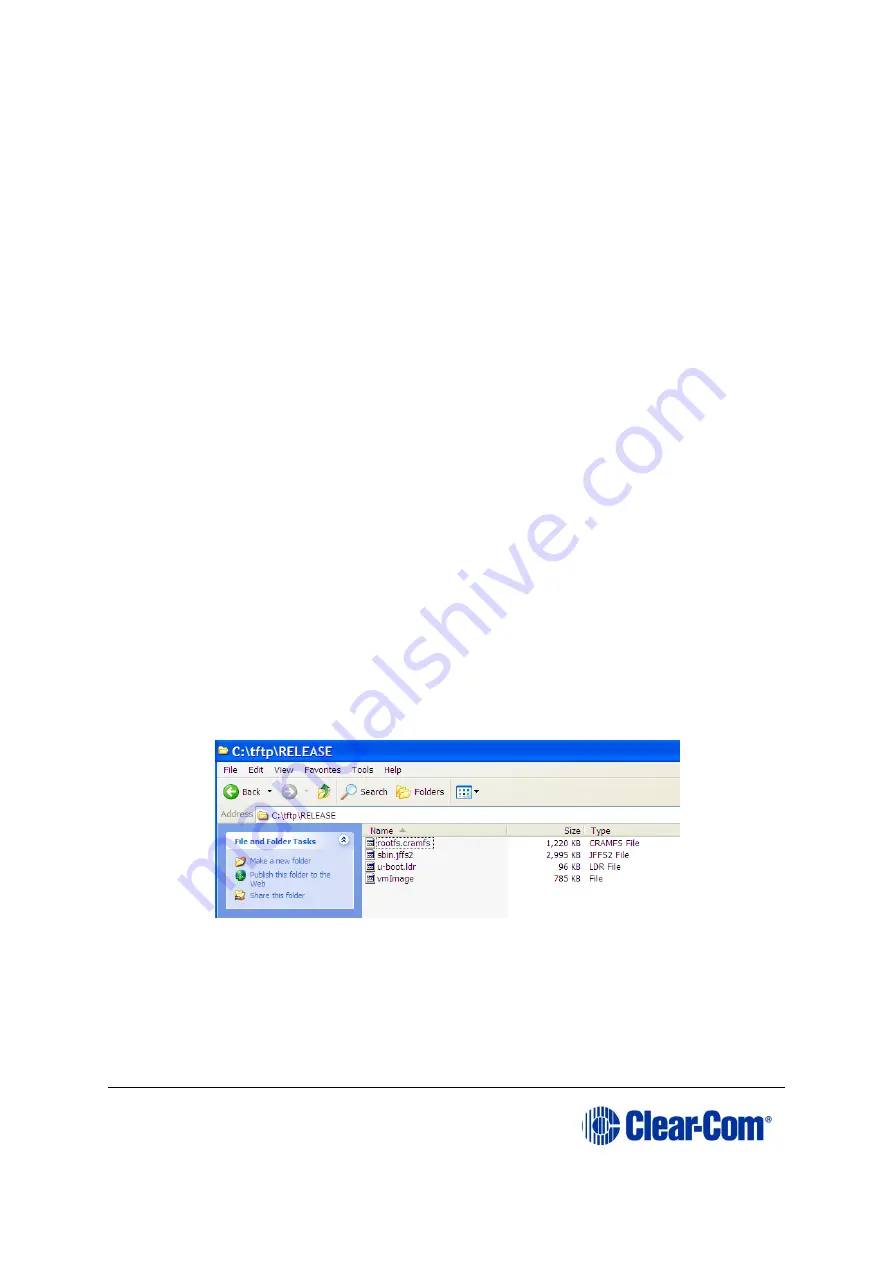
The
C:\TFTP > Release
directory appears similar to the following:
Figure 14-18: C:\TFTP > Release directory
5.
From the
Start
menu of your PC:
a.
Select
Settings > Network and Dial-up Connections
.
Содержание Eclipse HX series
Страница 1: ...Eclipse Upgrade Guide Part Number 399G240 Rev A Date 07 August 2017 User Guide...
Страница 119: ...Eclipse Upgrade Guide Page 119 21 Power down the MVX A16 card and remove the Xilinx programming tool...
Страница 146: ...Eclipse Upgrade Guide Page 146 Figure 10 2 IVC 32 LMC 64 MK2 card detail...
Страница 195: ...Eclipse Upgrade Guide Page 195 Figure 16 5 FPGA upgrade completed c Reset the card to complete the upgrade...
Страница 203: ...Eclipse Upgrade Guide Page 203 Normal running watchdog enabled settings for CPU card DIP switches...
Страница 204: ...Eclipse Upgrade Guide Page 204 Appendix C PiCo card layout...
Страница 206: ...Eclipse Upgrade Guide Page 206 Figure 17 4 Normal running watchdog enabled settings for Eclipse HX PiCo DIP switches...
Страница 221: ...Eclipse Upgrade Guide Page 221 Figure 17 26 Completion screen Click Finish to exit the installer...


