Eclipse
|
Upgrade Guide
Page 171
8.
Before loading the new application code (
*.s19
format file), you must erase the
Flash ROM on the i-Station panel.
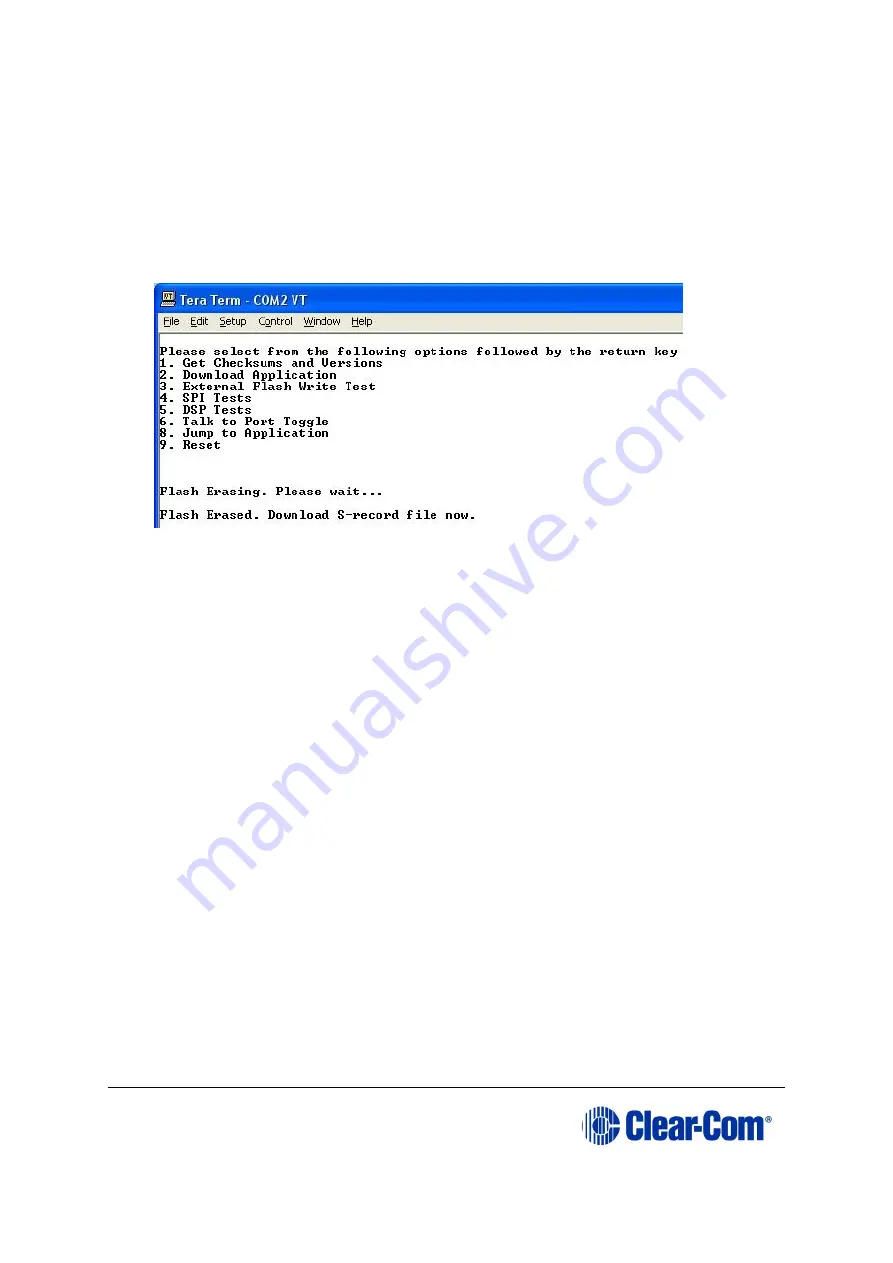
Press in the
2
key on the PC keyboard and press
Enter
.
A message is displayed indicating
Flash Erasing
–
Please wait. .
After the Flash
ROM is erased, a message is displayed asking you to
Download S-record file
now
.
Figure 14-9: Erasing Flash ROM
9.
In
File
, select the
Send File
. You are prompted to browse for the i-Station
*.s19
file:
Drivers USB > ECLIPSE DRIVERS > Panel Software > i-Station > xxxxxx-
i-Station App
10.
Select the i-Station *
.s19
file. Select
Open
to start the
*.s19
file download
process to the Flash ROM of the i-Station panel.
Note:
The download process takes several minutes to complete.
11.
When the download process is complete, Tera-Term will display the message on
the PC
Download Success!
Exit Tera Term and reboot the i-Station panel to leave maintenance / update
mode. Press
9
on the PC keyboard and then
Enter
.
The i-Station panel begins its reset process.
Note:
When the reset process is underway, the display modules briefly display the
updated firmware version. If the i-Station is re-connected to an Eclipse HX matrix
Содержание Eclipse HX series
Страница 1: ...Eclipse Upgrade Guide Part Number 399G240 Rev A Date 07 August 2017 User Guide...
Страница 119: ...Eclipse Upgrade Guide Page 119 21 Power down the MVX A16 card and remove the Xilinx programming tool...
Страница 146: ...Eclipse Upgrade Guide Page 146 Figure 10 2 IVC 32 LMC 64 MK2 card detail...
Страница 195: ...Eclipse Upgrade Guide Page 195 Figure 16 5 FPGA upgrade completed c Reset the card to complete the upgrade...
Страница 203: ...Eclipse Upgrade Guide Page 203 Normal running watchdog enabled settings for CPU card DIP switches...
Страница 204: ...Eclipse Upgrade Guide Page 204 Appendix C PiCo card layout...
Страница 206: ...Eclipse Upgrade Guide Page 206 Figure 17 4 Normal running watchdog enabled settings for Eclipse HX PiCo DIP switches...
Страница 221: ...Eclipse Upgrade Guide Page 221 Figure 17 26 Completion screen Click Finish to exit the installer...


