Configuration topics
Cisco TelePresence Management Suite Installation and Getting Started Guide
Page 40 of 70
Figure 25 Drop down activated
The order of items in most lists in Cisco TMS can be changed by clicking the column title. How a list is
currently sorted is indicated by a small triangle: in the image above, the list is being sorted by the
Name column in ascending order. Clicking on ‘Name’ would change the list to descending name order,
clicking on ‘Type’ would change the list to sort by device Type.
Some lists may have hundreds or even thousands of entries. Rather than show them all in a single list,
most lists in Cisco TMS are ‘paged’, and there are Previous and Next links at the bottom of the list.
Use these to page through long lists. Some lists also have search and filter options to control what
information is displayed to help you find what you are looking in large amounts of data. Many pages
also allow you to control how many rows are shown as a time: the more rows that are shown, the
longer it takes to load the web page.
Many pages in Cisco TMS have multiple views or subpages on the same page: shown as tabs across
the top of a window. There can be multiple levels of tabs as well.
The above image has multiple pages, including Summary, Settings, Call Status, Phone Book,
Connection, etc. Setting, the active tab, is displayed in a darker blue. The Settings tab has additional
views under it, including View Settings, Edit Settings, Extended Settings, and Compare Settings. View
Settings is the current view and is highlighted therefore.
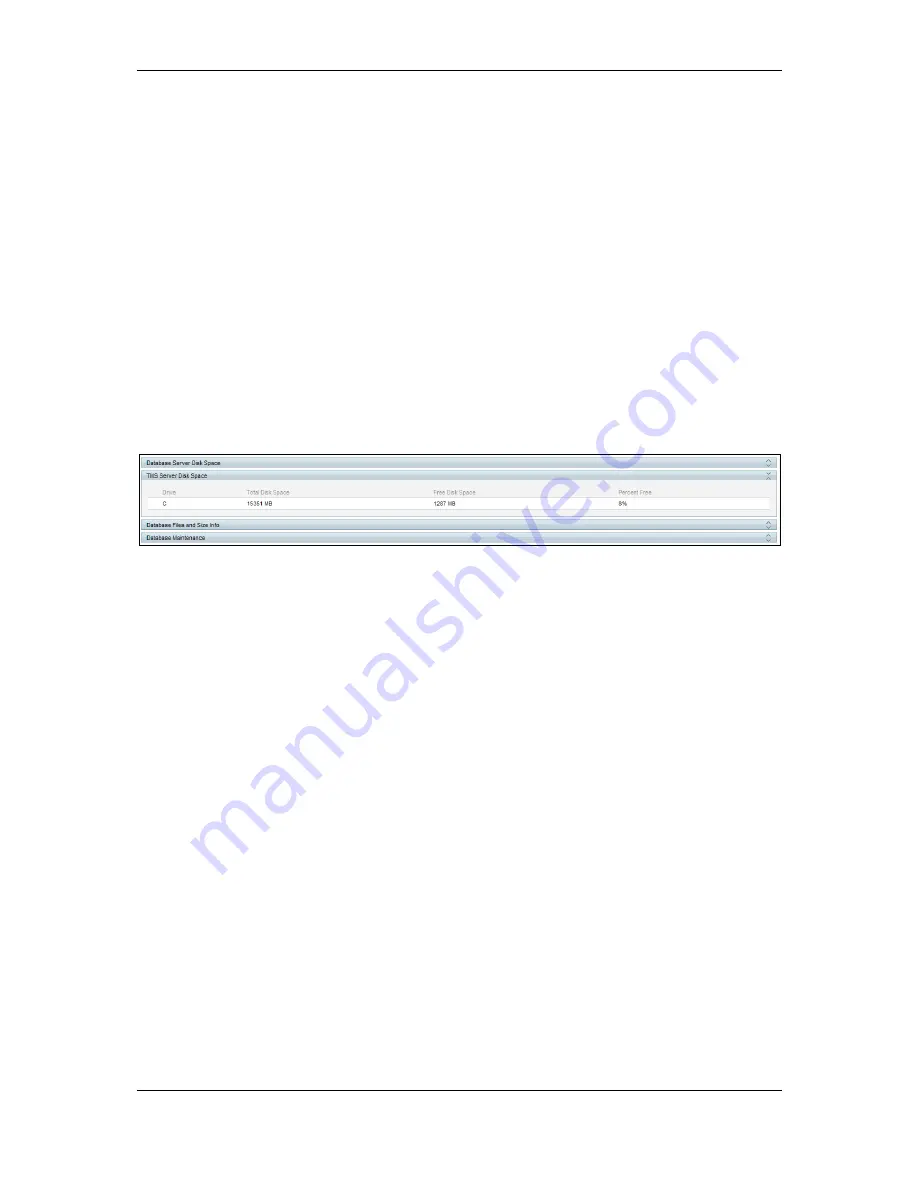
Another important concept is collapsible panels. A panel has a Blue bar at the top. If the bar has arrow
icons at the right edge, clicking on the blue bar collapses or expands the panel. This allows you to
choose which areas of the screen to see more of.
Figure 26 Collapsible blue bar panel.
The top right corner of the Cisco TMS web page has a Search box and a question mark. The search
box provides a quick way to find an individual system. You can search by name, phone numbers,
serial numbers, and more. This is the quickest way to quickly display more information about a
system. The question mark is the help icon: clicking on it displays a new window with the online help
page for the open web page.
Permissions and groups in Cisco TMS
Administrators can control which Cisco TMS features users have access to, such as Booking and
Device Management, and which systems they can uses those features with. These feature and
system permissions combine for an effective ability per system. For example, it is possible to give the
IT team in Chicago the ability to fully control and manage endpoints in Chicago, but prevent them from
scheduling or making changes to systems in London.
Functions and systems that users do not have access to are normally hidden from them. If a user has
no Booking permissions, the Booking Menu is not shown. This allows you to create very simple
interfaces for users with a limited role so that they will not be overwhelmed with the full range of
features.
Cisco TMS controls permissions through User Groups. Groups are defined in Cisco TMS, and users
are assigned to groups. What permissions users have in Cisco TMS is based on which group(s) they
are a member of and the permissions that each group has. Permissions in TMS are cumulative –the
effective permission that a user has is a sum of all the group permissions they belong to.
Groups and permissions are controlled from the User Administration Menu under Administrative Tools.
To display or see a group permission go to Administrative Tools > User Administration > Groups >
Set permissions.
Cisco TMS has several default groups, but the most important groups are the User and Site
Administrator groups:
All users are always a member of the User group, so it is not possible to edit the membership of
this group and any permission given to the User group is available to all Cisco TMS users.


