Installation and upgrade of Cisco TMS
Cisco TelePresence Management Suite Installation and Getting Started Guide
Page 17 of 70
Installing and upgrading Cisco TMS
The installation/upgrade process is made up of two parts. After completing an initial setup process, the
next process will depend on whether you choose a complete or custom installation.
Note: You may be prompted to reboot the server more than once during installation. The installer
automatically resumes after the server reboots.
Initial installation process
1. Close all open applications and disable virus-scanning software.
2. Extract the
compressed Cisco TMS ZIP file
to a folder and double-click Browse.bat in the root
directory. (It may be necessary to use a RAR decompressor application).
3. Click Cisco TelePresence Management Suite.
4. You will receive a language prompt. This language is only used during the installation and does
not affect Cisco TMS after installation. Select the Cisco TMS Installer language and click Next.
The installer checks for required software components. A warning message will be displayed if
any components are missing. Follow the prompts and install any missing components.
5. If an earlier version of Cisco TMS is currently installed, you are prompted to upgrade. To upgrade
- remove the old Cisco TMS and upgrade the existing Cisco TMS database, click Yes. To abort
the installation and leave the current installation untouched, click No.
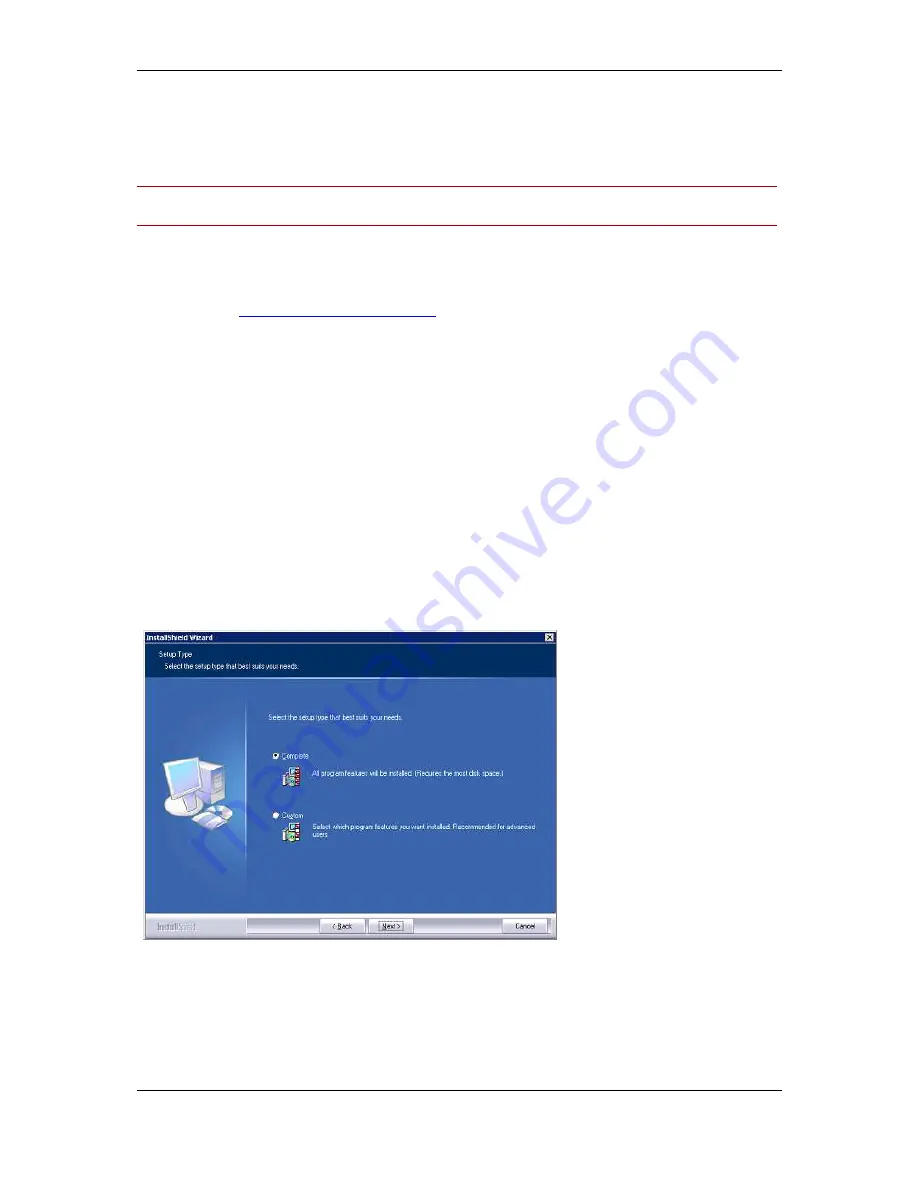
6. You are prompted to choose from two processes: Complete or Custom. They are detailed in the
following two sections.
Complete uses default settings. It can be used for upgrades of existing installations with both local
and remote SQL installations, and is the recommended choice for performing upgrades.
Custom allows you to specify all the options such as the installation path and SQL server choices.
7. Select Complete or Custom and click Next.
Figure 1 Select Complete or Custom.


