Installation and upgrade of Cisco TMS
Cisco TelePresence Management Suite Installation and Getting Started Guide
Page 18 of 70
Complete installation process
Follow the process in this section if you chose ‘Complete’ for your installation type.
8. The installer searches for an existing SQL Server and Cisco TMS database.
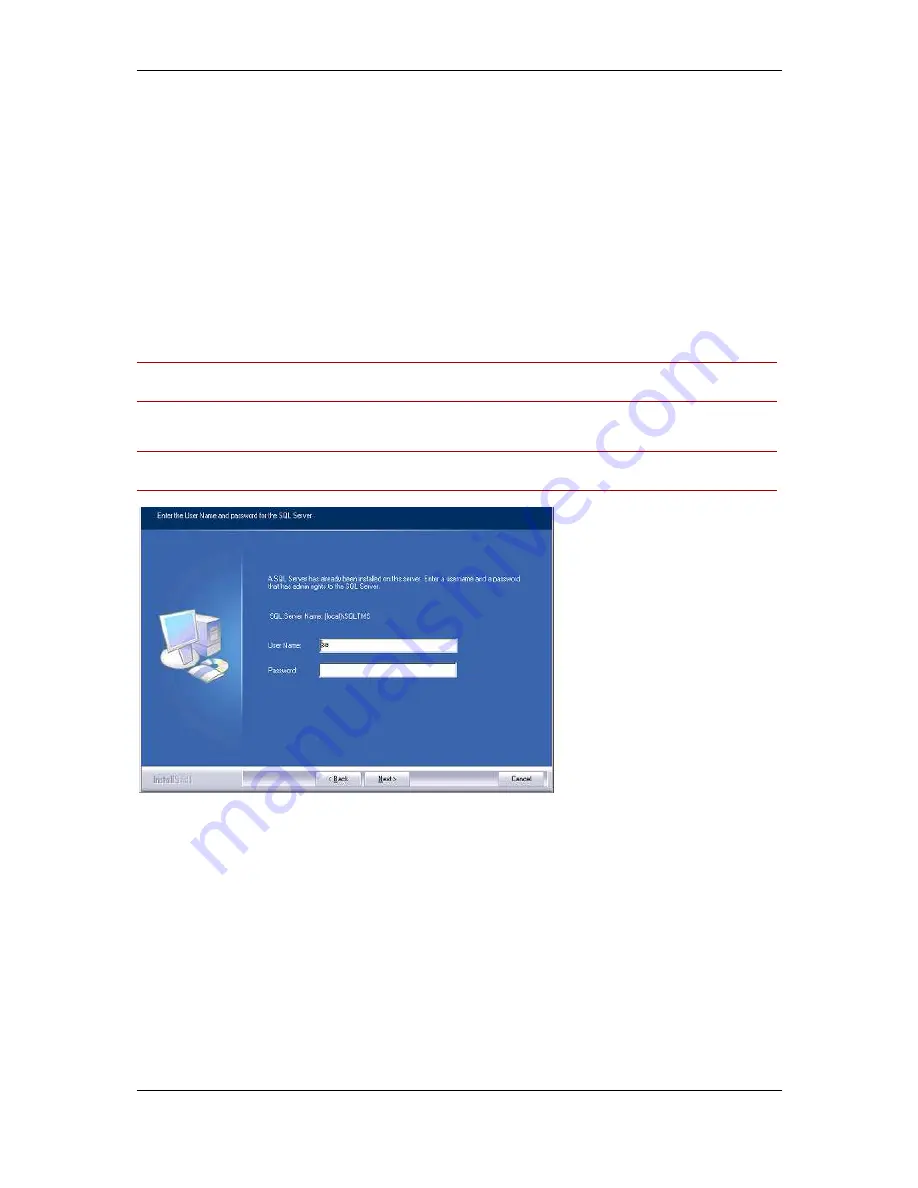
a. If an existing database connection is found, the existing Cisco TMS database is used. When
prompted, enter the username and password to connect to the existing SQL server and click
Next. Go to step 2.
b. If no existing Cisco TMS database connection is found, the installer looks for a local SQL
server. If one is found, enter the username and password necessary to access the server and
allow the installer to create a new Cisco TMS database. Click Next and go to step 4.
c.
If no existing Cisco TMS database connection or local SQL server is found, MS SQL Server
2008 Express 32 bit is installed and a new Cisco TMS database is created. When prompted,
enter a password for the sa account (administrator). Click Next and go to step 4.
Note: Be sure to note the sa password somewhere secure as it is required for future upgrades and
Cisco TMS maintenance.
Note: If the Cisco TMS server is in a domain or you have a local policy that has a strong password
policy, ensure that you use a strong password for the SQL installation.
Figure 2 SQL server user name and password.
9. You can re-use the existing database:
To update the existing database to a current version and retain existing information, click Yes. Go
on to the next step.
If you wish to install a new Cisco TMS database, then manually remove the existing database
from the SQL server, click No to abort the install.
10. Cisco TelePresence recommends that you take a backup of your existing database.
To perform the backup, enter a path for the backup file and filename, or click Browse to navigate
to a folder. (The backup is done on the SQL Server itself, so these values are local to the SQL
Server.) Click Backup to start the backup. When the backup is complete (it may take several
minutes), click Next.


