


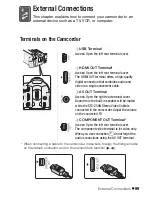


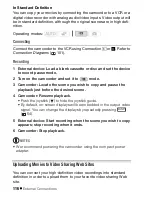
External Connection
s
105
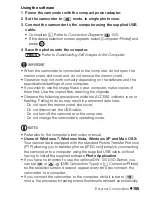
U
s
ing the
s
oftware
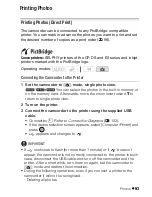
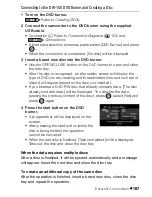
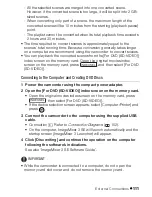
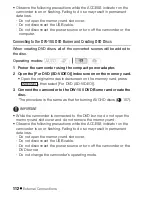
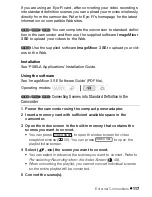
1 Power the camcorder with the compact power adapter.
2 Set the camcorder to
mode, in single photo view.
3 Connect the camcorder to the computer using the supplied USB
cable.
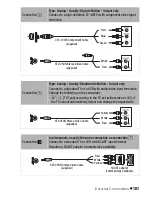
• Connection
. Refer to
Connection Diagram
s
(
102).
• If the device
s
election
s
creen appear
s
,
s
elect [Computer/Printer] and
pre
ss
.
4 Save the photos onto the computer.
Refer to
Downloading Still Image
s
to the Computer
.
IMPORTANT
• When the camcorder i
s
connected to the computer, do not open the
memory card
s
lot cover and do not remove the memory card.
• Operation may not work correctly depending on the
s
oftware and the
s
pecification
s
/
s
etting
s
of your computer.
• If you wi
s
h to u
s
e the image file
s
on your computer, make copie
s
of
them fir
s
t. U
s
e the copied file
s
, retaining the original
s
.
• Ob
s
erve the following precaution
s
while the ACCESS indicator i
s
on or
fla
s
hing. Failing to do
s
o may re
s
ult in permanent data lo
ss
.
- Do not open the memory card
s
lot cover.
- Do not di
s
connect the USB cable.
- Do not turn off the camcorder or the computer.
- Do not change the camcorder
’s
operating mode.
NOTES
• Refer al
s
o to the computer
’s
in
s
truction manual.
•
Users of Windows 7, Windows Vista, Windows XP and Mac OS X:
Your camcorder i
s
equipped with the
s
tandard Picture Tran
s
fer Protocol
(PTP) allowing you to tran
s
fer photo
s
(JPEG only)
s
imply by connecting
the camcorder to a computer u
s
ing the
s
upplied USB cable, without
having to in
s
tall the
s
upplied
s
oftware
Photo Application
.
• If you have no intention to u
s
e the optional DW-100 DVD Burner, you
can
s
et
or
[USB Connection Type] to [
Computer/Printer]
s
o the
s
election
s
creen doe
s
not appear every time you connect the
camcorder to a computer.
• If you connect the camcorder to the computer while it i
s
s
et to
mode, the proce
ss
of creating
s
cene thumbnail
s
will
s
tart automatically.
4
PHOTO


