
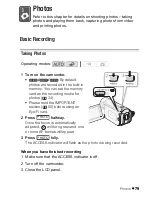


Photo
s
89
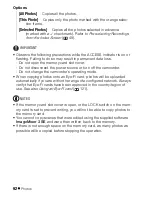
IMPORTANT
• When capturing photo
s
on an Eye-Fi card, photo
s
will be uploaded
automatically if you are within the range of a configured network. Alway
s
verify that Eye-Fi card
s
have been approved in the country/region of
u
s
e. See al
s
o
U
s
ing an Eye-Fi card
(
121).
NOTES
• The data code of the photo
s
will reflect the date and time of recording of
the original
s
cene.
• Photo
s
captured from a
s
cene with a lot of fa
s
t movement may be
blurred.
•
/
/
Photo
s
will be recorded on the memory
s
elected for
recording photo
s
.
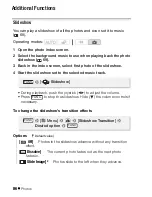
Protecting Photo
s
You can protect photo
s
from accidental era
s
ure.
Protecting Single Photos
1 In single photo view, open the photo selection screen.
[
Protect] appear
s
on the
s
creen.
2 Select (
) the photo you want to protect.
3 Press
to protect the photo.
appear
s
on the bottom bar and the photo cannot be deleted. Pre
ss
again to remove the protection.
4 Repeat steps 2-3 to protect additional photos or press
twice to close the menu.
Protecting Photos from the Index Screen
1 Open the photo index screen.
Operating mode
s
:
[
Protect]
FUNC.
FUNC.


