Chapter 16
16-38
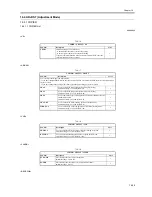
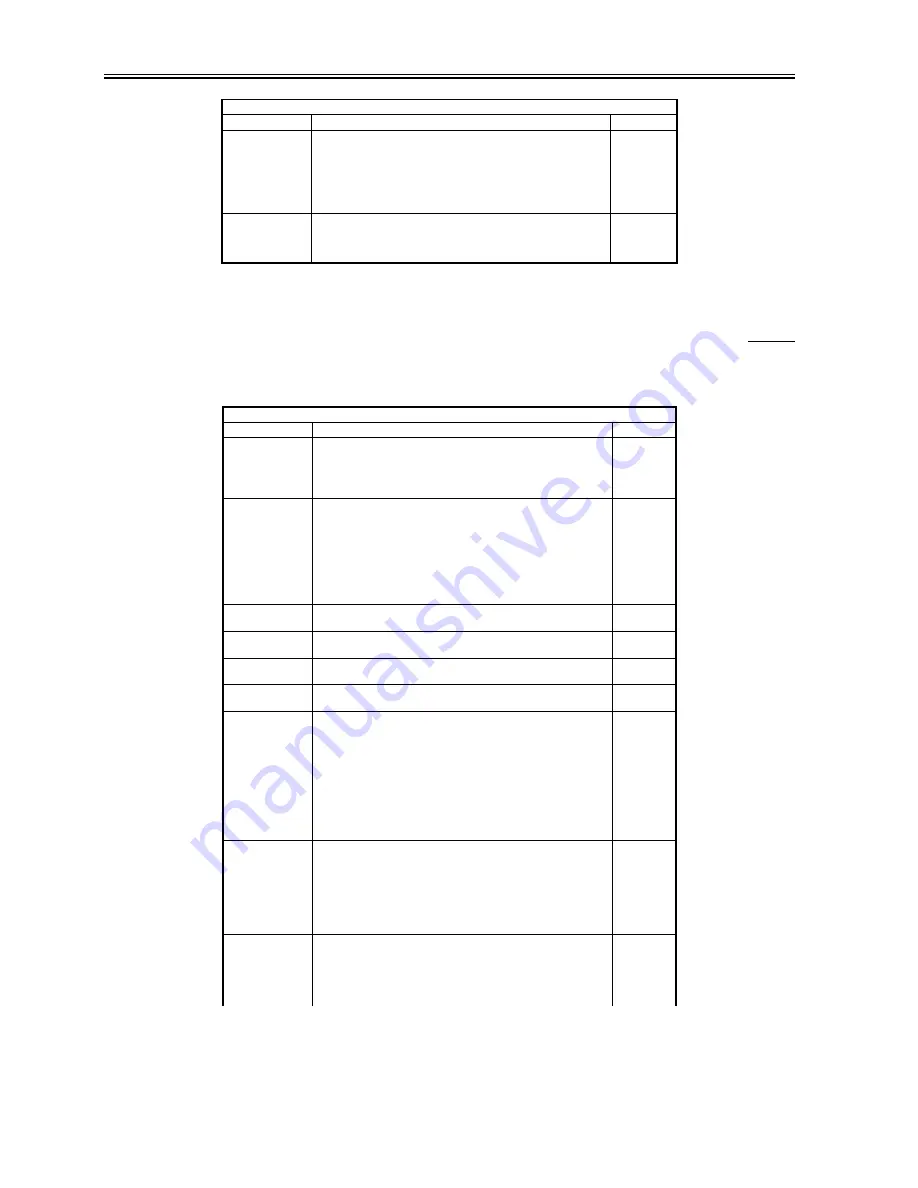
16.5.2 FEEDER
16.5.2.1 FEEDER List
0009-6356
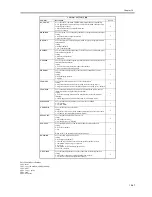
T-16-50
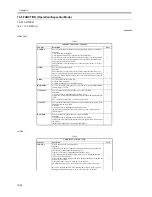
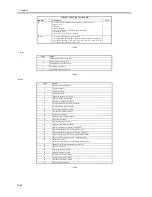
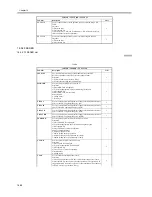
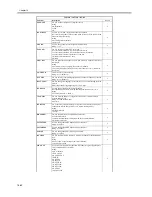
HD-CHECK
Use it to check and recover the partition you have selected using CHK-
TYPE.
procedure
1) Select the item.
2) Press the OK key.
3) See the result. (1: OK; 2: NG (hardware); 3: NG (software) (recovery
sector/substitute sector also indicated))
1
HD-CLEAR
Use it to initialize the partition you have selected using CHK-TYPE.
Procedure
1) Select the item.
2) Press the OK key.
1
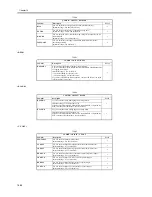
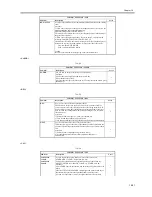
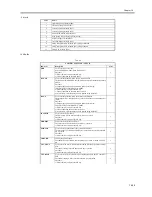
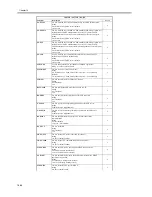
COPIER > FEEDER > FUNCTION
Sub-item
Description
Level
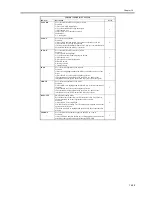
SENS-INT
Use it to adjust the sensitivity of individual sensors of the ADF.
Be sure to clean the sensor area before executing the item.
Procedure
1) Select the item, and press the OK key.
2) See that the execution ends automatically.
1
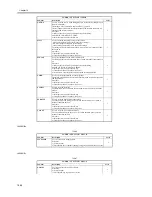
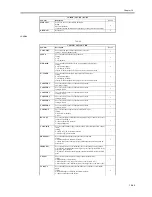
MTR-CHK
Use it to check the ADF motor on its own.
Procedure
1) Press MTR-CHK to highlight.
2) Type in the appropriate motor number using the keypad.
3) Press the OK key.
4) Press MTR-on to start the check.
Motor Number
0: pickup motor
1: feed motor
1
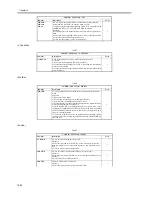
TRY-A4
Use it to execute automatic adjustment of paper width detection reference
point 1 of the ADF original pickup tray. (A4)
1
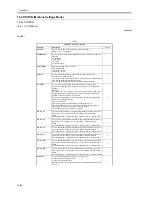
TRY-A5R
Use it to execute automatic adjustment of paper width detection reference
print 2 of the ADF original pickup tray. (A5R)
1
TRY-LTR
Use it to execute automatic adjustment of paper width detection reference
point 1 of the ADF original pickup tray. (LTR)
1
TRY-LTRR
Use it to execute automatic adjustment of paper width detection reference
point 2 of the ADF original pickup tray. (LTRR)
1
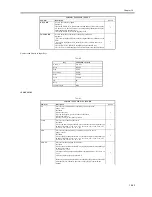
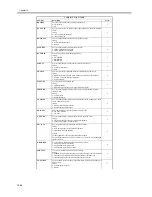
FEED-CHK
Use it to check paper movement in the ADF on its own.
Procedure
1) Press FEED-CHK to highlight.
2) Type in the appropriate paper feed mode using the keypad.
3) Press the OK key.
4) Press FEED-on to check the operation.
Paper Feed Mode Number
0: simplex pickup delivery
1: duplex pickup delivery operation
2: simplex pickup delivery operation (w/ stamp)
3: duplex pickup delivery operation (w/ stamp)
1
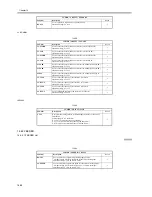
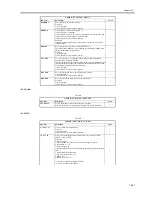
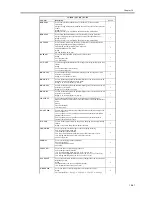
CL-CHK
Use it to check the ADF clutch on its own.
Procedure
1) Press CL-CHK to highlight.
2) Type in the appropriate clutch number.
3) Press the OK key.
4) Press CL-on to check the operation.
Clutch Number
0: pickup clutch
1
CL-ON
Use it to start the operation of the clutch.
Procedure
1) Press CL-on and then the OK key to start the operation of the clutch.
2) Press the OK key once again to stop the operation. (The operation will
stop automatically in about 2 sec; however, the indication will not change
to 'STOP' unless you press the OK key.)
1
COPIER > FUNCTION > SYSTEM
Sub-item
Description
Level
Содержание iR5570 Series
Страница 1: ...Mar 29 2005 Service Manual iR6570 5570 Series ...
Страница 2: ......
Страница 6: ......
Страница 26: ...Contents ...
Страница 27: ...Chapter 1 Introduction ...
Страница 28: ......
Страница 30: ......
Страница 55: ...Chapter 2 Installation ...
Страница 56: ......
Страница 58: ...Contents 2 9 3 Mounting the Cassette Heater 2 34 ...
Страница 98: ......
Страница 99: ...Chapter 3 Basic Operation ...
Страница 100: ......
Страница 102: ......
Страница 110: ......
Страница 111: ...Chapter 4 Main Controller ...
Страница 112: ......
Страница 114: ......
Страница 135: ...Chapter 5 Original Exposure System ...
Страница 136: ......
Страница 181: ...Chapter 6 Laser Exposure ...
Страница 182: ......
Страница 184: ......
Страница 192: ......
Страница 193: ...Chapter 7 Image Formation ...
Страница 194: ......
Страница 198: ......
Страница 259: ...Chapter 8 Pickup Feeding System ...
Страница 260: ......
Страница 299: ...Chapter 8 8 35 F 8 51 PS36 M19 M14 Reversing flapper Outside delivery roller Point of reversal PS37 ...
Страница 349: ...Chapter 8 8 85 F 8 290 1 Feeding roller 2 Separation roller 3 Pressure lever 4 Pressure spring 1 2 A B 3 4 ...
Страница 350: ......
Страница 351: ...Chapter 9 Fixing System ...
Страница 352: ......
Страница 401: ...Chapter 10 External and Controls ...
Страница 402: ......
Страница 406: ......
Страница 448: ......
Страница 449: ...Chapter 11 MEAP ...
Страница 450: ......
Страница 452: ......
Страница 455: ...Chapter 12 Maintenance and Inspection ...
Страница 456: ......
Страница 458: ......
Страница 468: ......
Страница 469: ...Chapter 13 Standards and Adjustments ...
Страница 470: ......
Страница 505: ...Chapter 14 Correcting Faulty Images ...
Страница 506: ......
Страница 508: ......
Страница 537: ...Chapter 15 Self Diagnosis ...
Страница 538: ......
Страница 540: ......
Страница 565: ...Chapter 16 Service Mode ...
Страница 566: ......
Страница 568: ......
Страница 633: ...Chapter 17 Upgrading ...
Страница 634: ......
Страница 636: ......
Страница 641: ...Chapter 17 17 5 F 17 4 HDD Boot ROM Flash ROM System Software ...
Страница 646: ...Chapter 17 17 10 F 17 11 8 Click START F 17 12 ...
Страница 659: ...Chapter 17 17 23 F 17 32 2 Click Start F 17 33 3 When the downloading session has ended click OK ...
Страница 661: ...Chapter 17 17 25 F 17 35 2 Click Start F 17 36 3 When the downloading session has ended click OK ...
Страница 663: ...Chapter 17 17 27 F 17 38 2 Click Start F 17 39 3 When the downloading session has ended click OK ...
Страница 668: ...Chapter 17 17 32 F 17 46 2 Click Start F 17 47 3 When the downloading session has ended click OK ...
Страница 675: ...Chapter 17 17 39 F 17 59 2 Select the data to download F 17 60 3 Click Start ...
Страница 677: ...Chapter 18 Service Tools ...
Страница 678: ......
Страница 679: ...Contents Contents 18 1 Service Tools 18 1 18 1 1 List of Special Tools 18 1 18 1 2 List of Solvents Oils 18 2 ...
Страница 680: ......
Страница 683: ...Mar 29 2005 ...
Страница 684: ......

