9
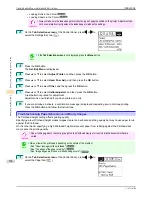
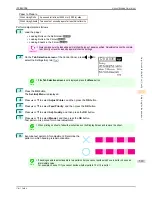
Press
▲
or
▼
to select the pattern number you have decided, and then press the
OK
button.
Test pattern B is printed for adjustment.
Note
•
If you printed test pattern A on a sheet, follow the instructions on the Display Screen and use another
sheet of the same type of paper.
Additionally, after test pattern B is printed, follow the instructions on the Display Screen and remove the
sheet.
10
Examine test pattern B for adjustment. Determine the pattern in which banding is least noticeable.
11
Press
▲
or
▼
to select the pattern number you have decided, and then press the
OK
button.
The adjustment value is now registered, and adjustment is complete.
Fine-Tuning the Paper Feed Amount
Fine-Tuning the Paper Feed Amount
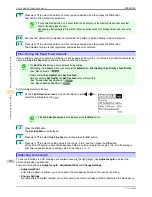
If the contrast is uneven or banding in different colors appears at 50 mm (2.0 in) intervals in printed documents, try
executing
Adj. Fine Feed
during printing to fine-tune the feed amount.
Note
•
The
Adj. Fine Feed
menu is only displayed during printing.
Additionally, it is displayed when you have selected
Automatic
or
Print Quality
in
Adj. Priority
in
Feed Priority
.
(See "Menu Structure.")
➔
P.441
•
Always execute
Adj. Quality
before
Adj. Fine Feed
.
Once you execute
Adj. Quality
, the
Adj. Fine Feed
value will revert to 0.
(See "Automatic Banding Adjustment.")
➔
P.527
(See "Manual Banding Adjustment.")
➔
P.528
Perform adjustment as follows.
1
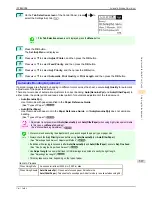
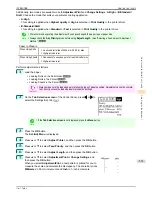
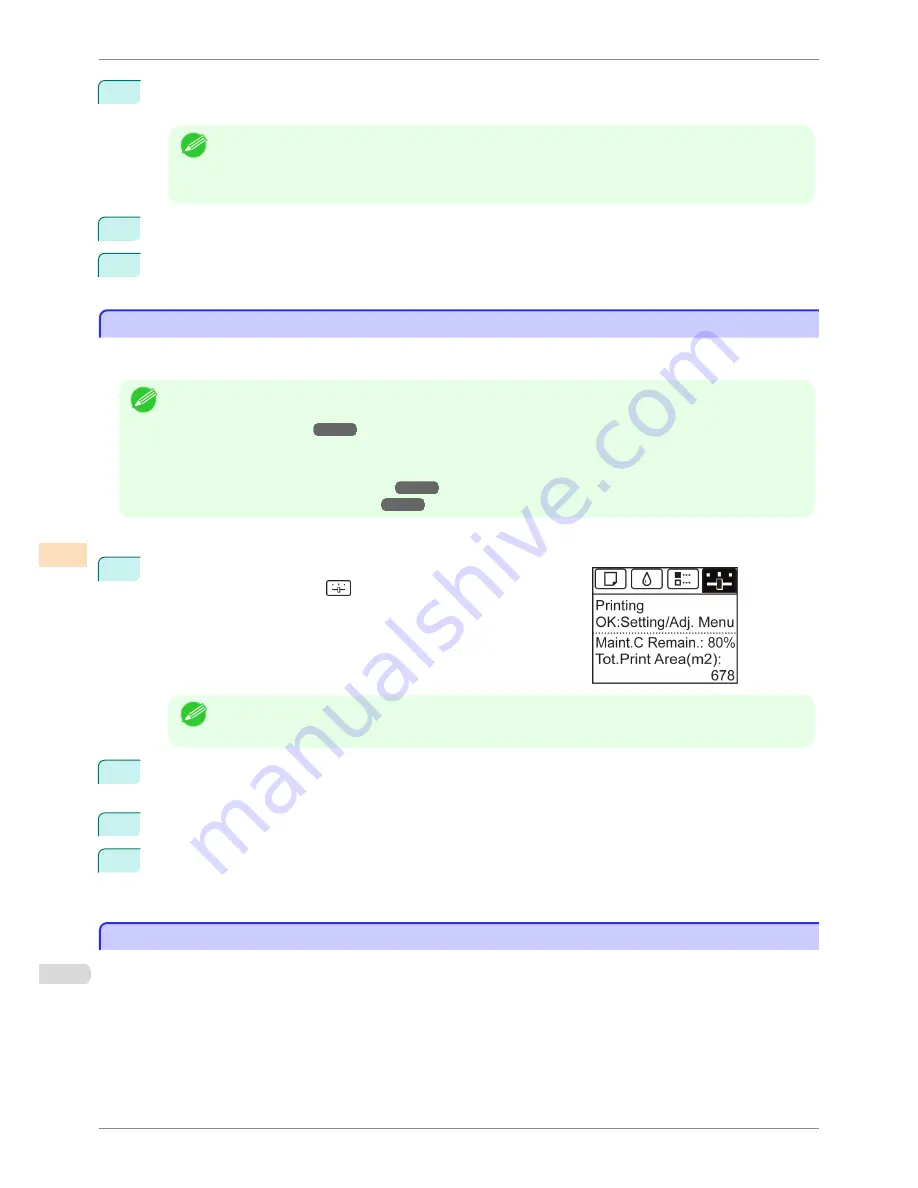
On the
Tab Selection screen
of the Control Panel, press
◀
or
▶
to
select the Settings/Adj. tab (
).
Note
•
If the
Tab Selection screen
is not displayed, press the
Menu
button.
2
Press the
OK
button.
The
Set./Adj. Menu
is displayed.
3
Press
▲
or
▼
to select
Adj. Fine Feed
, and then press the
OK
button.
4
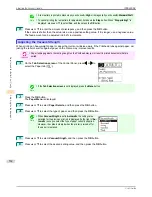
Press
▲
or
▼
to select a setting value in the range -5 to 5, and then press the
OK
button.
At this time, if banding in dark colors appears, select a setting value in the range 1 to 5, and if banding in
light colors appears, select a setting value in the range -1 to -5.
Adjusting Line Length
Adjusting Line Length
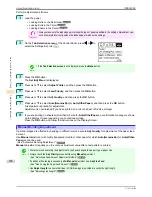
To ensure that lines in CAD drawings are printed at exactly the right length, use
Adjust Length
to adjust the
amount that paper is advanced.
There are two options in
Adjust Length
:
AdjustmentPrint
and
Change Settings
.
•
AdjustmentPrint
After a test pattern is printed, you will measure the discrepancy based on the results of printing.
•
Change Settings
No test pattern is printed. Instead, you will measure a document already printed to determine the discrepancy.
Fine-Tuning the Paper Feed Amount
iPF8400SE
User's Guide
Adjustments for Better Print Quality
Adjusting the feed amount
530
Содержание iPF8400SE imagePROGRAF
Страница 14: ...14 ...
Страница 28: ...iPF8400SE User s Guide 28 ...
Страница 246: ...iPF8400SE User s Guide 246 ...
Страница 426: ...iPF8400SE User s Guide 426 ...
Страница 460: ...iPF8400SE User s Guide 460 ...
Страница 518: ...iPF8400SE User s Guide 518 ...
Страница 578: ...iPF8400SE User s Guide 578 ...
Страница 608: ...iPF8400SE User s Guide 608 ...
Страница 641: ...iPF8400SE WEEE Directive User s Guide Appendix Disposal of the product 641 ...
Страница 642: ...WEEE Directive iPF8400SE User s Guide Appendix Disposal of the product 642 ...
Страница 643: ...iPF8400SE WEEE Directive User s Guide Appendix Disposal of the product 643 ...
Страница 644: ...WEEE Directive iPF8400SE User s Guide Appendix Disposal of the product 644 ...
Страница 645: ...iPF8400SE WEEE Directive User s Guide Appendix Disposal of the product 645 ...
Страница 646: ...WEEE Directive iPF8400SE User s Guide Appendix Disposal of the product 646 ...
Страница 647: ...iPF8400SE WEEE Directive User s Guide Appendix Disposal of the product 647 ...
Страница 648: ...WEEE Directive iPF8400SE User s Guide Appendix Disposal of the product 648 ...
Страница 650: ...iPF8400SE User s Guide ENG CANON INC 2014 ...

