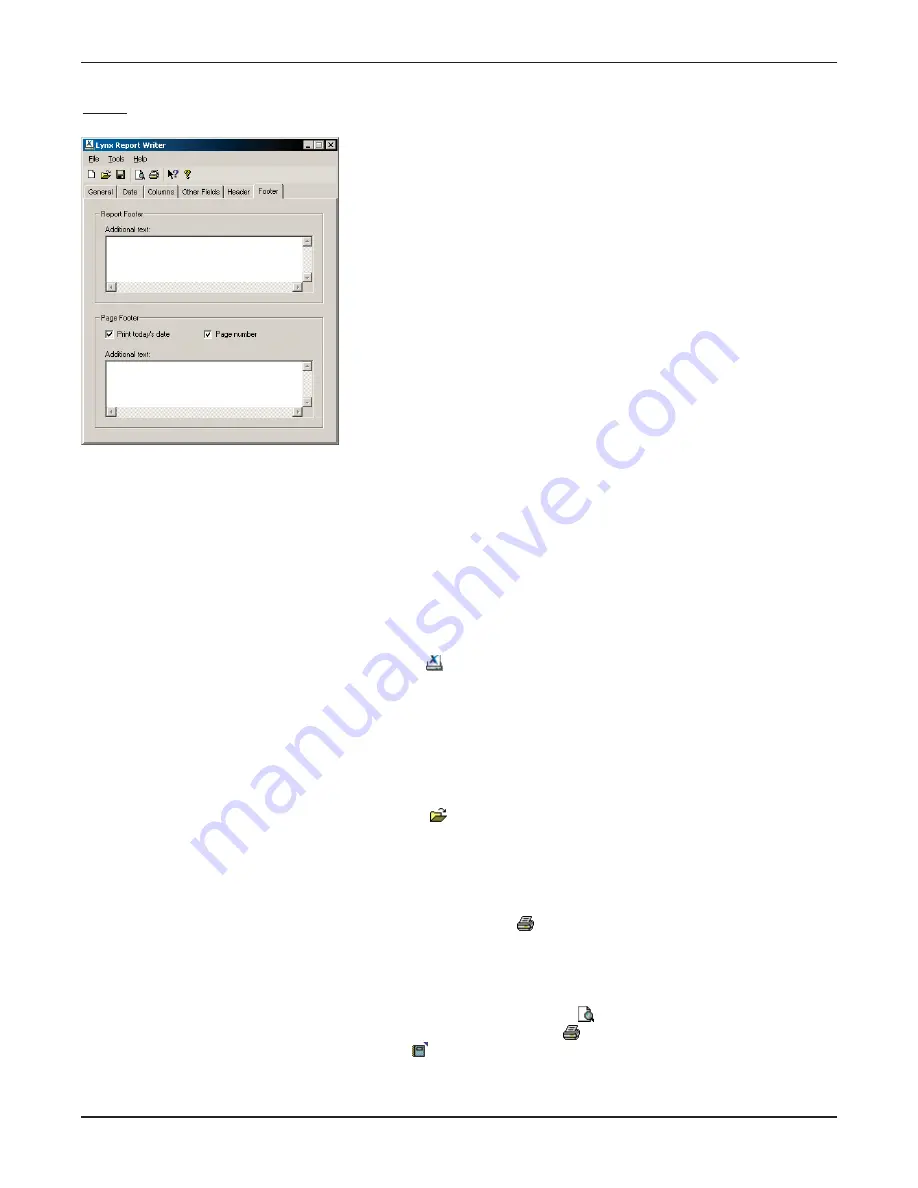
Footer
The Report Footer appears at the bottom of the last page in your report. You can include user-defined
A
Ad
dd
diittiio
on
na
all tte
exxtt in the Report Footer.
The Page Footer appears at the bottom of each page. You can print the d
da
atte
e of the report and/or the p
pa
ag
ge
e
n
nu
um
mb
be
err in the page footer.
Saving Report Settings
The Report Writer opens with the last settings used. However, it is a good idea to save your report settings so
that you or another user can modify the settings and easily restore them.
When you are done setting up the report, click the icon in the Report Writer toolbar. Choose a name for the
report, and click OK. When you open the report settings for a future report, you may have to modify the date
range.
Note: Saving the report settings does not affect how long Lynx retains the actual data used in the report. Data is
removed from the database at the interval specified in the Data tab of the Options window (see page 88).
Opening a Saved Report
You can access a saved report by clicking the Open icon in the Report Writer toolbar. Choose the file name
of the report you want to use and click Open. The Report Writer will display the saved report settings. If
necessary, you can modify these settings (such as the date range) before printing the report (see below).
Printing Reports
To print your report, select P
Prriin
ntt from the File menu (or click the toolbar icon). The Report Writer will
assemble the specified data, and the Print dialog will appear, where you can specify printing preferences. Be sure
the printer settings match the P
Pa
ap
pe
err O
Orriie
en
ntta
attiio
on
n you specified when you set up your report. After selecting your
printing preferences, click P
Prriin
ntt.
To see what your report will look like when printed, click the Print Preview icon in the Report Writer toolbar.
You can print your report from the preview window by clicking the Print icon, and you can export the report
data to an html or text file by clicking the Export icon.
GSC3000 & VRC2500 INSTALLATION & OPERATION MANUAL
CHAPTER 7: SITE DATA & REPORTS
66
Содержание GSC3000
Страница 8: ...GSC3000 VRC2500 INSTALLATION OPERATION MANUAL viii ...
Страница 22: ...GSC3000 VRC2500 INSTALLATION OPERATION MANUAL 14 ...
Страница 32: ...GSC3000 VRC2500 INSTALLATION OPERATION MANUAL 24 ...
Страница 40: ...GSC3000 VRC2500 INSTALLATION OPERATION MANUAL 32 ...
Страница 52: ...GSC3000 VRC2500 INSTALLATION OPERATION MANUAL 44 ...
Страница 61: ...CHAPTER 6 MODEM SITE EQUIPMENT CONNECTIONS 53 CUSTOMER SUPPORT 978 486 3711 support burk com www burk com ...
Страница 68: ...GSC3000 VRC2500 INSTALLATION OPERATION MANUAL 60 ...
Страница 120: ...GSC3000 VRC2500 INSTALLATION OPERATION MANUAL 112 ...
Страница 128: ...GSC3000 VRC2500 INSTALLATION OPERATION MANUAL 120 ...
Страница 132: ...GSC3000 VRC2500 INSTALLATION OPERATION MANUAL 124 ...
Страница 140: ...GSC3000 VRC2500 INSTALLATION OPERATION MANUAL 132 ...
Страница 144: ...GSC3000 VRC2500 INSTALLATION OPERATION MANUAL 136 ...


