
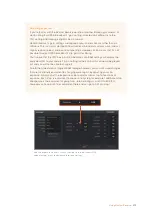


3
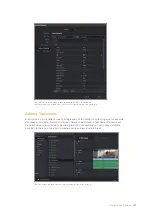
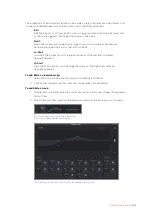
Underneath the presets you will see the timeline filename and the target location for
your exported video. Click the ‘browse’ button and choose the location where you want
to save your exported file.
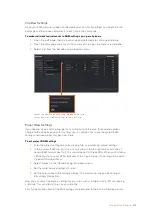
4
Immediately above the timeline, you’ll see an options box with ‘entire timeline’ selected.
This will export the entire timeline, however you can select a range of the timeline if
you want to. Simply choose ‘in/out range’ and then use the ‘i’ and ‘o’ hot key shortcuts
to choose the in and out points in your timeline.
5
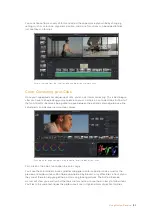
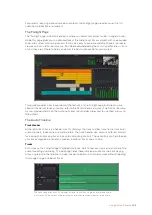
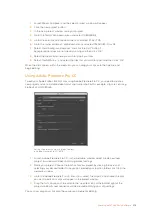
Go to the bottom of the ‘render settings’ and click on the ‘add to render queue’ button.
Your render settings will be added to the render queue on the right side of the page.
Now all you have to do is click ‘start render’ and monitor the progress of your render in
the render queue.
When your render is complete you can open the folder location, double click on your
new rendered clip and watch your finished edit.
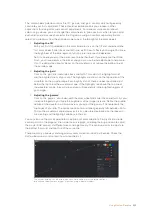
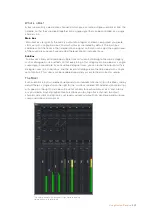
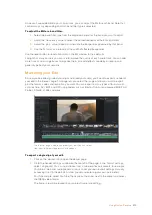
Working with RAW files
When you first import RAW files, DaVinci Resolve will decode the sensor data contained in the
files using the gain, white balance and tint settings used on the camera at the time of shooting.
If you're happy with the look of these settings, you can start editing right away.
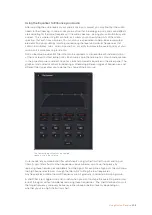
The great thing about shooting RAW is that you're not tied to these settings at all!
The breadth of available post processing options when working with RAW files mean that you'll
develop your own workflow over time. Experimenting with the 'clip RAW' settings for each clip
will show you just how powerful and flexible working with RAW can be.
RAW clips give you maximum flexibility in post production. While ProRes and DNx files,
for example, convert your camera’s sensor data into their respective codecs, RAW clips
keep the original sensor data without conversion. This lets you make adjustments to
clips, such as white balance and exposure, as if you were changing the original camera
settings. Working with the original sensor data also retains more tonal information
within shadows and highlights, which is useful for recovering details, for example in
blown out skies and dark areas of the picture.
It’s worth shooting in RAW if you are after the highest possible quality, or for shots
where there is an extreme variance between highlights and shadows and you may
need to push and pull those regions as much as possible in the grade.
RAW files can be large and processor intensive, but you can set DaVinci to
automatically create proxy files to help your computer with real time playback. For more
details on how to get the most out of your RAW files in your grade and how to set up a
real time workflow, refer to the DaVinci Resolve manual.
211
Using DaVinci Resolve


