Getting Started
Getting started with URSA Broadcast is always as simple as mounting a lens and powering
your camera.
Attaching a Lens
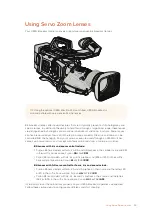
URSA Broadcast is shipped with a B4 mount for attaching B4 mount lenses. These lenses
typically have a built in handle and strap that lets you hold the camera securely on your
shoulder, plus control the zoom rocker and iris controls.
URSA Broadcast's B4 mount features optics specifically designed to work with your camera's
Ultra HD sensor to produce the same field of view and depth of field as traditional broadcast
cameras with 2/3" sensors. This means that if you already have a broadcast background, you
can be comfortable mounting your existing B4 lenses to URSA Broadcast and capture footage
straight away.
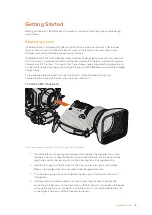
To remove the protective dust cap from the camera, rotate the outer locking ring
counterclockwise and pull the dust cap away from the mount.
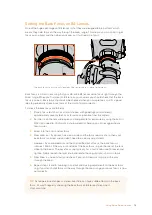
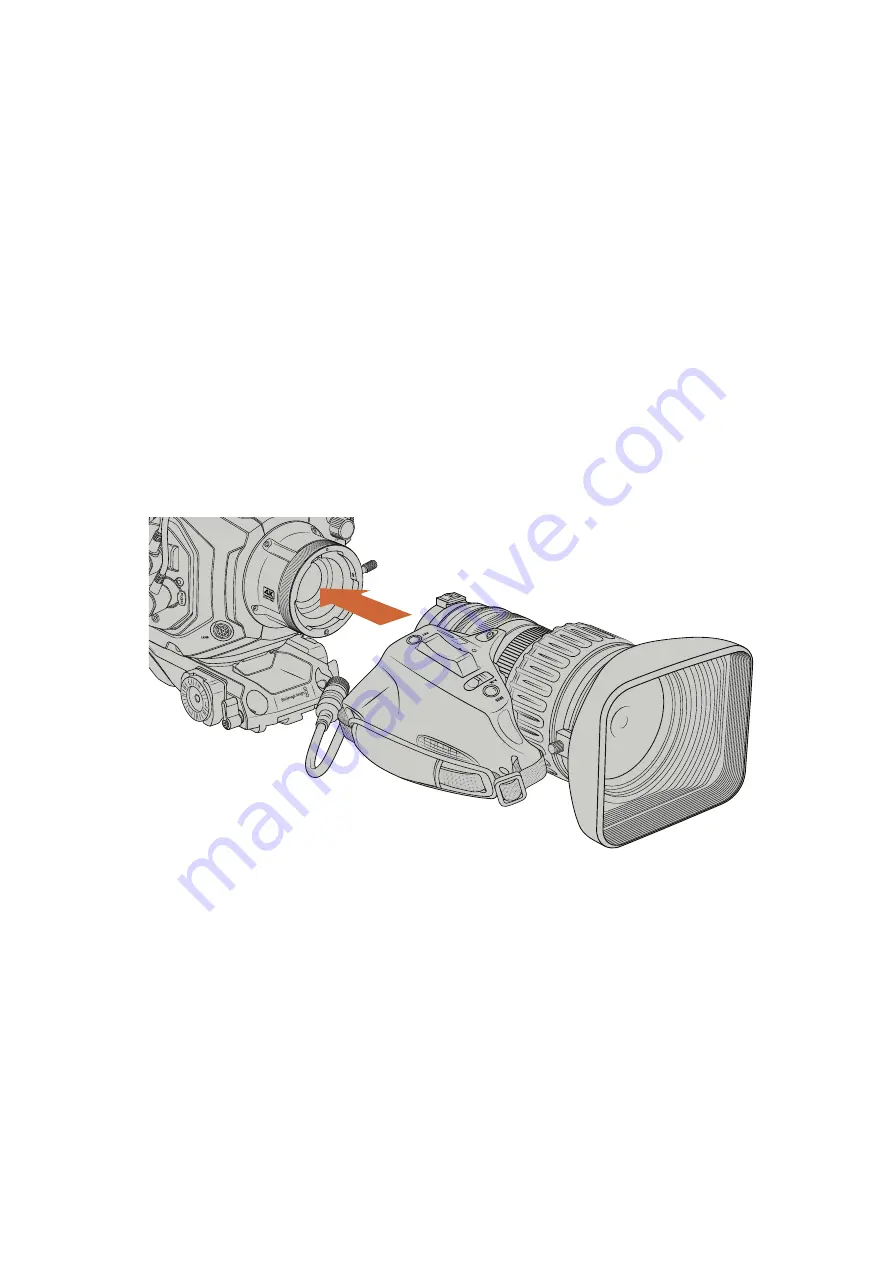
To attach a B4 mount lens:
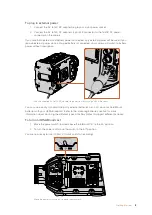
Attaching and removing a B4 lens on Blackmagic URSA Broadcast
1
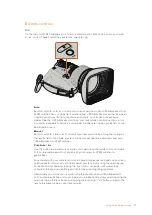
Turn the B4 lens locking ring counterclockwise to reveal the alignment pin inside
the top of the mount. Align the B4 lens to your URSA Broadcast's B4 mount so the
registration slot on the lens mount matches the position of the alignment pin.
2
Hold the lens against the B4 mount so the mount plates are against each other.
Make sure the alignment pin is secured inside the registration slot.
3
Turn the locking ring clockwise to tighten the lens against the mount and lock it
into position.
4
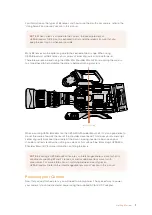
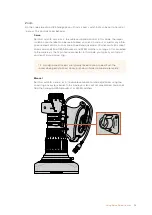
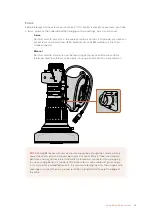
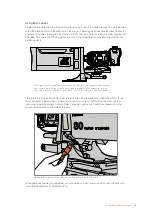
To power the lens and provide lens control, simply plug the lens cable into the
connector marked ‘Lens’ on the front of your URSA Broadcast's turret. Most B4 lenses
will have the hirose 12 pin connector and cable built in. This will provide power and
control signals from your URSA Broadcast to the lens.
LENS
6
6
Getting Started


