51
User guide
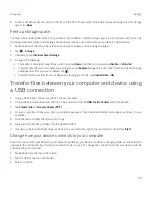
6. Tap
Advanced options
. You might need to slide your finger up to see this option.
7. In the
Proxy
drop-down list, do one of the following:
š
To set up a proxy, tap
Manual
, and then enter the proxy settings.
š
To use a proxy already set up for the network, tap
Proxy Auto-Config
, and then confirm the proxy settings.
8. Tap
Save
.
Delete a saved Wi-Fi network
If you don't want your device to connect to a Wi-Fi network automatically, you can delete the information used to connect
to the network.
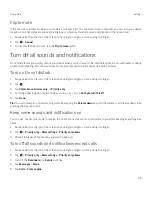
1. Swipe down from the top of the screen once using two fingers, or twice using one finger.
2. Tap
>
Wi-Fi
.
3. If necessary, turn on the switch.
4. Tap a network, and then tap
Forget network
.
Set a static IP address for a Wi-Fi connection
You must be within range of your Wi-Fi network to change the IP settings.
By default, when you connect your device to a Wi-Fi network, your device assigns an IP address to the connection. You can
set a static IP address that doesn't change each time you connect to a Wi-Fi network.
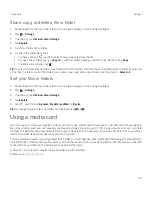
1. Swipe down from the top of the screen once using two fingers, or twice using one finger.
2. Tap
>
Wi-Fi
.
3. If necessary, turn on the switch.
4. Touch and hold a network.
5. Tap
Modify network
.
6. Tap
Advanced options
. You might need to slide your finger up to see this option.
7. In the
IP settings
drop-down list, tap
Static
.
8. Change the IP address fields.
9. Tap
Save
.
Change advanced settings for your Wi-Fi connections
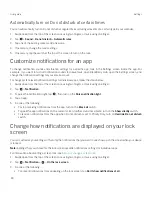
You can change advanced settings for your Wi-Fi connections. For example, you can set whether your Wi-Fi connection
remains active when your device sleeps and you can change the Wi-Fi frequency band. You can also find the Media Access
Control (MAC) address and IP address for your device.
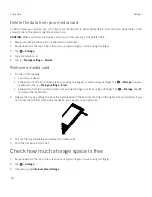
1. Swipe down from the top of the screen once using two fingers, or twice using one finger.
2. Tap
>
Wi-Fi
.
3. If necessary, turn on the switch.
Settings
Содержание BBB100-1
Страница 1: ...User Guide BBB100 1 BBB100 2 ...


