84
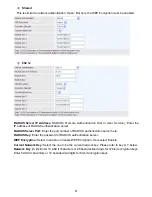
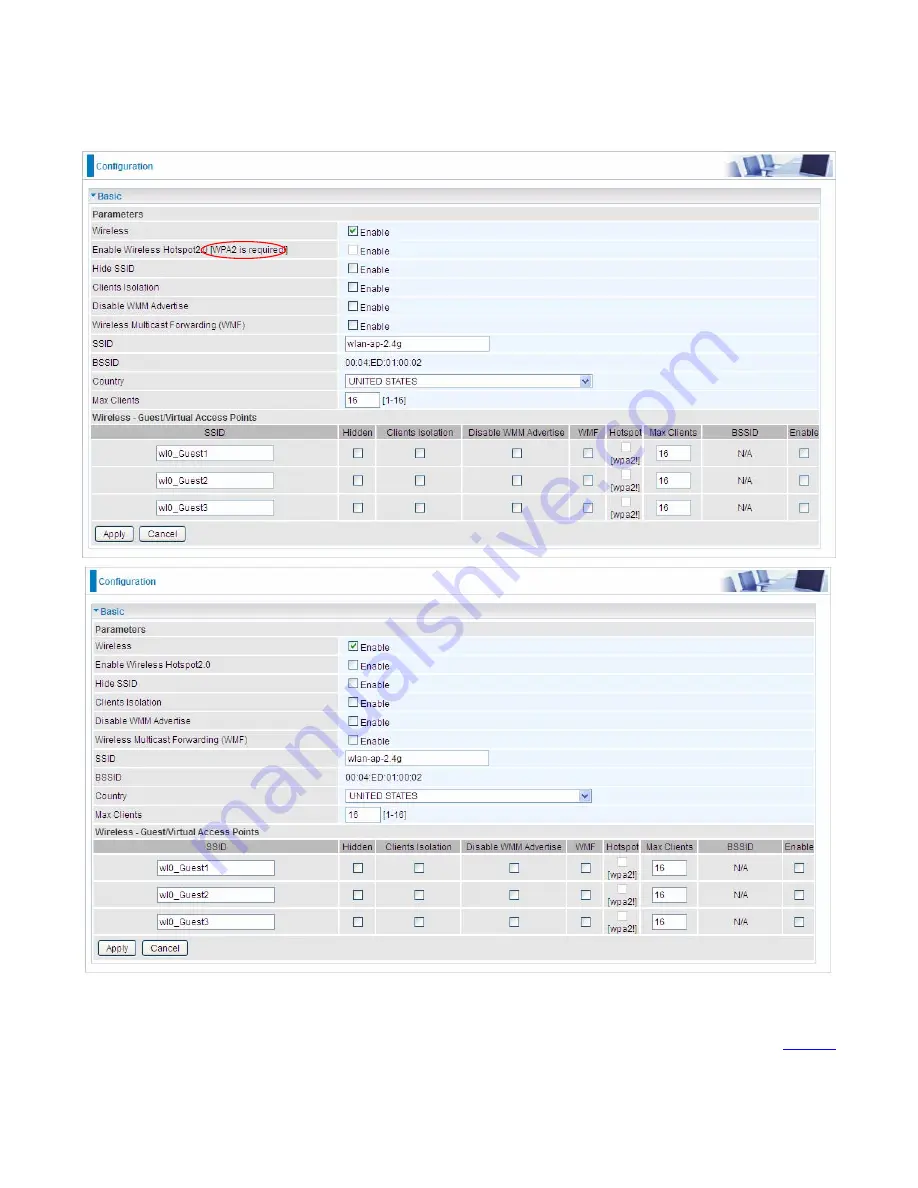
Basic
It let you determine whether to enable Wireless function and set the basic parameters of an AP and
the Virtual APs.
Wireless:
Default setting is set to Enable. If you do not have any wireless devices, check the
checkbox again to unselect.
Enable Wireless Hotspot2.0:
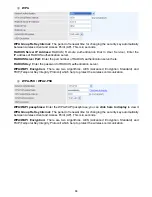
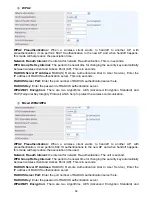
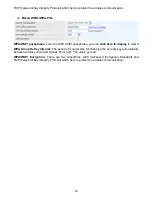
Make sure you use the WPA2 security mechanism. Move to
WPA2.
Enable to use the Hotsport2.0, same operation as with WPA2.
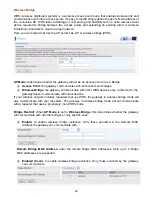
Hide SSID:
It is function in which transmits its SSID to the air so that when wireless client searches
for a network, router can then be discovered and recognized. Check the checkbox to determine
Содержание 7800DX
Страница 19: ...15 3G LTE Router mode ...
Страница 37: ...33 Click link 192 168 1 254 it will lead you to the following page ...
Страница 40: ...36 Click 192 168 1 254 it will lead you to the following page ...
Страница 43: ...39 Click 192 168 1 254 it will lead you to the following page ...
Страница 70: ...66 7 Success If Quick Start is finished user can turn to Status Summary to see the basic information ...
Страница 75: ...71 7 Success If Quick Start is finished user can turn to Status Summary to see the basic information ...
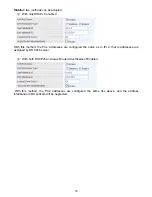
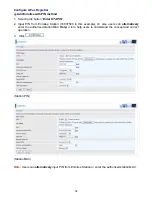
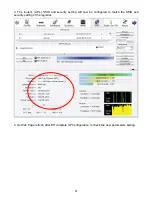
Страница 99: ...95 Configure AP as Enrollee Add Registrar with PIN Method 1 Set AP to Unconfigured Mode ...
Страница 143: ...139 Accessing mechanism of Storage In your computer Click Start Run enter 192 168 1 254 ...
Страница 145: ...141 Access the folder public ...
Страница 148: ...144 Step 2 Click Add a Printer Step 3 Click Add a network wireless or Bluetooth printer ...
Страница 151: ...147 Step 8 Click Next and you are done You will now be able to see your printer on the Devices and Printers Page ...
Страница 153: ...149 Take Windows media player in Windows 7 accessing the DLNA server for example for usage of DLNA ...
Страница 159: ...155 Rule inactive ...
Страница 186: ...182 ALG The ALG Controls enable or disable protocols over application layer ...
Страница 194: ...190 ...
Страница 197: ...193 ...
Страница 202: ...198 1 In Windows7 click Start Control Panel Network and Sharing Center Click Set up a new connection network ...
Страница 204: ...200 5 Input the account user name and password and press Create ...
Страница 205: ...201 6 Connect to the server ...
Страница 206: ...202 7 Successfully connected ...
Страница 208: ...204 ...
Страница 218: ...214 2 Click Connect to a workplace and press Next 3 Select Use my Internet connection VPN and press Next ...
Страница 219: ...215 4 Input Internet address and Destination name for this connection and press Next ...
Страница 220: ...216 5 Input the account user name and password and press Create ...
Страница 223: ...219 9 Go to Network connections enter username and password to connect L2TP_IPSec and check the connection status ...
Страница 231: ...227 In listing table you can remove the one you don t want by checking the checking box and press Remove button ...
Страница 235: ...231 Primary IPv6 DNS Server Secondary IPv6 DNS Server Type the specific primary and secondary IPv6 DNS Server address ...
Страница 238: ...234 2 ipoe_eth0 with DDNS www hometest1 com using username password test test ...
Страница 247: ...243 in the system tray Step 6 Double click on the icon to display your current Internet connection status ...
Страница 250: ...246 Click Import Certificate button to import your certificate Enter the certificate name and insert the certificate ...
Страница 251: ...247 Click Apply to confirm your settings ...
Страница 262: ...258 Example Ping www google com ...
Страница 263: ...259 Example trace www google com ...

