126
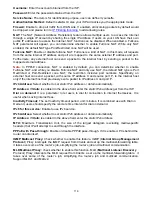
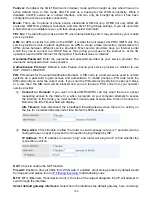
Failover:
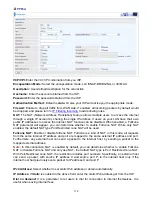
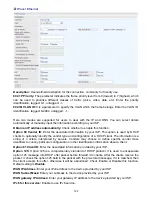
If enabled, the 3G/LTE will work in failover mode and be brought up only when there is no
active default route. In this mode, 3G/LTE work as a backup for the WAN connectivity. While if
disabled, 3G/LTE serves as a normal interface, and can only be brought up when it has been
configured to achieve a mobile connectivity.
Mode:
There are 6 options of phone service standards: GSM 2G only, UTMS 3G only, GSM 2G
preferred, UMTS 3G preferred, Automatic, and Use 3G/LTE 3g dongle settings. If you are uncertain
what services are available to you, and then please select Automatic.
TEL No.:
The dial string to make a 3G/LTE user internetworking call. It may provide by your mobile
service provider.
APN:
An APN is similar to a URL on the WWW, it is what the unit makes a GPRS / UMTS call. The
service provider is able to attach anything to an APN to create a data connection, requirements for
APNs varies between different service providers. Most service providers have an internet portal
which they use to connect to a DHCP Server, thus giving you access to the internet i.e. some 3G
operators use the APN ‘internet’ for their portal. The default value is “internet”.
Username
/
Password:
Enter the username and password provided by your service provider. The
username and password are case sensitive.
Authentication Protocol:
Default is Auto. Please consult your service provider on whether to use
PAP, CHAP or MSCHAP.
PIN:
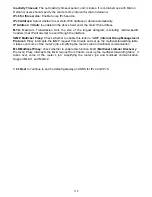
PIN stands for Personal Identification Number. A PIN code is a numeric value used in certain
systems as a password to gain access, and authenticate. In mobile phones a PIN code locks the
SIM card until you enter the correct code. If you enter the PIN code incorrectly into the phone 3 times
in a row, then the SIM card will be blocked and you will require a PUK code from your network/
service provider.
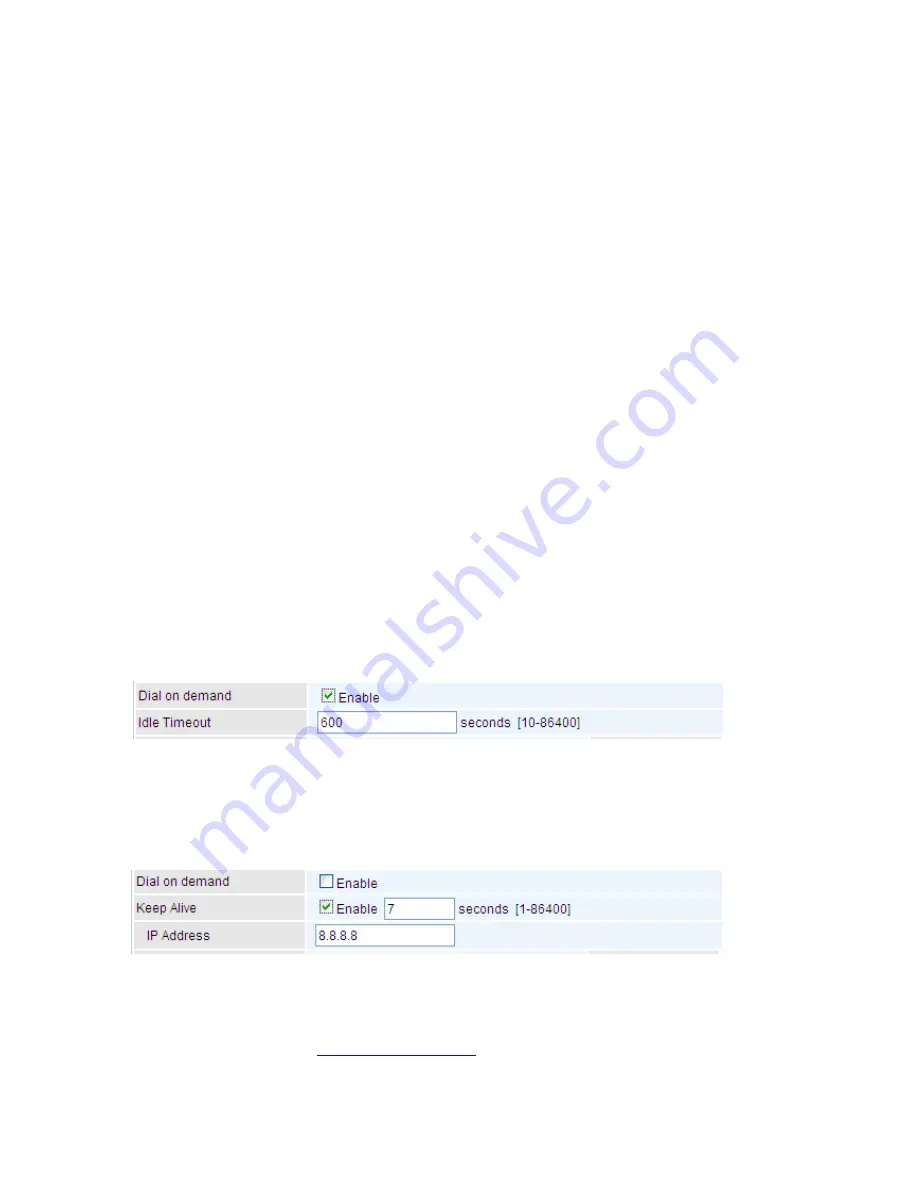
Connect on Demand:
If you want to make UMTS/GPRS call only when there is a packet
requesting access to the Internet (i.e. when a program on your computer attempts to access
the Internet). In this mode, you must set Idle Timeout value at same time. Click on Connect on
Demand, the Idle Timeout field will display.
Idle Timeout:
Auto-disconnect the broadband firewall gateway when there is no activity on
the line for a predetermined period of time. Default is 600 seconds.
Keep Alive:
Check Enable to allow the router to send message out every 7 seconds (can be
changed base on need) to prevent the connection being dropped by ISP.
IP Address:
The IP address is used to “ping”, and router will ping the IP to find whether the
connection is still on.
NAT:
Check to enable the NAT function.
Firewall:
Enable to drop all traffic from WAN side. If enabled, all incoming packets by default would
be dropped, and please turn to
IP Filtering Incoming
to add allowing rules.
MTU:
MTU (Maximum Transmission Unit) is the size of the largest datagram that IP will attempt to
send through the interface.
Select default gateway interfaces:
Select from the interfaces the default gateway, here commonly
Содержание 7800DX
Страница 19: ...15 3G LTE Router mode ...
Страница 37: ...33 Click link 192 168 1 254 it will lead you to the following page ...
Страница 40: ...36 Click 192 168 1 254 it will lead you to the following page ...
Страница 43: ...39 Click 192 168 1 254 it will lead you to the following page ...
Страница 70: ...66 7 Success If Quick Start is finished user can turn to Status Summary to see the basic information ...
Страница 75: ...71 7 Success If Quick Start is finished user can turn to Status Summary to see the basic information ...
Страница 99: ...95 Configure AP as Enrollee Add Registrar with PIN Method 1 Set AP to Unconfigured Mode ...
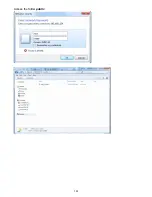
Страница 143: ...139 Accessing mechanism of Storage In your computer Click Start Run enter 192 168 1 254 ...
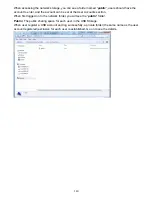
Страница 145: ...141 Access the folder public ...
Страница 148: ...144 Step 2 Click Add a Printer Step 3 Click Add a network wireless or Bluetooth printer ...
Страница 151: ...147 Step 8 Click Next and you are done You will now be able to see your printer on the Devices and Printers Page ...
Страница 153: ...149 Take Windows media player in Windows 7 accessing the DLNA server for example for usage of DLNA ...
Страница 159: ...155 Rule inactive ...
Страница 186: ...182 ALG The ALG Controls enable or disable protocols over application layer ...
Страница 194: ...190 ...
Страница 197: ...193 ...
Страница 202: ...198 1 In Windows7 click Start Control Panel Network and Sharing Center Click Set up a new connection network ...
Страница 204: ...200 5 Input the account user name and password and press Create ...
Страница 205: ...201 6 Connect to the server ...
Страница 206: ...202 7 Successfully connected ...
Страница 208: ...204 ...
Страница 218: ...214 2 Click Connect to a workplace and press Next 3 Select Use my Internet connection VPN and press Next ...
Страница 219: ...215 4 Input Internet address and Destination name for this connection and press Next ...
Страница 220: ...216 5 Input the account user name and password and press Create ...
Страница 223: ...219 9 Go to Network connections enter username and password to connect L2TP_IPSec and check the connection status ...
Страница 231: ...227 In listing table you can remove the one you don t want by checking the checking box and press Remove button ...
Страница 235: ...231 Primary IPv6 DNS Server Secondary IPv6 DNS Server Type the specific primary and secondary IPv6 DNS Server address ...
Страница 238: ...234 2 ipoe_eth0 with DDNS www hometest1 com using username password test test ...
Страница 247: ...243 in the system tray Step 6 Double click on the icon to display your current Internet connection status ...
Страница 250: ...246 Click Import Certificate button to import your certificate Enter the certificate name and insert the certificate ...
Страница 251: ...247 Click Apply to confirm your settings ...
Страница 262: ...258 Example Ping www google com ...
Страница 263: ...259 Example trace www google com ...

