153
Security
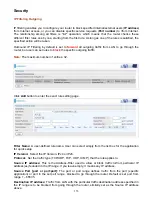
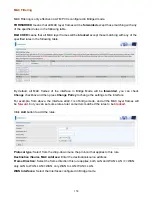
IP Filtering Outgoing
IP filtering enables you to configure your router to block specified internal/external users (
IP address
)
from Internet access, or you can disable specific service requests (
Port number
) to /from Internet.
The relationship among all filters is
“or”
operation, which means that the router checks these
different filter rules one by one, starting from the first rule. As long as one of the rules is satisfied, the
specified action will be taken.
Outbound IP Filtering by default is set to
forward
all outgoing traffic from LAN to go through the
router, but user can set rules to
block
the specific outgoing traffic.
Note:
The maximum number of entries: 32.
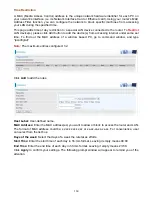
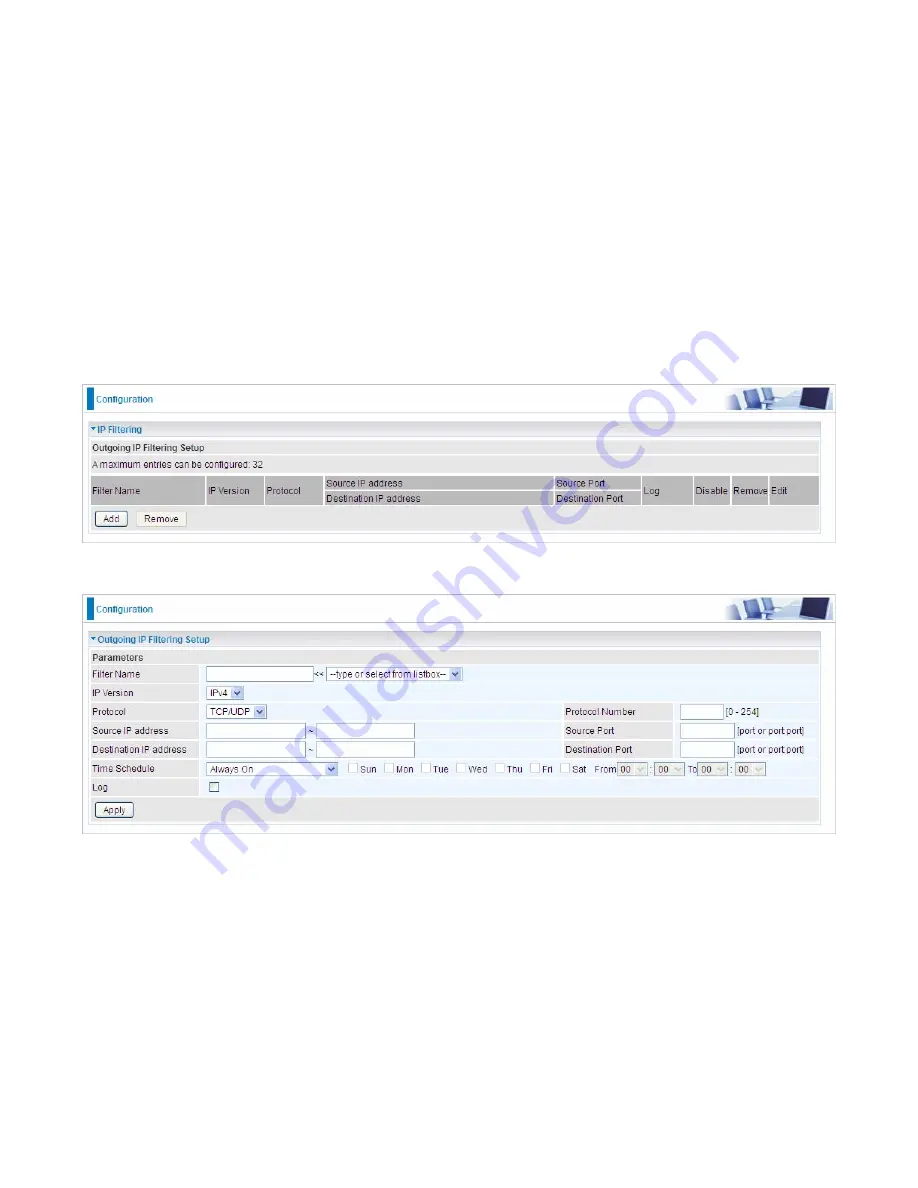
Click
Add
button to enter the exact rule setting page.
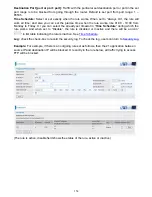
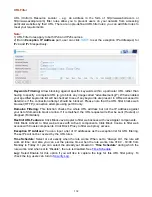
Filter Name:
A user-defined rule name. User can select simply from the list box for the application
for quick setup.
IP Version:
Select the IP Version, IPv4 or IPv6.
Protocol:
Set the traffic type (TCP/UDP, TCP, UDP, ICMP ) that the rule applies to.
Source IP address:
This is the Address-Filter used to allow or block traffic to/from particular IP
address(es) featured in the IP range. If you leave empty, it means any IP address.
Source Port [port or port:port]:
The port or port range defines traffic from the port (specific
application) or port in the set port range blocked to go through the router. Default is set port from
range 1 – 65535.
Destination IP address:
Traffic from LAN with the
particular traffic destination address specified in
the IP range is to be blocked from going through the router, similarly set as the Source IP address
above.
Содержание 7800DX
Страница 19: ...15 3G LTE Router mode ...
Страница 37: ...33 Click link 192 168 1 254 it will lead you to the following page ...
Страница 40: ...36 Click 192 168 1 254 it will lead you to the following page ...
Страница 43: ...39 Click 192 168 1 254 it will lead you to the following page ...
Страница 70: ...66 7 Success If Quick Start is finished user can turn to Status Summary to see the basic information ...
Страница 75: ...71 7 Success If Quick Start is finished user can turn to Status Summary to see the basic information ...
Страница 99: ...95 Configure AP as Enrollee Add Registrar with PIN Method 1 Set AP to Unconfigured Mode ...
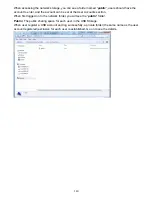
Страница 143: ...139 Accessing mechanism of Storage In your computer Click Start Run enter 192 168 1 254 ...
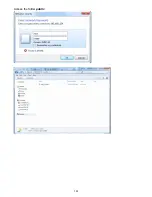
Страница 145: ...141 Access the folder public ...
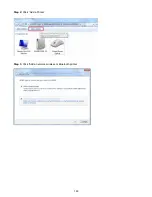
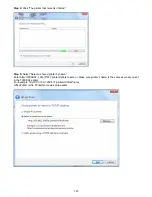
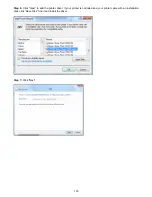
Страница 148: ...144 Step 2 Click Add a Printer Step 3 Click Add a network wireless or Bluetooth printer ...
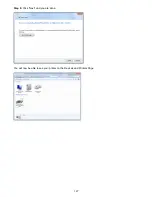
Страница 151: ...147 Step 8 Click Next and you are done You will now be able to see your printer on the Devices and Printers Page ...
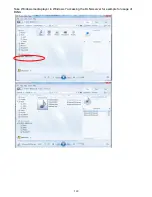
Страница 153: ...149 Take Windows media player in Windows 7 accessing the DLNA server for example for usage of DLNA ...
Страница 159: ...155 Rule inactive ...
Страница 186: ...182 ALG The ALG Controls enable or disable protocols over application layer ...
Страница 194: ...190 ...
Страница 197: ...193 ...
Страница 202: ...198 1 In Windows7 click Start Control Panel Network and Sharing Center Click Set up a new connection network ...
Страница 204: ...200 5 Input the account user name and password and press Create ...
Страница 205: ...201 6 Connect to the server ...
Страница 206: ...202 7 Successfully connected ...
Страница 208: ...204 ...
Страница 218: ...214 2 Click Connect to a workplace and press Next 3 Select Use my Internet connection VPN and press Next ...
Страница 219: ...215 4 Input Internet address and Destination name for this connection and press Next ...
Страница 220: ...216 5 Input the account user name and password and press Create ...
Страница 223: ...219 9 Go to Network connections enter username and password to connect L2TP_IPSec and check the connection status ...
Страница 231: ...227 In listing table you can remove the one you don t want by checking the checking box and press Remove button ...
Страница 235: ...231 Primary IPv6 DNS Server Secondary IPv6 DNS Server Type the specific primary and secondary IPv6 DNS Server address ...
Страница 238: ...234 2 ipoe_eth0 with DDNS www hometest1 com using username password test test ...
Страница 247: ...243 in the system tray Step 6 Double click on the icon to display your current Internet connection status ...
Страница 250: ...246 Click Import Certificate button to import your certificate Enter the certificate name and insert the certificate ...
Страница 251: ...247 Click Apply to confirm your settings ...
Страница 262: ...258 Example Ping www google com ...
Страница 263: ...259 Example trace www google com ...


