77
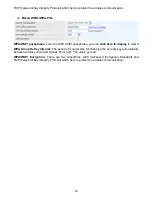
available.
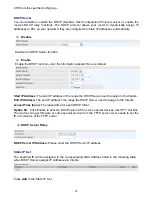
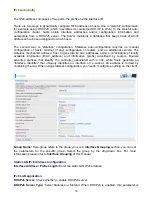
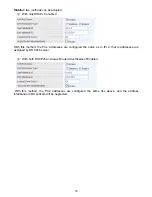
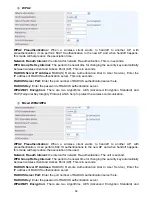
Stateless:
If selected, the PCs in LAN are configured through RA mode, thus, the PCs in
LAN are configured through RA mode, to obtain the prefix message and generate an address using
a combination of locally available information (MAC address) and information (prefix) advertised by
routers, but they can obtain such information like DNS from DHCPv6 Server.
Stateful:
if selected,
the PCs in LAN will be configured like in IPv4 mode, thus obtain addresses and DNS information
from DHCPv6 server.
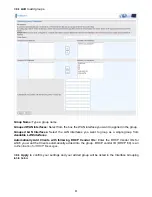
Start interface ID:
Enter the start interface ID. The IPv6 address composed of two parts, thus, the
prefix and the interface ID. Interface is like the Host ID compared to IPv4.
End interface ID:
Enter the end interface ID.
Note:
Interface ID does NOT support ZERO COMPRESSION "::". Please enter the complete
information.
For example: Please enter "0:0:0:2" instead of "::2".
Leased Time (hour):
The leased time, similar to leased time in DHCPv4, is a time limit assigned to
clients, when expires, the assigned ID will be recycled and reassigned.
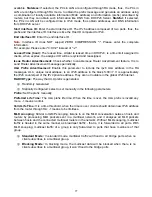
Issue Router Advertisement:
Check whether to enable issue Router Advertisement feature. It is to
send Router Advertisement messages periodically.
ULA Prefix Advertisement:
Enable this parameter to include the ipv6 ULA address in the RA
messages. ULA, unique local address, is an IPv6 address in the block fc00::/7. It is approximately
the IPv6 counterpart of the IPv4 private address. They are not routable in the global IPv6 Internet.
RADVD Type:
The way that ULA prefix is generated.
Randomly
Generated
Statically Configured: select to set manually in the following parameters.
Prefix:
Set the prefix manually.
Preferred Life Time:
The ULA prefix life time. When the time is over, the ULA prefix is invalid any
more, -1 means no limit.
Valid Life Time:
It is a time threshold, when the time is over, clients should obtain new IPv6 address
from the router through RA; -1 means to be limitless.
MLD snooping:
Similar to IGMP snooping, listens in on the MLD conversation between hosts and
routers by processing MLD packets sent in a multicast network, and it analyzes all MLD packets
between hosts and the connected multicast routers in the network. Without MLD snooping, multicast
traffic is treated in the same manner as broadcast traffic - that is, it is forwarded to all ports. With
MLD snooping, multicast traffic of a group is only forwarded to ports that have members of that
group.
Standard Mode:
In standard mode, multicast traffic will flood to all bridge ports when no
client subscribes to a multicast group.
Blocking Mode:
In blocking mode, the multicast data will be blocked when there is no
client subscribes to a multicast group, it won’t flood to the bridge ports.
Содержание 7800DX
Страница 19: ...15 3G LTE Router mode ...
Страница 37: ...33 Click link 192 168 1 254 it will lead you to the following page ...
Страница 40: ...36 Click 192 168 1 254 it will lead you to the following page ...
Страница 43: ...39 Click 192 168 1 254 it will lead you to the following page ...
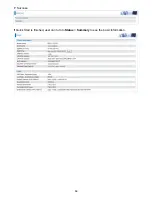
Страница 70: ...66 7 Success If Quick Start is finished user can turn to Status Summary to see the basic information ...
Страница 75: ...71 7 Success If Quick Start is finished user can turn to Status Summary to see the basic information ...
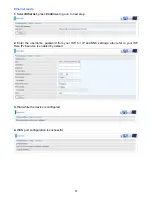
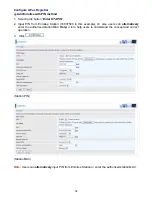
Страница 99: ...95 Configure AP as Enrollee Add Registrar with PIN Method 1 Set AP to Unconfigured Mode ...
Страница 143: ...139 Accessing mechanism of Storage In your computer Click Start Run enter 192 168 1 254 ...
Страница 145: ...141 Access the folder public ...
Страница 148: ...144 Step 2 Click Add a Printer Step 3 Click Add a network wireless or Bluetooth printer ...
Страница 151: ...147 Step 8 Click Next and you are done You will now be able to see your printer on the Devices and Printers Page ...
Страница 153: ...149 Take Windows media player in Windows 7 accessing the DLNA server for example for usage of DLNA ...
Страница 159: ...155 Rule inactive ...
Страница 186: ...182 ALG The ALG Controls enable or disable protocols over application layer ...
Страница 194: ...190 ...
Страница 197: ...193 ...
Страница 202: ...198 1 In Windows7 click Start Control Panel Network and Sharing Center Click Set up a new connection network ...
Страница 204: ...200 5 Input the account user name and password and press Create ...
Страница 205: ...201 6 Connect to the server ...
Страница 206: ...202 7 Successfully connected ...
Страница 208: ...204 ...
Страница 218: ...214 2 Click Connect to a workplace and press Next 3 Select Use my Internet connection VPN and press Next ...
Страница 219: ...215 4 Input Internet address and Destination name for this connection and press Next ...
Страница 220: ...216 5 Input the account user name and password and press Create ...
Страница 223: ...219 9 Go to Network connections enter username and password to connect L2TP_IPSec and check the connection status ...
Страница 231: ...227 In listing table you can remove the one you don t want by checking the checking box and press Remove button ...
Страница 235: ...231 Primary IPv6 DNS Server Secondary IPv6 DNS Server Type the specific primary and secondary IPv6 DNS Server address ...
Страница 238: ...234 2 ipoe_eth0 with DDNS www hometest1 com using username password test test ...
Страница 247: ...243 in the system tray Step 6 Double click on the icon to display your current Internet connection status ...
Страница 250: ...246 Click Import Certificate button to import your certificate Enter the certificate name and insert the certificate ...
Страница 251: ...247 Click Apply to confirm your settings ...
Страница 262: ...258 Example Ping www google com ...
Страница 263: ...259 Example trace www google com ...

