76
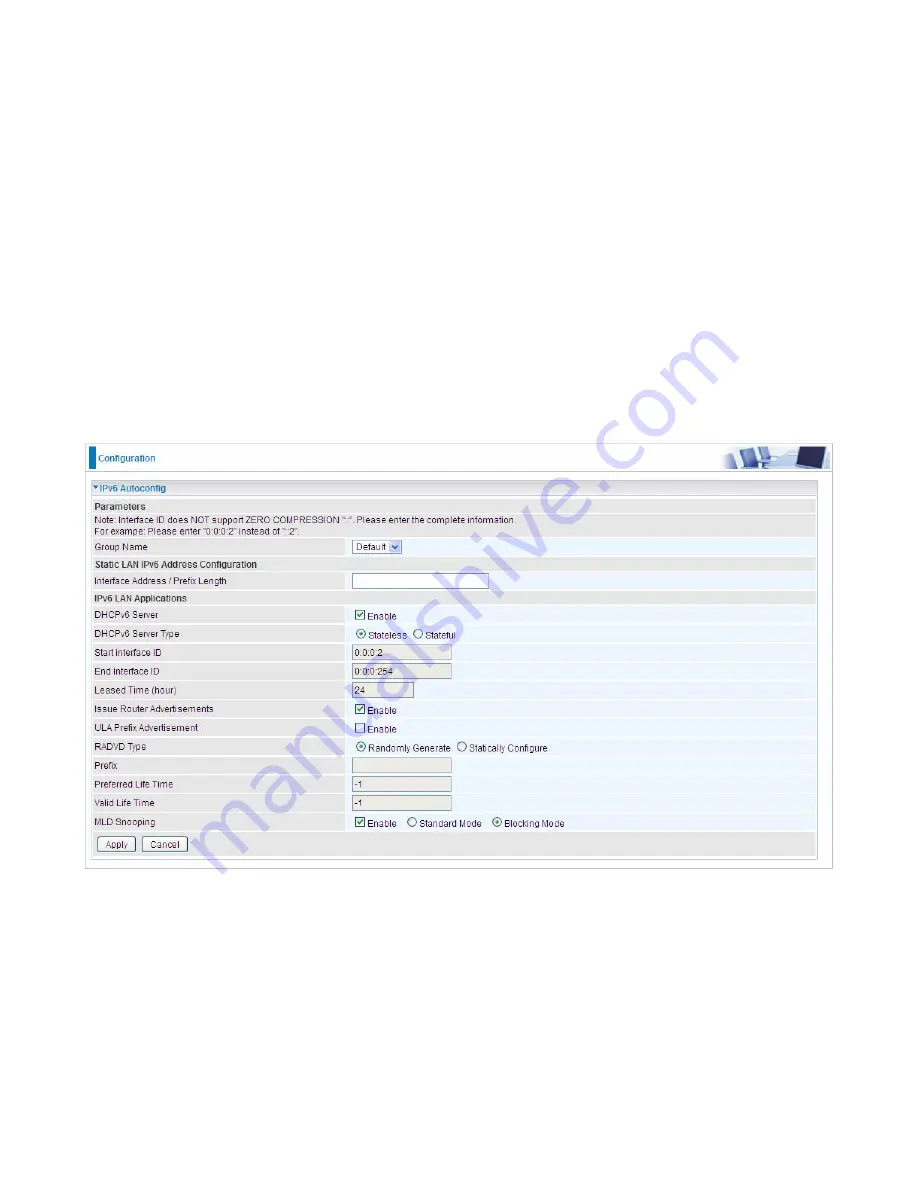
IPv6 Autoconfig
The IPv6 address composes of two parts, the prefix and the interface ID.
There are two ways to dynamically configure IPv6 address on hosts. One is “stateful” configuration,
for example using DHCPv6 (which resembles its counterpart DHCP in IPv4.) In the stateful auto-
configuration model, hosts obtain interface addresses and/or configuration information and
parameters from a DHCPv6 server. The Server maintains a database that keeps track of which
addresses have been assigned to which hosts.
The second way is “stateless” configuration. Stateless auto-configuration requires no manual
configuration of hosts, minimal (if any) configuration of routers, and no additional servers. The
stateless mechanism allows a host to generate its own addresses using a combination of locally
available information (MAC address) and information (prefix) advertised by routers. Routers
advertise prefixes that identify the subnet(s) associated with a link, while hosts generate an
"interface identifier" that uniquely identifies an interface on a subnet. An address is formed by
combining the two. When using stateless configuration, you needn’t configure anything on the client.
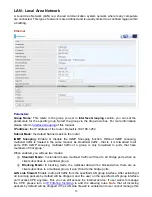
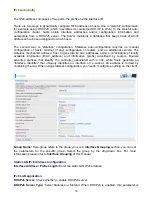
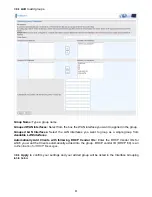
Group Name:
Here group refers to the group you set in
Interface Grouping
section, you can set
the parameters for the specific group. Select the group by the drop-down box. For more
information please refer to
Interface Grouping
of this manual.
Static LAN IPv6 Address Configuration
Interface Address / Prefix Length:
Enter the static LAN IPv6 address.
IPv6 LAN application
DHCPv6 Server:
Check whether to enable DHCPv6 server.
DHCPv6 Server Type:
Select Stateless or Stateful. When DHCPv6 is enabled, this parameter is
Содержание 7800DX
Страница 19: ...15 3G LTE Router mode ...
Страница 37: ...33 Click link 192 168 1 254 it will lead you to the following page ...
Страница 40: ...36 Click 192 168 1 254 it will lead you to the following page ...
Страница 43: ...39 Click 192 168 1 254 it will lead you to the following page ...
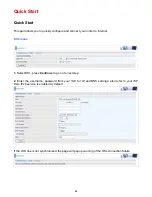
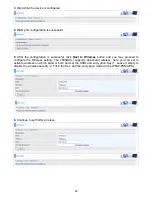
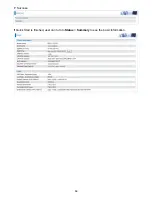
Страница 70: ...66 7 Success If Quick Start is finished user can turn to Status Summary to see the basic information ...
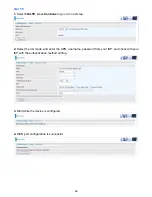
Страница 75: ...71 7 Success If Quick Start is finished user can turn to Status Summary to see the basic information ...
Страница 99: ...95 Configure AP as Enrollee Add Registrar with PIN Method 1 Set AP to Unconfigured Mode ...
Страница 143: ...139 Accessing mechanism of Storage In your computer Click Start Run enter 192 168 1 254 ...
Страница 145: ...141 Access the folder public ...
Страница 148: ...144 Step 2 Click Add a Printer Step 3 Click Add a network wireless or Bluetooth printer ...
Страница 151: ...147 Step 8 Click Next and you are done You will now be able to see your printer on the Devices and Printers Page ...
Страница 153: ...149 Take Windows media player in Windows 7 accessing the DLNA server for example for usage of DLNA ...
Страница 159: ...155 Rule inactive ...
Страница 186: ...182 ALG The ALG Controls enable or disable protocols over application layer ...
Страница 194: ...190 ...
Страница 197: ...193 ...
Страница 202: ...198 1 In Windows7 click Start Control Panel Network and Sharing Center Click Set up a new connection network ...
Страница 204: ...200 5 Input the account user name and password and press Create ...
Страница 205: ...201 6 Connect to the server ...
Страница 206: ...202 7 Successfully connected ...
Страница 208: ...204 ...
Страница 218: ...214 2 Click Connect to a workplace and press Next 3 Select Use my Internet connection VPN and press Next ...
Страница 219: ...215 4 Input Internet address and Destination name for this connection and press Next ...
Страница 220: ...216 5 Input the account user name and password and press Create ...
Страница 223: ...219 9 Go to Network connections enter username and password to connect L2TP_IPSec and check the connection status ...
Страница 231: ...227 In listing table you can remove the one you don t want by checking the checking box and press Remove button ...
Страница 235: ...231 Primary IPv6 DNS Server Secondary IPv6 DNS Server Type the specific primary and secondary IPv6 DNS Server address ...
Страница 238: ...234 2 ipoe_eth0 with DDNS www hometest1 com using username password test test ...
Страница 247: ...243 in the system tray Step 6 Double click on the icon to display your current Internet connection status ...
Страница 250: ...246 Click Import Certificate button to import your certificate Enter the certificate name and insert the certificate ...
Страница 251: ...247 Click Apply to confirm your settings ...
Страница 262: ...258 Example Ping www google com ...
Страница 263: ...259 Example trace www google com ...

