


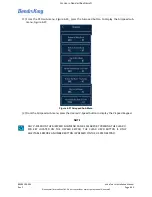


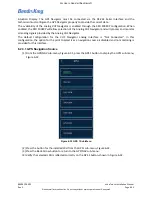
89000109-002
xVue Touch Installation Manual
Rev 2
Page 6-10
© Honeywell International Inc. Do not copy without express permission of Honeywell.
For Use in Non-Certified Aircraft
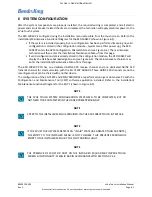
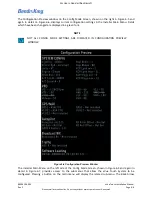
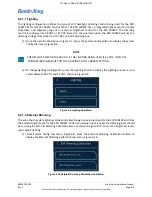
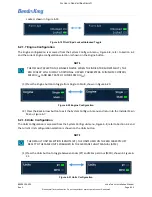
(2) Configure Minimum Brightness Levels:
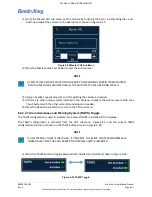
(a) Select the Min Brightness Level button, shown in Figure 6-10.
(b) Adjust the cockpit lighting control to its minimum setting.
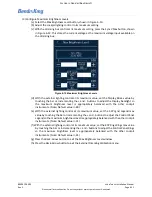
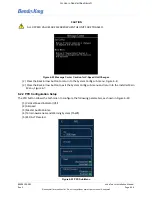
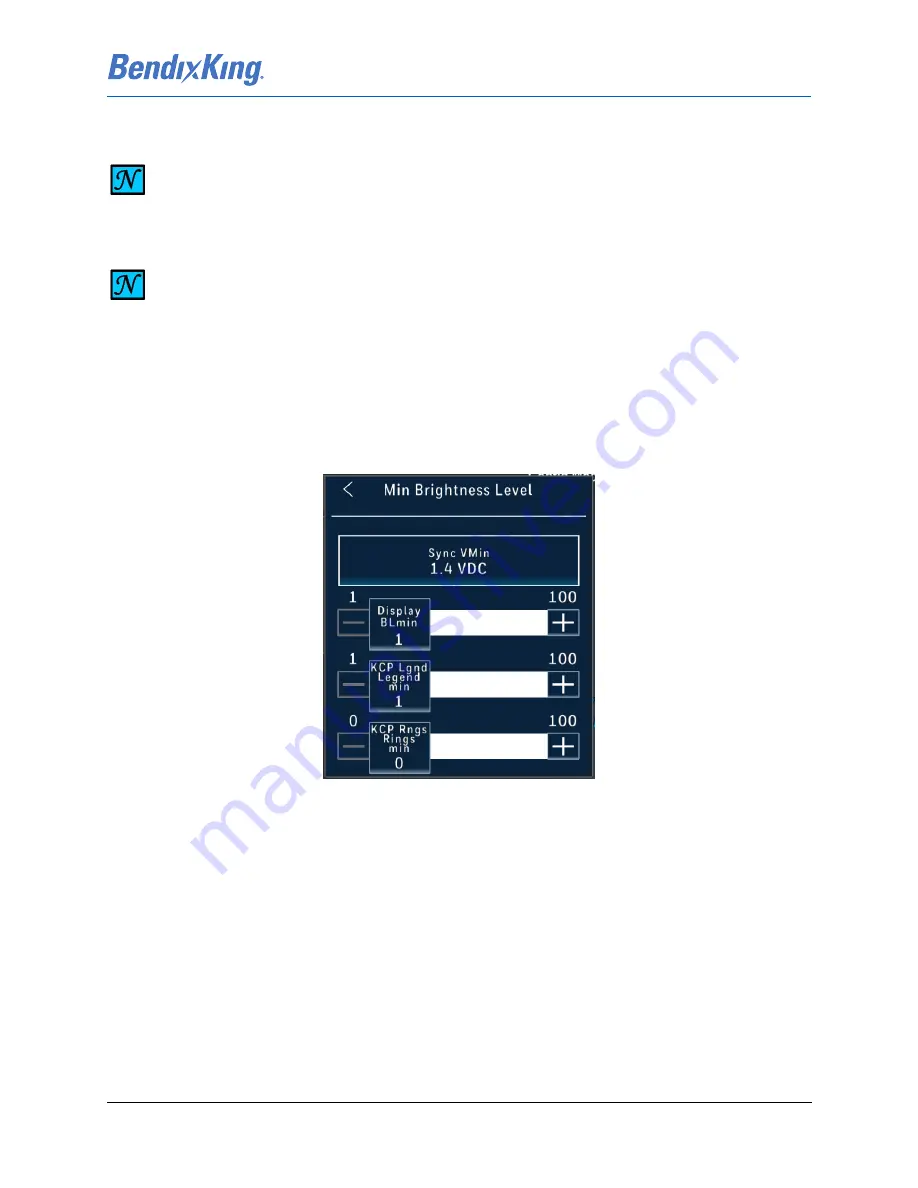
(c) With the dimming bus control at its minimum setting, press the Sync VMin button, shown
in Figure 6-11. This sets the current voltage as the minimum voltage input available on
the dimming bus.
Figure 6-11 Minimum Brightness Level
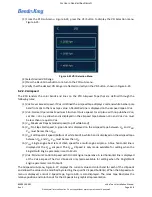
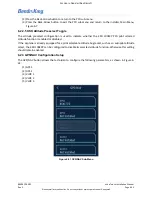
(d) With the external lighting control at its minimum value, set the Display BLmin value by
touching the bar or incrementing the + and - buttons to adjust the Display backlight so
the minimum brightness level is appropriately balanced with the other cockpit
instruments. (Note: Default value is 1)
(e) With the external lighting control at its minimum value, set the KCP Lgnd Legend min
value by touching the bar or incrementing the + and - buttons to adjust the Control Panel
Legend so the minimum brightness level is appropriately balanced with the other cockpit
instruments. (Note: Default value is 1)
(f) With the external lighting control at its minimum value, set the KCP Rngs Rings min value
by touching the bar or incrementing the + and - buttons to adjust the Control Panel Rings
so the minimum brightness level is appropriately balanced with the other cockpit
instruments. (Note: Default value is 0)
(g) Press the Back-Arrow button to exit the Min Brightness Level window.
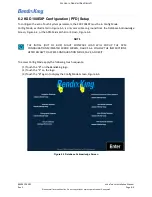
NOTE
FOR RHEOSTATS WITH AN OFF POSITION, DO NOT MOVE THE CONTROL TO THE OFF
DETENT.
NOTE
SET MINIMUM AND MAXIMUM BRIGHTNESS LEVELS IN THE DARKENED COCKPIT (TO
REPRESENT NIGHT OPERATING CONDITIONS).


