Setup Pages
45
MVP-5200i Modero® ViewPoint® Touch Panel with Intercom - Instruction Manual
Navigation Buttons
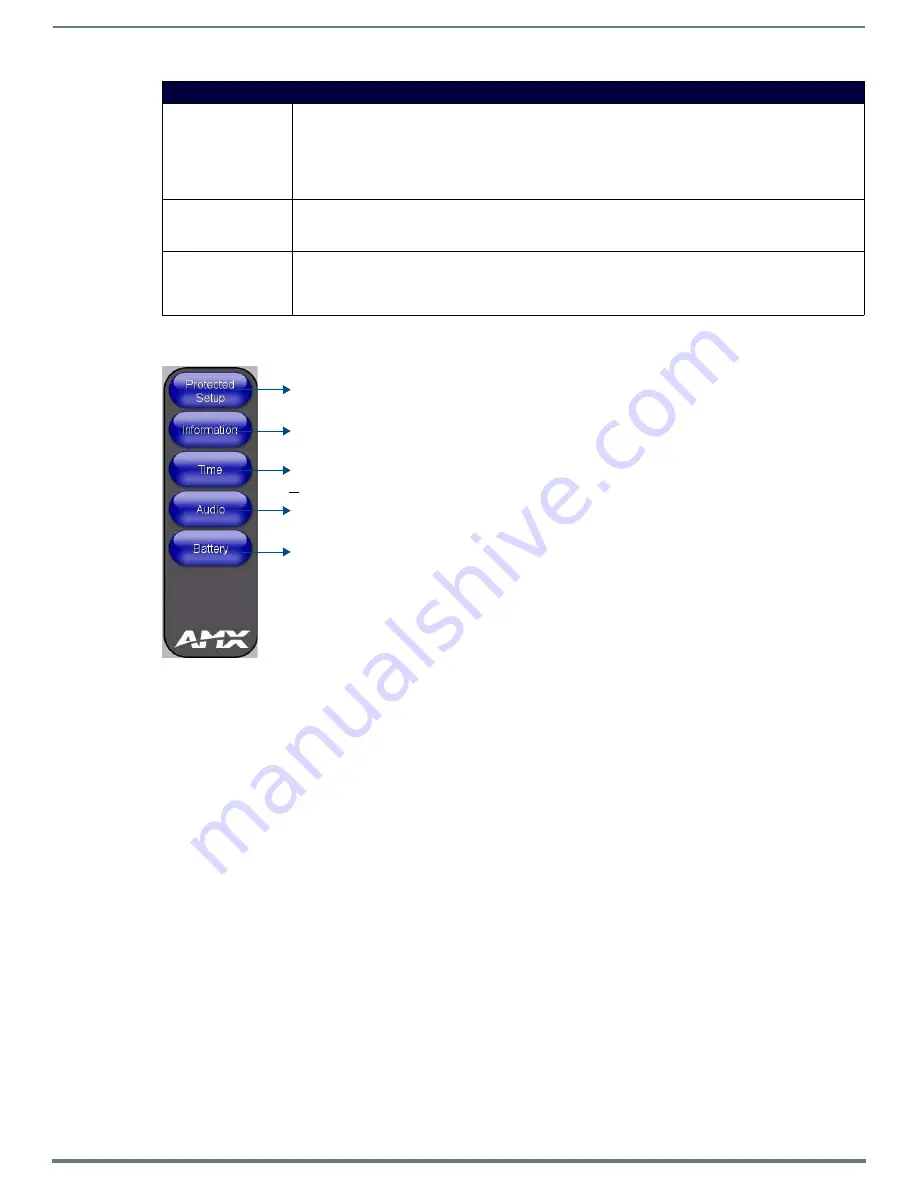
The following Navigation buttons (FIG. 49) appear on the left side of the Setup page:
Protected Setup Pages
Information on the
Protected Setup
pages is available on page 52.
Information Button
The
Information
button allows access of both the
Project Information
page, which contains data on the TPDesign4 file being used
with the MVP-5200i, and the
Panel Information
page, which contains detailed information on the panel itself. To access these
pages:
1.
Press and hold the
Information
button until the
Project Information
button and the
Panel Information
button slide from the
left.
NOTE:
The Project Information and the Panel Information buttons will be displayed for three seconds before they slide back
behind the Information button, whether or not the Information button is still being pressed.
2.
Press the appropriate button for the information required.
3.
To return to the
Setup
page, press the
Back
button.
Setup Page (Cont.)
Inactivity Page Flip
Timeout:
Indicates the length of time that the panel can remain idle before automatically flipping to a pre-selected page.
• Press the Up/Down buttons to increase/decrease the
Inactivity Page Flip Timeout setting. Range = 0 - 240
(minutes).
• Set the timeout value to 0 to disable Inactivity Page Flip mode.
Note: The touch panel page used for the Inactivity page flip is named within a small Inactivity Page field below the
buttons.
Panel Brightness:
Sets the display brightness and contrast levels of the panel.
• Press the Brightness Up/Down buttons to adjust the brightness level. Range = 0 - 100.
Note: Be careful not to turn down the brightness too low to be able to see the Setup page.
Sleep Blink LED:
Enables and disables the blinking of the navigation wheel LED when the device is in Sleep mode. When enabled,
the LED blinks while the device is charging. The Sleep Blink LED button is enabled by default.
Note: This feature will only apply when the device is in Sleep mode. When the device is active, the state of the LED
will match that of the display.
FIG. 49
Setup Page Navigation Buttons
Press to access the Protected Setup pages.
Press to access the Project Information page in order to view information on
panel specific information such as resolution and memory.
Press to access the Time & Date page in order to alter the time and date settings on the Master.
Press to access the Audio Settings page in order to adjust audio parameters on the panel.
Press to access the Power Management page in order to monitor battery status in the panel.
the TPDesign file being used, and the Panel Information page in order to view


