


136
Below is a brief step-by-step process so you can get started recording audio tracks quickly. Continue reading the
rest of this chapter to learn how to use Audio Edit Mode in different cases.
To record in Audio Edit Mode
(or Main Mode):
1.
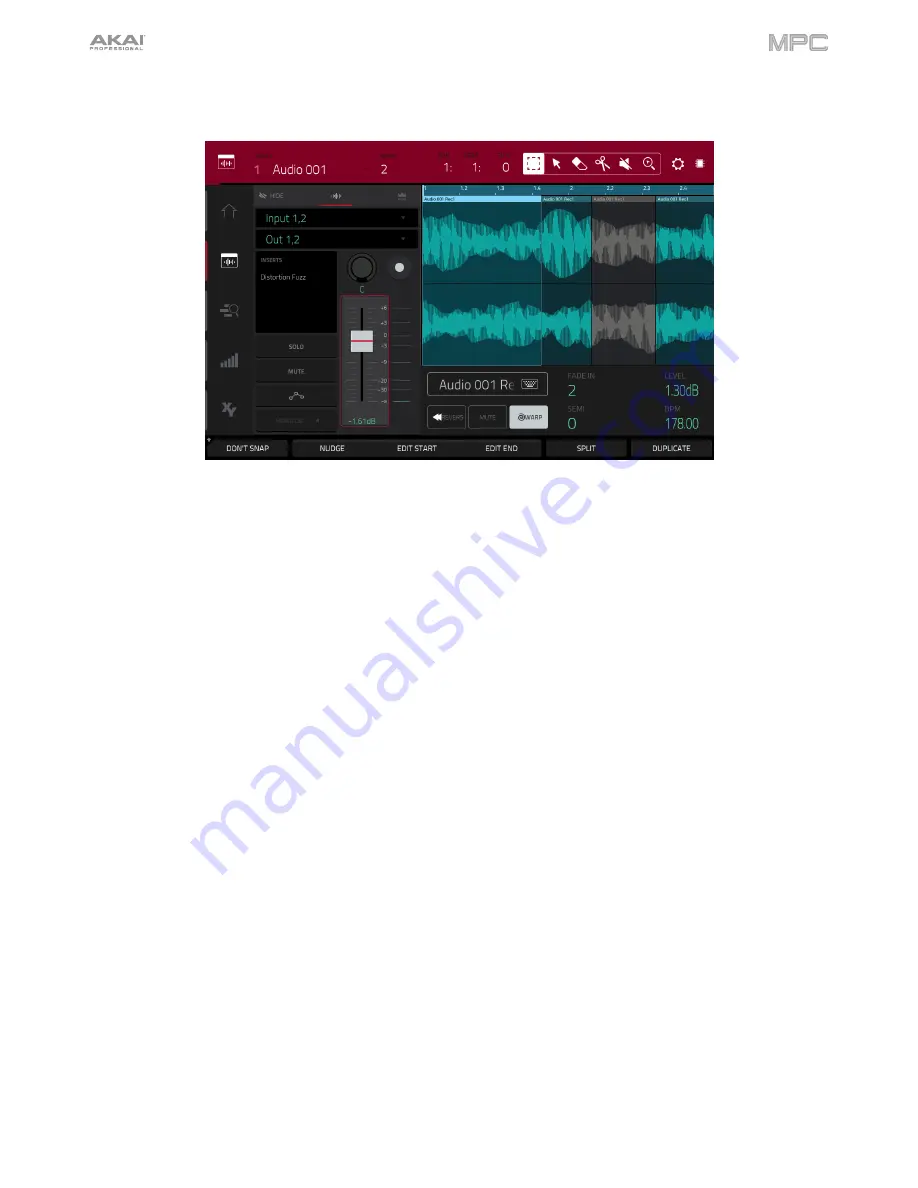
If the channel strip is not already shown on the left side of the screen, tap the small
eye icon
to show it.
2.
Connect a synthesizer or other line-level audio source to the appropriate input/inputs of your MPC hardware. Set
the
Line
/
Phono selector
appropriately, too.
3.
Double-tap the first field to select the input source of the external audio signal, which you can set to a pair of
inputs (
Input 1,2
–
3,4
in Standalone Mode,
Input 1,2
–
31,32
in Controller Mode) or a single input (
Input 1
–
4
in
Standalone Mode,
Input 1
–
32
in Controller Mode).
4.
Double-tap the second field to select where the track is routed (
Out 1,2
–
7,8
in Standalone Mode,
Out 1,2
–
31,32
in Controller Mode; MPC Live does not use Out 7,8 in Standalone Mode but displays them to maintain
compatibility with MPC X, which does use them).
5.
Tap the
Monitor
button to set how your audio track will be monitored. Tapping it will cycle through its three states:
When set to
Auto
, you will hear incoming audio while the track is record-enabled only.
When
on
, you will hear incoming audio whether or not the track is record-enabled.
When
off
, you will never hear any incoming audio.
6.
Turn the
3
/
4
Rec Gain
knob (MPC X) or
Rec Vol
knob (MPC Live, MPC Touch) to set the input level while
sending an audio signal into your MPC hardware. You should now see the level in the meter. Make sure it does
not exceed the maximum level (the meter should not be “peaking” constantly).
7.
If
Mute
and
Solo
are on, tap or press them so they are
off
. We also recommend tapping the automation button
so it is
off
/
gray
(not
green
/
Read
[
R
] or
red
/
Write
[
W
]). Alternatively, press
Read
/
Write
so it is off (MPC X).
8.
Tap the
Rec Arm
button next to the
pan knob
or press
Rec Arm
(MPC X) to record-enable the track.
9.
Press
Rec
to record-arm the sequence.
10.
To start recording
, press
Play
or
Play Start
—then play your audio source. You should hear your existing
sequence playing in the background. You’ll see the waveform appear as a single “track region” as you record.
11.
To stop recording
, press
Stop
.
Содержание MPC Touch
Страница 1: ...User Guide English Manual Version 2 0 8...
Страница 322: ......


