13-3
IM 253710-01E
Outputting Screen Image Data
13
4.
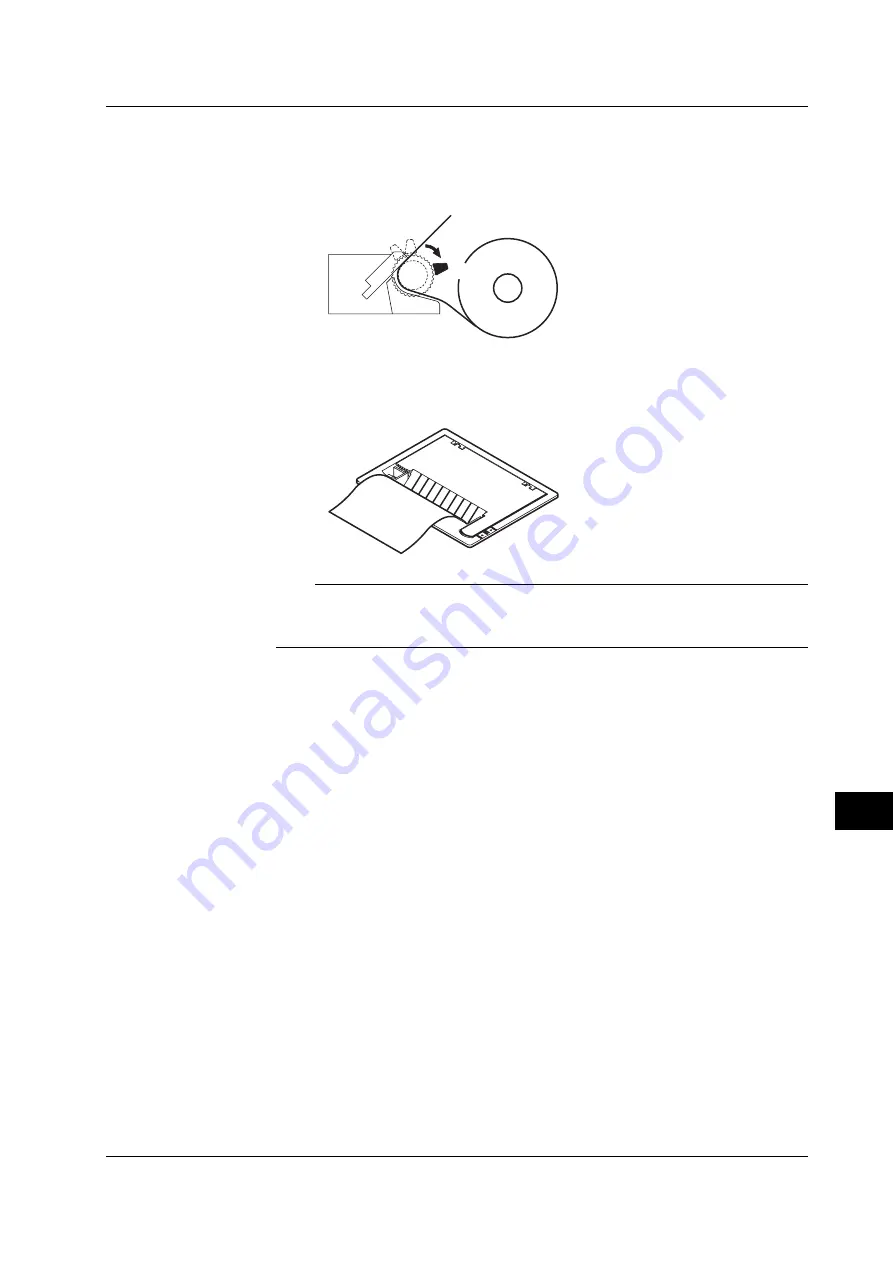
Move the release arm to the “Free” position and straighten the roll chart. Then,
move the release arm to the “HOLD” position. If the release arm is not in the
“HOLD” position, an error message will be displayed at the time of printing. In
this case, you will not be able to print.
FREE
HOLD
5.
Move the printer cover from the back to the front and close the cover. Make
sure that the tip of the roll sheet is showing from the opening in the printer cover.
When closing the printer cover, press the cover firmly until it clicks.
Note
After the paper roll is installed, follow the steps on the next page to check that the paper is
feeding properly. If it is not feeding evenly, continue to feed the paper for another 30 cm.
The paper will straighten out.
13.1 Installing the Paper Roll into the Built-in Printer (Option), Paper Feeding


