5-16
IM 253710-01E
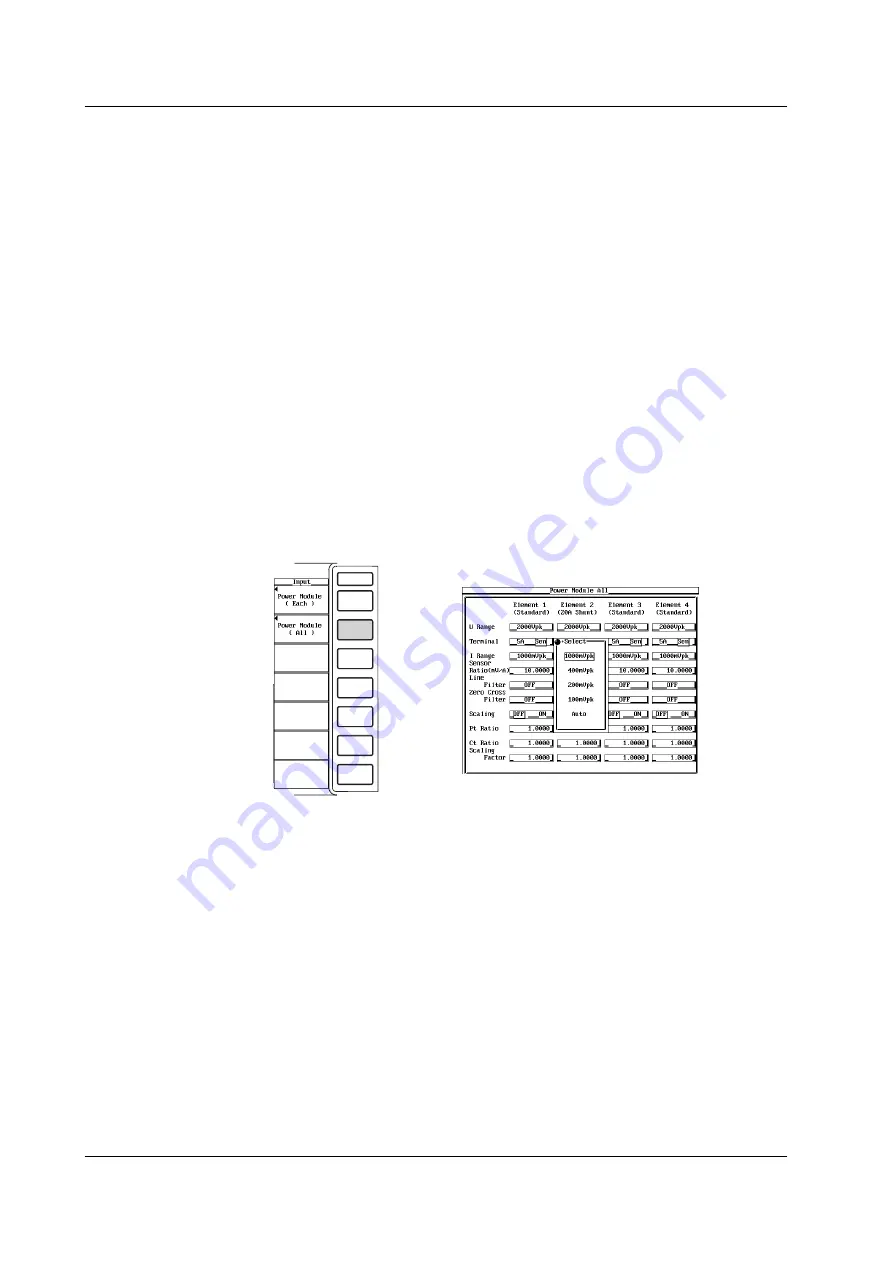
Setting the Range Using the Full Screen Menu for All Elements
Sets the range of the power measurement module for all elements at once. This is
applicable to products (PZ4000) with firmware version 2.01 or later.
1.
Press the INPUT key to display the Input setting menu.
2.
Press the [Power Module (All)] soft key to display the All power module setting
dialog box.
The menu does not appear for elements without modules. If the sensor input module is
installed in the element number 4 slot, the menu for element 4 does not appear.
Selecting the current sensor input connector
3.
Turn the jog shuttle to select the [Terminal] of element 1.
4.
Press the SELECT key to select [Sen]. The [Terminal] of all other modules that
are displayed are set to [Sen].
Selecting the current sensor range
5.
Turn the jog shuttle to select the [I Range] of element 1.
6.
Press the SELECT key to display the current sensor range selection box.
7.
Turn the jog shuttle to select the range from [1000mVpk] to [100mVpk] and
[Auto].
8.
Press the SELECT key to confirm the new current sensor range. The [I Range]
of all other modules that are set to the same current input terminal [Terminal] as
element 1 are set to the same current range.
Setting the current sensor transformation ratio
9.
Turn the jog shuttle to select the [Sensor Ratio(mV/A)] of element 1.
10.
Press the SELECT key to display the current sensor transformation ratio setting
box.
11.
Turn the jog shuttle to set the transformation ratio.
For the procedures related to entering values using the jog shuttle, see section 4.1,
“Entering Values and Strings.”
12.
Press the SELECT key or the ESC key to close the setting box. The [Sensor
Ratio(mV/A)] of all other modules that are displayed are set to the same
transformation ratio.
5.4 Setting the Measurement Range when Using an External Current Sensor


