26
vertex
3. Hardware Installation
The following paragraphs describe the Installation of the Golden Gate
emulator Into the Amiga 2000 and the Amiga 3000.
Paragraph 3.3 describes the installation of Golden Gate into an Amiga 2000.
Paragraph 3.4 describes the installation of Golden Gate into an Amiga 3000.
If Golden Gate shall be upgraded with additional RAM, a 80C387SX 25MHz
coprocessor or a 82077M floppy disk controller, this should be done before
the actual installation of the Golden Gate emulator. The notes concerning
Installations of upgrade items can be found in paragraphs 3.5, 3.6, and 3.7.
The same applies if an IDE hard disk drive is to be connected to Golden Gate;
the necessary notes on installation can be found in paragraph 3.8.
3.1 Important Notes for the Installation
The Installation should always be done on an antistatic work place with
an earthed mat on the table and earthed wrist bands.
The person undertaking the Installation should be well experienced In
handling CMOS components
Never take out the Golden Gate PCB of Its antistatic bag or Install It, If It
Is not on an antistatic work place and If the person taking It out Is not
protected from electrical discharge by wearing earthed wrist bands.
U these Instructions are not observed the, user takes the risk of damaging
Golden Gate.
Further notes on the Installation of expansion cards Into the Amiga can be
found In corresponding system manuals.
User's Manual Golden Gate
Summary of Contents for Golden Gate 386SX
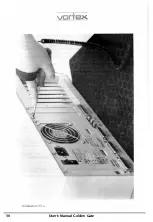
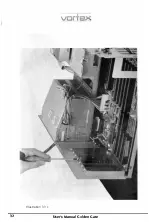
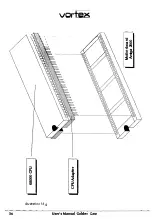
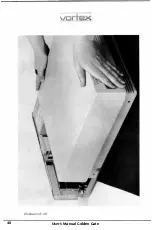
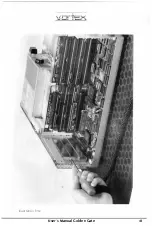
Page 32: ...Illustration 3 3 a 30 V 1 User s Manual Golden Gate ...
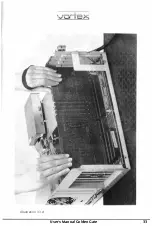
Page 33: ...Illustration 3 3 b _ s s User s Manual Golden Gate 31 ...
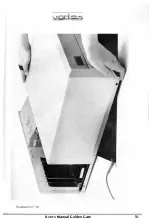
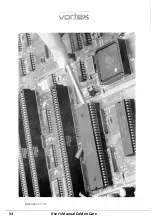
Page 34: ...1 11 Illustration 3 3 c 32 User s Manual Golden Gate ...
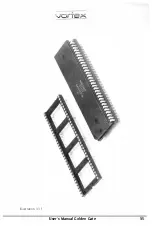
Page 35: ... __ lSF Illustration 3 3 d User s Manual Golden Gate 33 ...
Page 36: ...Illustration 3 3 e 34 User s Manual Golden Gate ...
Page 37: ...Illustration 3 3 f User s Manual Golden Gate 35 ...
Page 41: ...Illustration 3 4 A _ _ User s Manual Golden Gate 39 ...
Page 42: ...Illustration 3 4 b 40 User s Manual Golden Gate ...
Page 43: ...Illustration 3 4 c ff r User s Manual Golden Gate 41 ...
Page 44: ...Illustration 3 4 d 42 User s Manual Golden Gate ...
Page 48: ...illustration 3 5 b 46 User s Manual Golden Gate ...
Page 51: ...i lllust rat 1011 U a v r x 0 t1 0 t t1 1 0 User s Manual Golden Gate 49 I BOC38 ...
Page 52: ...y_ Illustration 3 6 b 50 User s Manual Golden Gate ...
Page 55: ...11 luslratlon 3 7 b F a User s Manual Golden Gate 53 ...
Page 57: ...VI VI 01 I Floppy Disk I I Illustration 3 7 d User s Manual Golden Gate ...
Page 59: ... 0 Illustration 3 8 a _Jr r j D I l I tJ I n User s Manual Golden Gate 0 57 ...

