X5 AC Drive User’s Manual
Chapter 5: Operation and Programming
DPD00089A
-
54 -
© 2009 Vacon Incorporated All Rights Reserved
5. Pressing
INC
causes power to be applied to the USB port, so ensure that there is no
connection to that port. If you press the
DEC
key, the reflash procedure is cancelled.
6. When you press the
INC
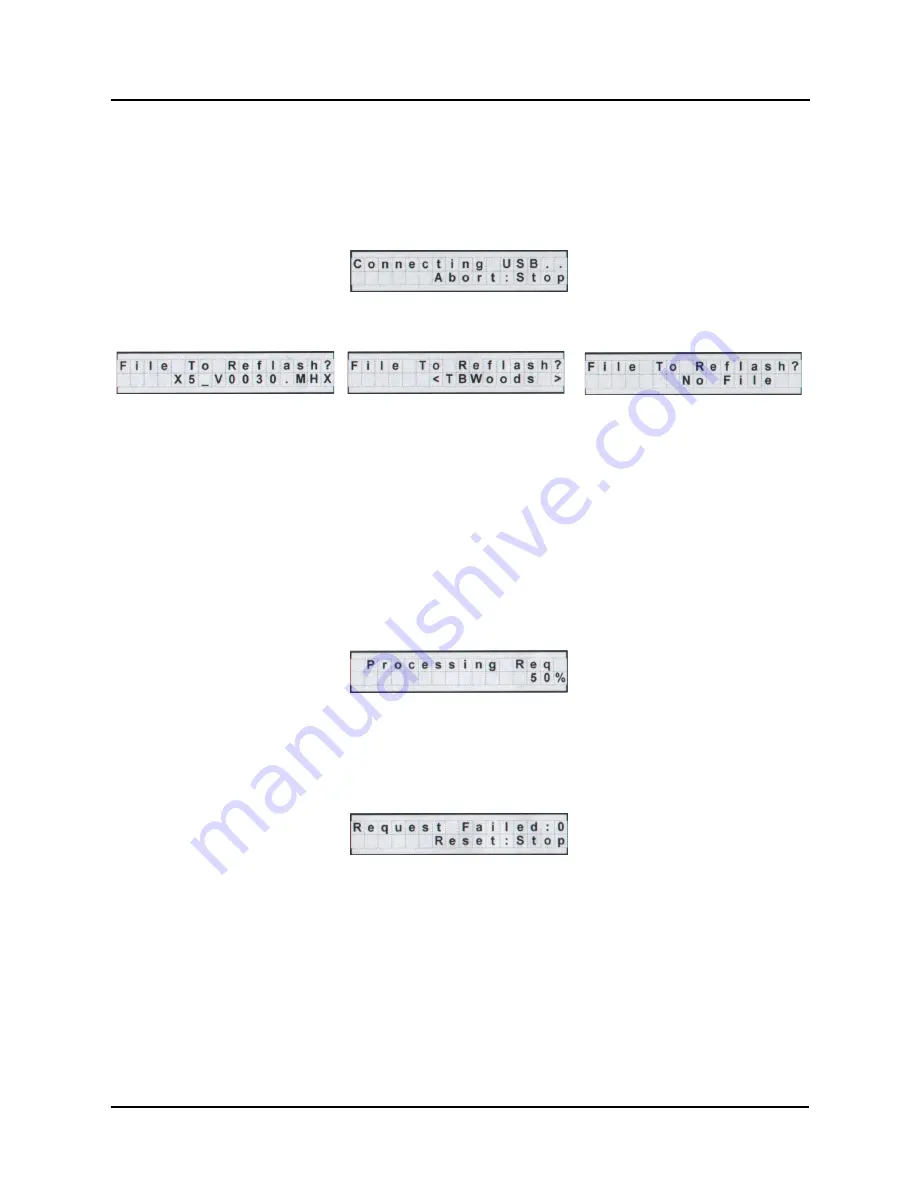
key, one of four screens will appear. The LED next to the USB port
will flash red until a connection is made to the memory stick. During this state, the drive
displays the message shown below:
7. When a connection to the memory stick is made, the LED will turn solid green and the
display will be one of the three screens below.
If a file name is more than 12 characters long, the name is truncated on the display.
If the drive does not connect successfully to the USB memory stick, remove and re-insert the
stick.
8. Navigate to the desired .MHX file by using the INC, DEC, SHIFT+INC, SHIFT+DEC key
combinations. Press the ENTER key to select the file.
INC and DEC keys scroll through the files in the current directory in the memory stick.
Pressing SHIFT+INC or SHIFT+DEC navigates through directories.
9. Wait for the reflash process to complete. The X5 display shows the progress of the reflash:
Reflash time depends on the quality and speed of the memory stick used. Expect at least 8
minutes for the reflash process to complete.
10. Results of the reflash are shown in the display, and depending on the results, you will see
different things. If the reflash is successful, the X5 software will show the normal X5 display.
If unsuccessful, the following screen appears:
The number after “Request Failed” tells why the failure occurred:
0 = User aborted process
1 = Cannot open file
2 = Corrupted file
11. Press the STOP key to reset the Bootloader.
If an .MHX file is found in the root
directory, this screen appears.
If no .MHX file is found, this screen
appears if a directory is found.
Directories are shown in brackets.
If no .MHX file and no directory is
found, this screen appears.


