Administration of Language and User Interfaces
3)
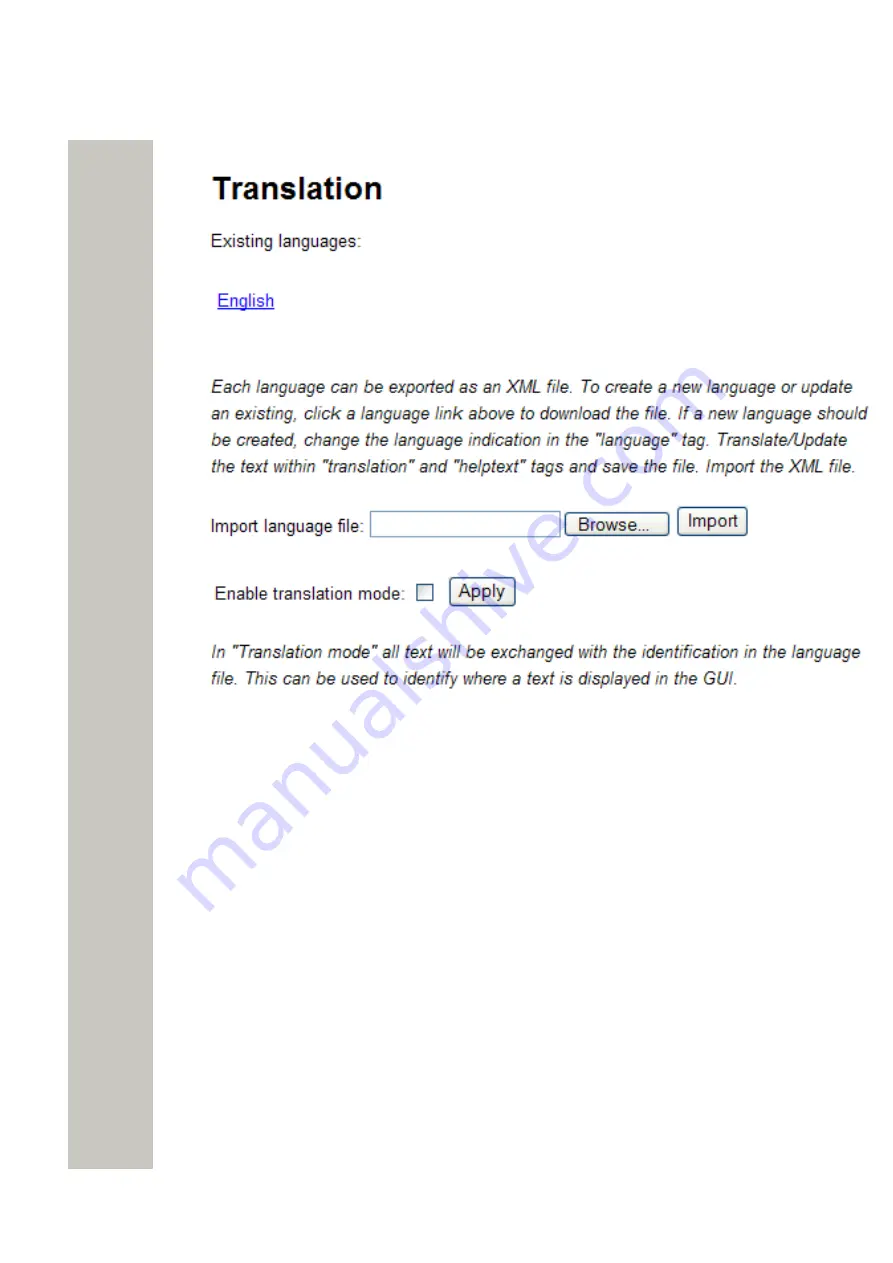
Click the “Import/Export Language” button. The Translation page opens.
Figure 43: The Translation Page
4)
Click an existing language link to create or update languages. An XML file is generated and
the
File Download
window opens.
5)
Save the file for translation or editing purposes. The file can be saved in any name during the
translation.
Translate/Edit the Language
In the downloaded language file, there are numerous tags but only the translation of two tags
and one attribute are mandatory:
• <language id=”English”> The “id” attribute is the text that appears in the drop-down list.
Change “English” to the name of your translated language here.
• <translation> Text displayed in menus, on buttons, tabs etc. Translated text can be added in-
side the tags.
• <helptext> On-line help text. Translated text can be added inside the tags.
Below is an example of a language file (just showing two buttons with help text, for simplicity).
A31003-M2000-M105-01-76A9, 29/06/2020
Wireless Service Gateway WSG, Administrator Documentation
77


