EASyPLUS Encoder/Decoder - Operation Manual V8.09
27
First-Time EASyPLUS Network Configuration
If the EASyPLUS Encoder/Decoder has not been configured for your network, the initial
network settings for the EASyPLUS need to be programmed via the serial port, or directly to
the PC’s Ethernet port through a crossover cable using the factory default static IP Address of
10.1.65.79
.
Configure the EASyPLUS via the RS-232 Serial Port
1. Connect the PC hosting the EASyPLUS Configuration software to the EASyPLUS
via a serial connection. Refer to
Chapter 5: EASyPLUS Configuration, The Main
Tab
.
2. Start the EASyPLUS
Configuration software.
3. On the
Interfaces
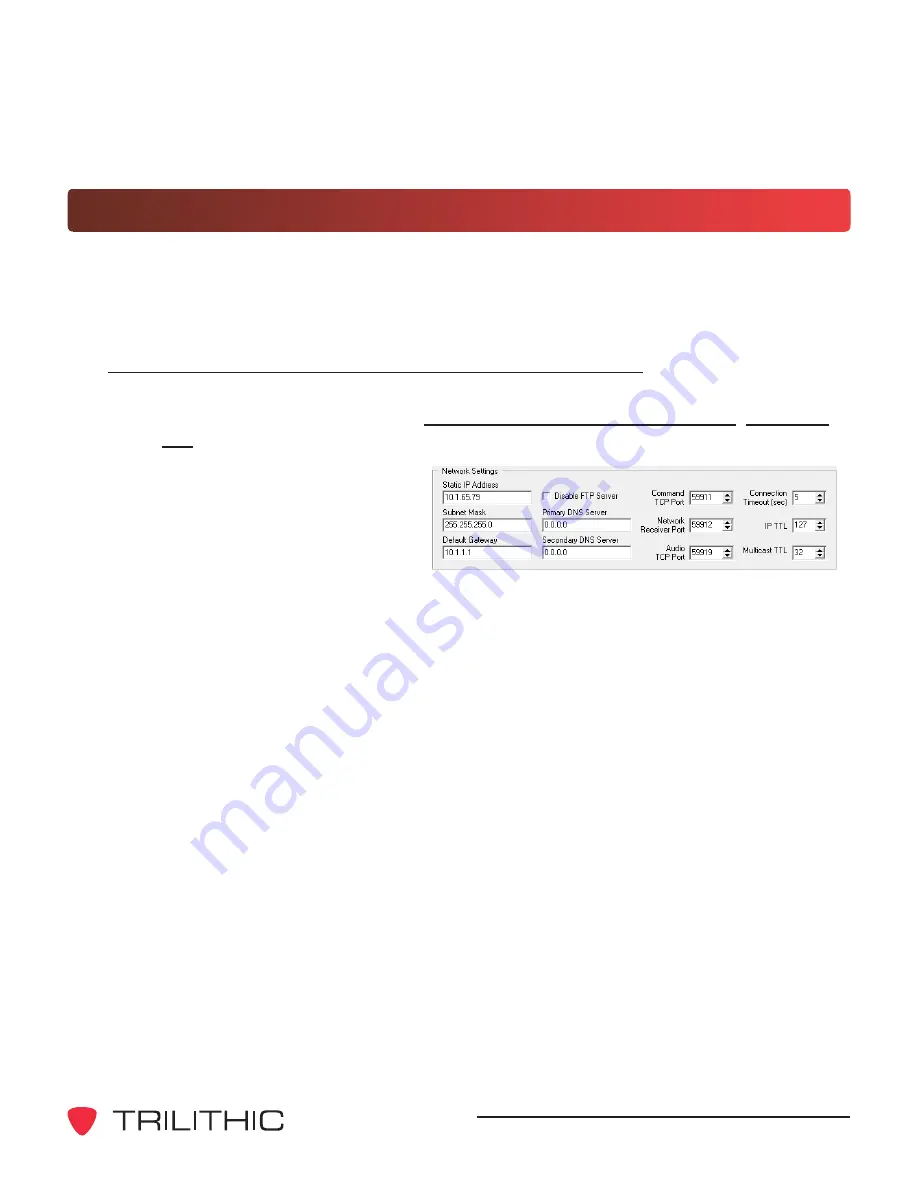
tab, in the
Network Settings
group, enter
the
Static IP Address
,
Subnet
Mask
,
Default Gateway
, and
Command TCP Port
for the EASyPLUS, as provided by your IT administrator.
4. Click the
Program IP Settings
button on the
Utilities
tab to write the configuration
changes to the EASyPLUS.
5. Click the
Reset Hardware
button on the
Utilities
tab to power cycle the EASyPLUS,
allowing the IP changes to take effect.
6. The EASyPLUS is now configured with the new IP address and network settings.
Summary of Contents for EASy-PLUS
Page 1: ...EASyPLUS EAS Encoder Decoder Version 8 09 Operation Manual ...
Page 2: ......
Page 4: ...EASyPLUS Encoder Decoder Operation Manual V8 09 2 THIS PAGE INTENTIONALLY LEFT BLANK ...
Page 8: ...EASyPLUS Encoder Decoder Operation Manual V8 09 6 THIS PAGE INTENTIONALLY LEFT BLANK ...
Page 14: ...EASyPLUS Encoder Decoder Operation Manual V8 09 12 THIS PAGE INTENTIONALLY LEFT BLANK ...
Page 24: ...EASyPLUS Encoder Decoder Operation Manual V8 09 22 THIS PAGE INTENTIONALLY LEFT BLANK ...
Page 30: ...EASyPLUS Encoder Decoder Operation Manual V8 09 28 THIS PAGE INTENTIONALLY LEFT BLANK ...
Page 110: ...EASyPLUS Encoder Decoder Operation Manual V8 09 108 THIS PAGE INTENTIONALLY LEFT BLANK ...
Page 112: ...EASyPLUS Encoder Decoder Operation Manual V8 09 110 THIS PAGE INTENTIONALLY LEFT BLANK ...
Page 113: ......


