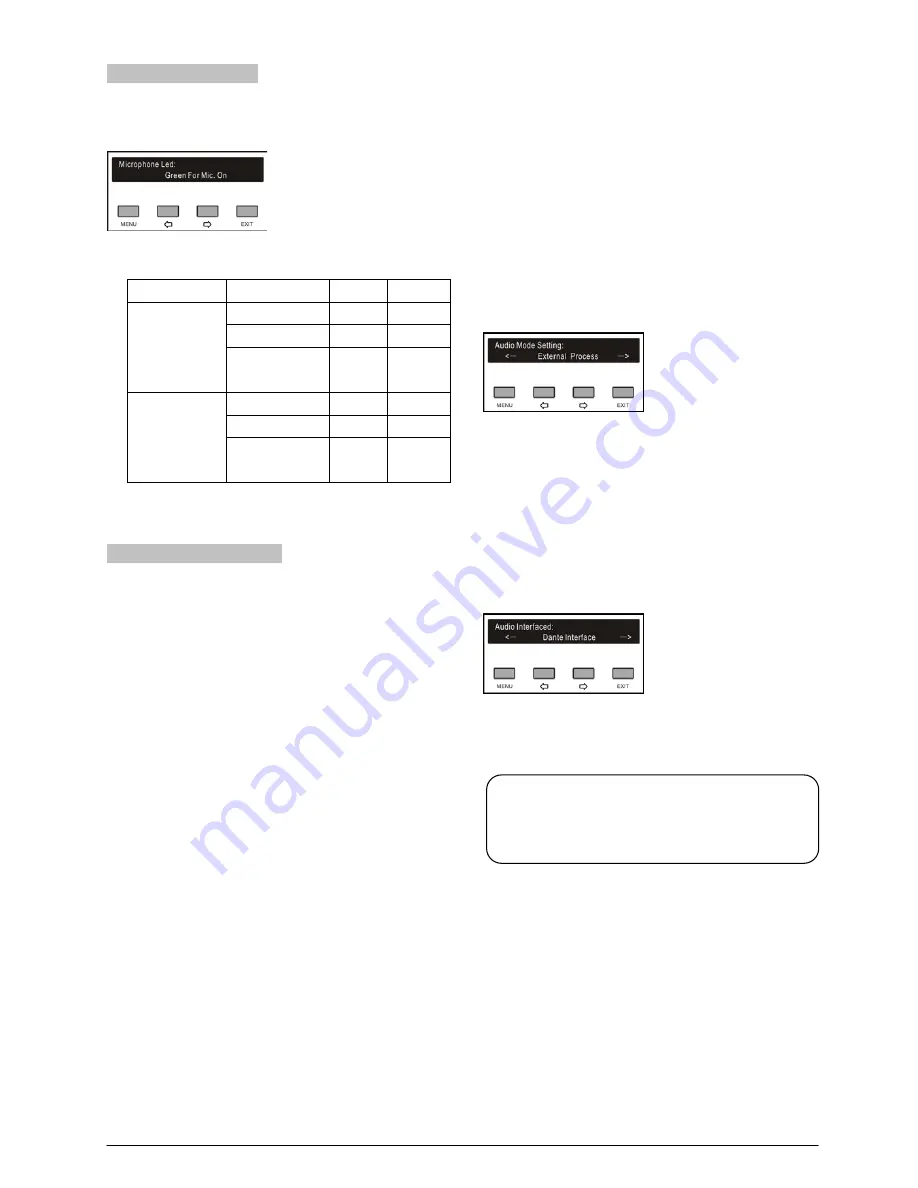
2.5.25 Mic. Led Setting
Set up the color of indicator lamp rings when turn on the
microphone and the “ON/OFF” button.
a) Press the “
/
” button to select “Green For Mic.
On” or “Red For Mic. On”;
Option
State
Mic.
Button
Green For
Mic. On
Speaking
Green
Green
Apply
Red
Red
Voice
(no speaking)
Red
Off
Red For Mic.
On
Speaking
Red
Red
Apply
Green
Green
Voice
(no speaking)
Green
Off
b) Press the “MENU” button to save.
2.5.26 Audio Mode Setting
“Audio Mode” includes three submenus:
“Normal”
“Remote Conferencing”
“External Process”
Normal:
LineOut1, LineOut2 and floor audio
output feature each the sum signal of Dante In +
L L active microphones; as shown
in figure 2.13;
Remote Conferencing:
If selecting the analog
interface for far end:
A)
LineOut1 output features
the sum signal of Dante In + LineIn2 + active
microphones;
B)
LineOut2 and floor audio output
feature each the sum signal of Dante In + LineIn1
+ L active microphone signals; as shown
in figure 2.14.
If selecting the Dante interface for far end,
C)
LineOut1 output feature the sum signal of Dante
In2 + L L active microphones;
D)
LineOut2 and floor audio output feature each the
sum signal of Dante In + L L
active microphones; as shown in figure 2.15;
External Process:
If selecting analog interface for
external processor, LineOut1 and LineOut2 output
feature each the sum signal of Dante In + LineIn2
+ active microphones; floor audio output features
the audio signal of LineIn1, as shown in figure
2.16.
If selecting Dante interface for external processor,
LineOut1 and LineOut2 output feature each the
sum signal of Dante In2 + L Line In2 +
active microphones; floor audio output featured
the audio signal of Dante In1, as shown in figure
2.17.
Press the “
/
” button to select audio mode;
When selecting “Normal” mode:
Press the
“MENU” button to save and return to the upper level
menu.
When selecting “Remote Conferencing” mode or
“External Process” mode:
Press the “MENU”
button to enter the audio interface selection
interface:
1. Press the “
/
” button to select an audio port;
2. Press the “MENU” button to save and return to the
upper level menu.
Note:
Only the main unit with Dante mould has Dante
In and Dante interface.
31
Summary of Contents for HCS-5300MA/80
Page 9: ...8 14 Display language list 103 Appendix 104 Dedicated 6 PIN Extension Cable 104 VIII...
Page 32: ...Figure 2 11 System connection Wireless discussion video tracking central control 20...
Page 46: ...Figure 2 17 Audio mode setting External Process Mode2 34...
Page 69: ...Figure 3 28 Requirements of user customized suspension 57...
Page 116: ...Appendix Dedicated 6 PIN Extension Cable 104...


