If “0” is selected, it stands for no SI function, use the
“MENU” button to save and return to the main menu;
If other values are selected, it stands for the number of
interpretation channels, use the “MENU” button to go
to step b).
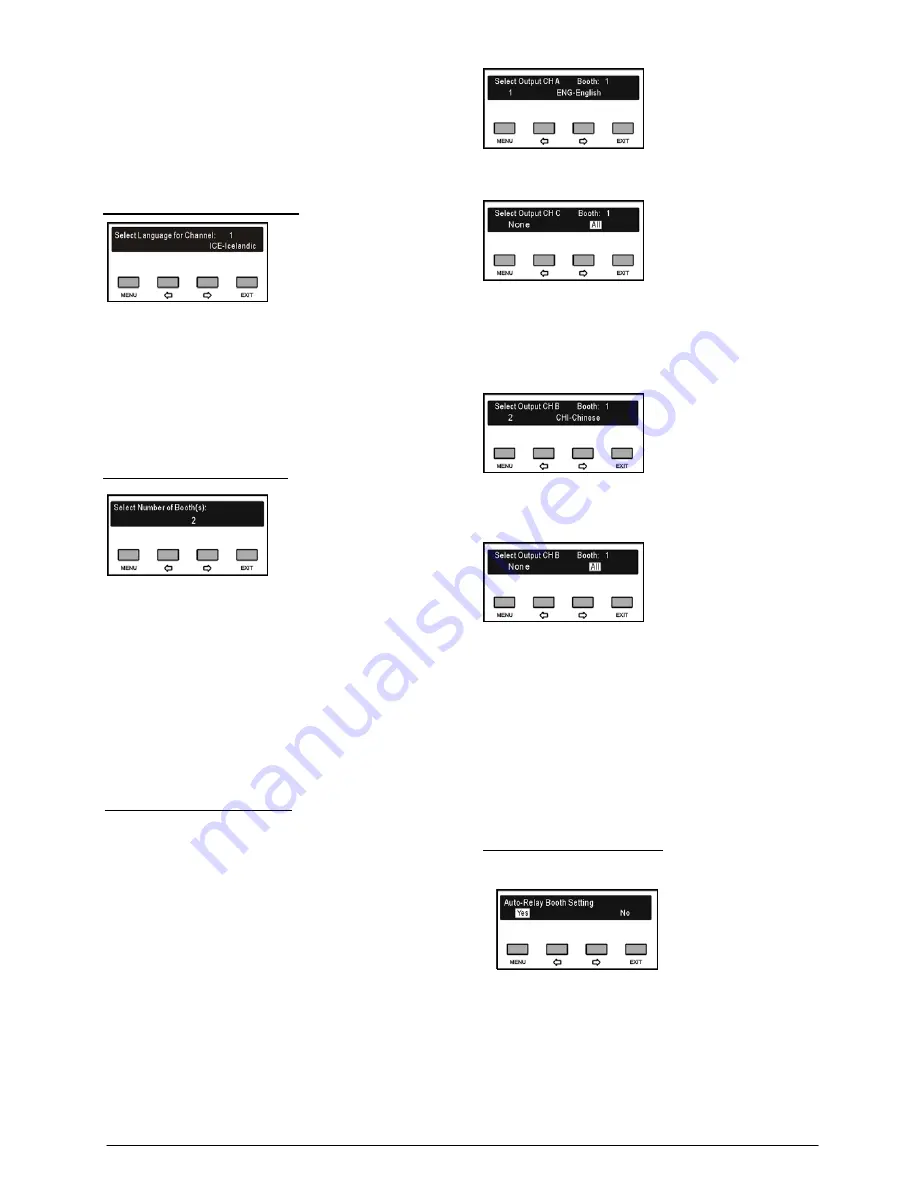
b) Select Language of Channel
1).
Set up channel 1 first, use the “
/
” button to switch
among languages;
2).
Use the “MENU” button to confirm and go to the next
channel;
3).
Repeat 1)-2) to set up the language for every channel,
and go to step c).
UU
c) Select Number of Booth(s)
Use the “
/
” button to switch between 0-7. Usually,
one language will take one booth.
If “0” is selected, it stands for no interpreter booth, use
the “MENU” button to save and return to the main
menu;
If other values are selected, it stands for the quantity of
interpreter booths, use the “MENU” button to go to
step d).
d) Select Language for Booth
To distribute interpretation languages separately, A/B/C
channels are provided in each Interpreter unit. The
language setting of A/B/C channels for all Interpreter
units in one booth is uniform. After setup of booth
numbers, the user interface to set up output channel
A/B/C language will show for each booth.
1).
Set up channel A language for booth 1: press the
“
/
” button to select a language from those
languages that have been selected in step b) and
press the “MENU” button to confirm;
2)
. Select channel C language for booth 1: “None” or
“All”;
If “All” is selected for C then press the “
/
” button to
select a language for B from those languages that
have been selected in step b) and press the “MENU”
button to confirm;
If “None” is selected for C then select channel B
language from “None” or “All”;
“None”
stands for no language output from
channel B;
“All”
stands for the language of channel B which
can be any of the selected languages.
Press the “MENU” button to confirm and go to
configuration for the next booth;
3)
. Repeat 1)-2) to set up output channel A/B/C language
for all booths and then go to step e).
e). Auto-Relay booth Setting
Setup Auto-Relay booth.
1)
. Press the “
/
” button to select yes or no
If select “
No
”, press the menu button to confirm;
If select “
Yes
”, press the “MENU” button to
confirm and go to next step;
24
Summary of Contents for HCS-5300MA/80
Page 9: ...8 14 Display language list 103 Appendix 104 Dedicated 6 PIN Extension Cable 104 VIII...
Page 32: ...Figure 2 11 System connection Wireless discussion video tracking central control 20...
Page 46: ...Figure 2 17 Audio mode setting External Process Mode2 34...
Page 69: ...Figure 3 28 Requirements of user customized suspension 57...
Page 116: ...Appendix Dedicated 6 PIN Extension Cable 104...


