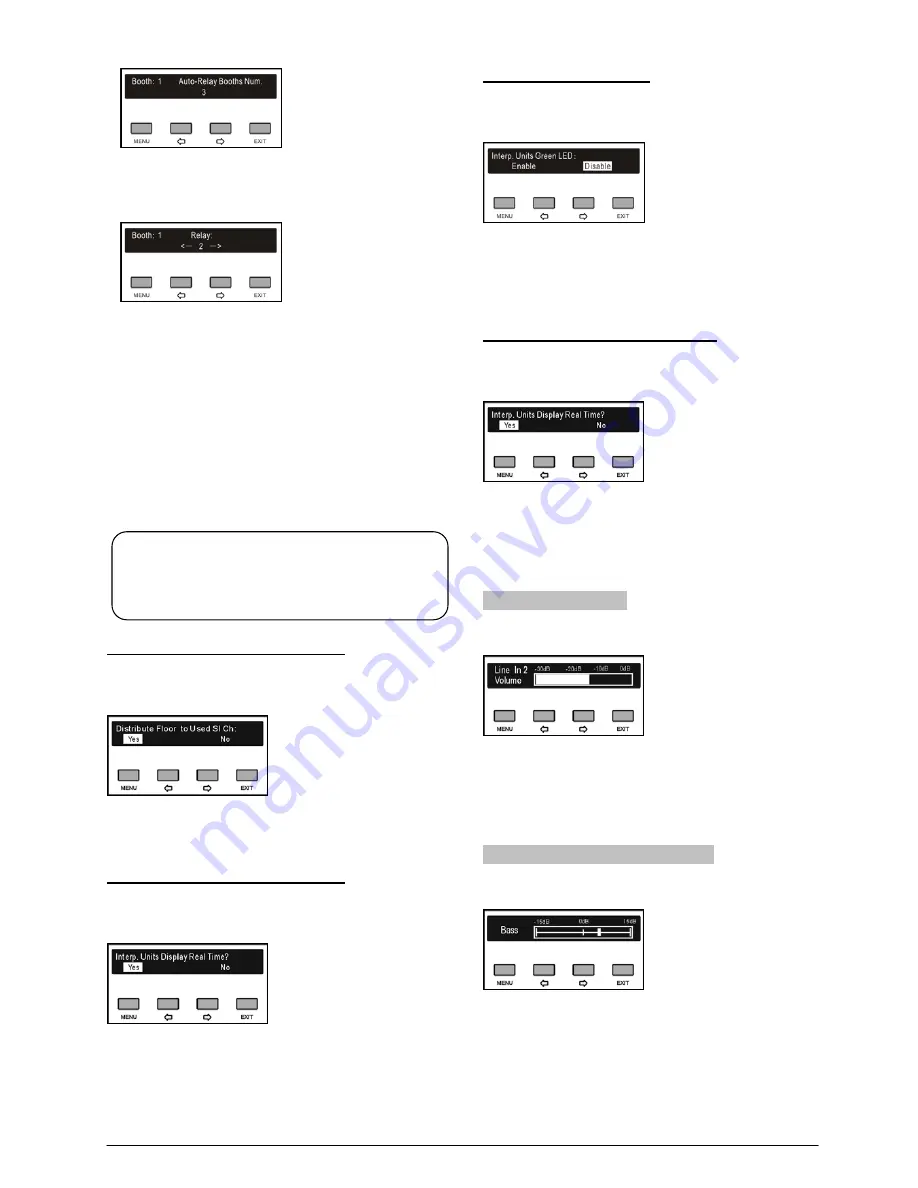
2)
. Press the “
/
” button to select auto-relay booth
quantity and press the “MENU” button to go to the
next step;
3)
. Press the “
/
” button to select auto-relay booth
and press the “MENU” button to confirm, then the
corresponding booth number will be highlighted
and set as auto-relay booth. Press the “MENU”
button again in the highlighted item to cancel the
setting;
4)
. Press the “
/
” button to select next auto-relay
booth until all auto-relay booths have been set;
5).
Repeat step 2) to 4) to setup auto-relay for all other
booths and then go to step f).
f) Distribute Floor to Used SI Channel
Enable/disable switch to floor channel automatically
when no interpretation channel is available.
1)
. Press the “
/
” button to select “Yes” or “No”;
2)
. Press the “MENU” to save and then go to step g).
g) Switch Outgoing CH. When Mic On
Enable/disable to switch the output channel when the
microphone of interpreter unit is available.
1)
. Press the “
/
” button to select “Enable” or
“Disable”;
2).
Press the “MENU” to save and then go to step h).
h) Interp. Units Green LED
Enable/disable to switch the interpretation units green
LED.
1)
. Press the “
/
” button to select “Enable” or
“Disable”;
2).
Press the “MENU” to save and then go to step i).
i) Interpreter Units Display Real Time
Select to display real time or not on the LCD screen of
interpreter units.
1)
. Press the “
/
” button to select “Yes” or “No”;
2).
Press the “MENU” to save and return to the upper
level menu.
2.5.3 Line in 2 Setting
Adjust LINE IN 2 volume, range: -30 dB (mute) - 0 dB.
a). Press the “
/
” button to adjust volume;
b). Press the “MENU” button to save and return to the
upper level menu.
2.5.4 Downlink Audio Bass Setting
Adjust downlink bass of the floor, range: -15dB - +15 dB.
a). Press the “
/
” button to adjust;
b). Press the “MENU” button to save and return to the
upper level menu.
Note:
If channel B and C of a booth have no output,
this booth cannot be set as auto-relay booth.
25
Summary of Contents for HCS-5300MA/80
Page 9: ...8 14 Display language list 103 Appendix 104 Dedicated 6 PIN Extension Cable 104 VIII...
Page 32: ...Figure 2 11 System connection Wireless discussion video tracking central control 20...
Page 46: ...Figure 2 17 Audio mode setting External Process Mode2 34...
Page 69: ...Figure 3 28 Requirements of user customized suspension 57...
Page 116: ...Appendix Dedicated 6 PIN Extension Cable 104...


