Using Objet Studio
5–10
DOC-03050 Rev. A
The
Insert
dialog
box
appears.
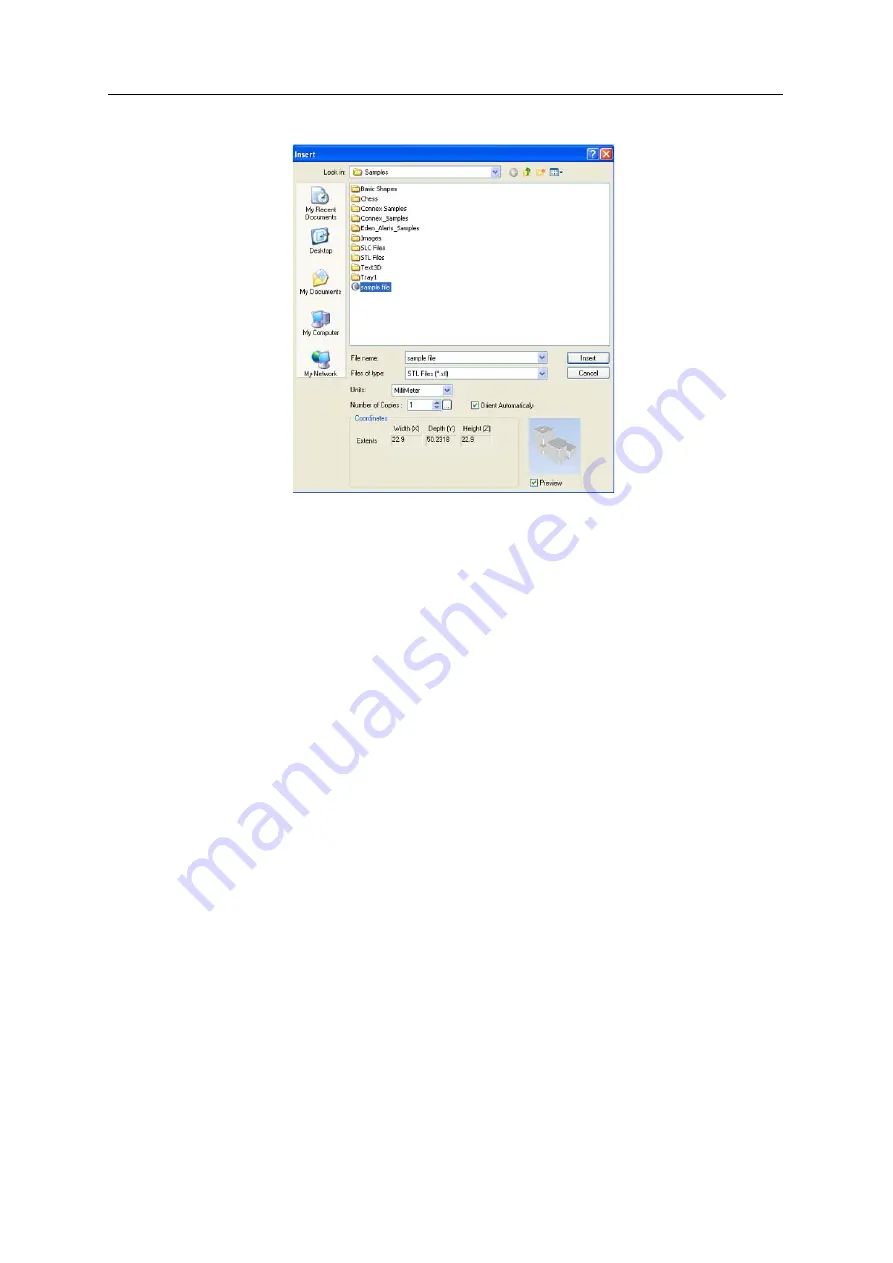
Figure 5-10:
Insert
dialog box
2. In
the
Look
in
field,
display
the
appropriate
folder.
3. In
the
Files
of
type
field,
select
the
file
type
to
display.
4. Select
the
desired
file,
and
make
sure
that
it
appears
in
the
File
name
field.
If
the
Preview
check
box
is
selected,
the
object
is
displayed
in
the
dialog
box,
as
shown
in
10.
The
Model
Settings
ribbon
is
displayed
when
objects
are
placed
on
the
build
tray.
5. Select
any
of
the
following
options,
as
required:
•
Units
—
Millimeters
or
inches
for
the
object’s
units
of
measure.
The
3D
file
contains
the
object
ʹ
s
proportions,
but
not
its
units
of
measure.
Therefore,
make
sure
to
correctly
select
either
millimeters
or
inches
when
inserting
an
object.
Otherwise,
the
size
of
the
object
on
the
build
tray
will
be
either
much
too
large
or
much
too
small.
To
change
the
measurement
units
of
objects
already
placed
on
the
tray,
see
•
Number of copies
—How
many
copies
of
this
object
to
place
on
the
build
tray.
•
Orient Automatically
—Automatically
orient
objects
on
the
build
tray
for
efficient
model
building.
Note:
The Extents values displayed in the
Coordinates
section of the
Insert
dialog box, represent the maximum dimensions of the object on each
axis. These dimensions correspond to the virtual “bounding box”
surrounding the object see figure 5-36 on page 29).
Summary of Contents for Eden350V
Page 1: ...User Guide English Eden350V 3D Printer System ...
Page 2: ......
Page 8: ......
Page 20: ......
Page 30: ......
Page 176: ......
Page 182: ...Handling Printed Models 7 6 DOC 03050 Rev A ...