


DOC-03050 Rev. A
6–25
Eden350V User Guide
5. When
the
following
screen
appears,
open
the
cover.
Figure 6-29: Wiper Cleaning wizard during steps 6–10
6. Put
on
the
cleaning
gloves.
7. Using
a
generous
amount
of
alcohol
on
the
cleaning
cloth,
remove
any
material
remaining
on
the
wiper
and
the
surrounding
area.
8. Remove
any
pieces
of
waste
material
collected
in
the
purge
unit.
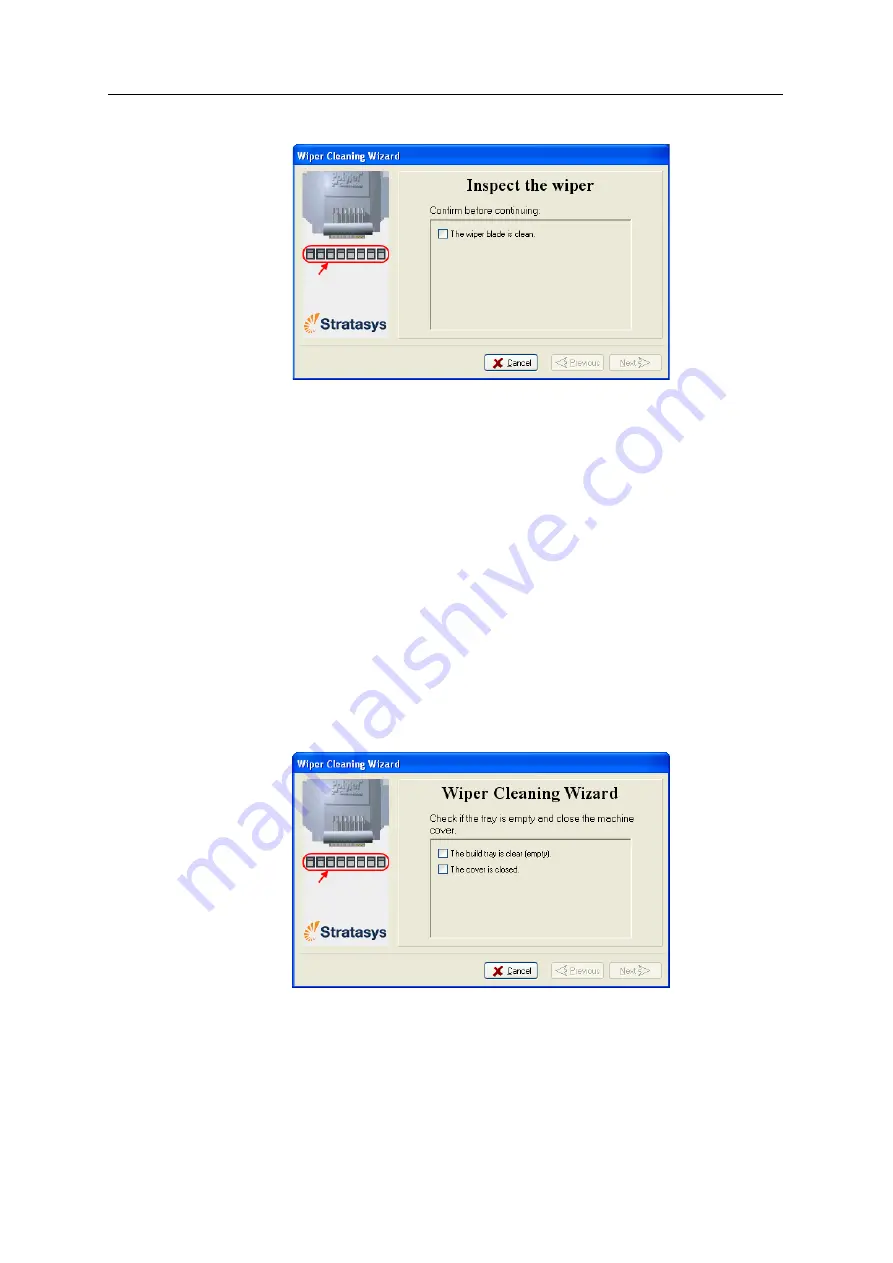
9. Inspect
the
wiper.
If
the
wiper
is
scratched,
torn
or
worn,
or
if
you
cannot
clean
it
completely,
replace
it.
a. Grasp
it
and
pull
it
up
and
out
of
its
bracket.
b. Insert
the
new
wiper
blade,
making
sure
that
it
is
straight
and
secured
well
on
both
sides
.
10. In
the
wizard
screen
(see
confirm
that
the
wiper
blade
is
clean,
and
click
Next
.
11. Remove
all
tools
and
cleaning
materials
from
the
printer,
and
close
the
cover.
12. Confirm
this
in
the
wizard
screen,
and
click
Next
.
Figure 6-30: Confirmation screen
13. Click
Done
to
close
the
wizard.
Summary of Contents for Eden350V
Page 1: ...User Guide English Eden350V 3D Printer System ...
Page 2: ......
Page 8: ......
Page 20: ......
Page 30: ......
Page 176: ......
Page 182: ...Handling Printed Models 7 6 DOC 03050 Rev A ...


