DOC-03050 Rev. A
5–9
Eden350V User Guide
Preparing Models for Production
Model
preparation
involves
the
following
basic
steps:
1. Place
objects
on
the
build
tray.
2. If
necessary,
manipulate
the
object’s
orientation
and
position.
3. Select
the
material
and
model
finish.
OBJDF Files:
Overview
An
objdf
file
describes
both
the
geometry
of
a
single
object
and
the
material,
and
finish
required
to
it.
You
can
use
this
file
format
to
save
a
group
of
separate
objects
on
the
build
tray
as
one
unit,
together
with
their
relative
positions
and
material.
Further
explanations
of
objdf
files,
and
their
features,
appear
throughout
this
chapter.
Model Files
To
produce
models,
you
open
one
or
more
model
files
in
Objet
Studio
and
position
objects
on
the
build
tray.
You
can
place
objects
on
the
build
tray
in
two
ways:
•
stl
or
slc
files.
•
by
pasting
objects
that
you
copied
to
the
Windows
clipboard
.
If
you
know
what
type
of
model
material
will
be
used
to
produce
the
models,
make
sure
it
is
selected
from
the
material
drop
‐
down
menu.
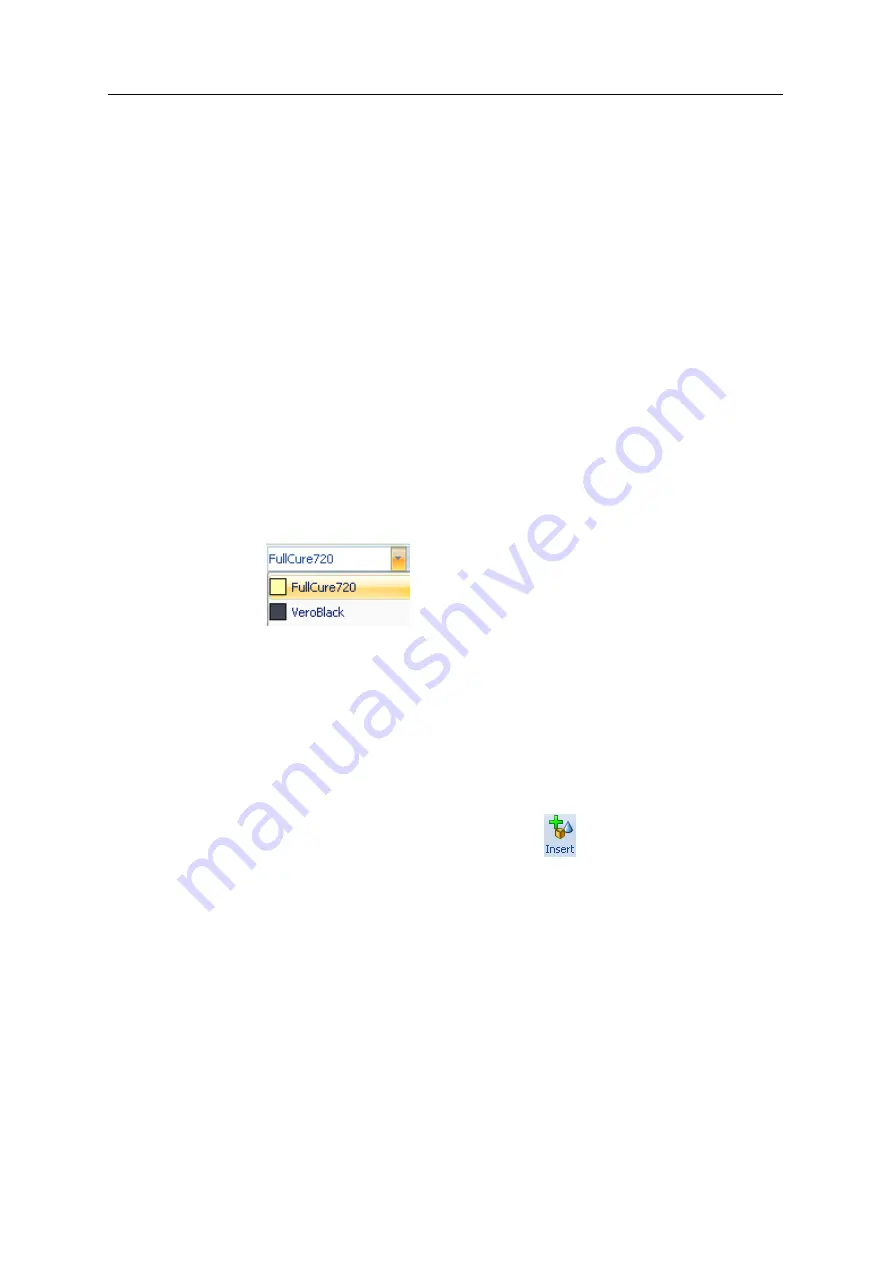
Figure 5-9: Model material selection toolbar
Note:
It is not necessary to select the Model material now, but it is
recommended—each type of material has unique characteristics
that may affect the valid positioning of objects on the build tray.
Placing
Objects on the
Build Tray
To place an object on the build tray:
1. Open
the
Insert
dialog
box—
•
From
the
Object
menu,
select
Insert
.
or—
•
On
the
Tray
Settings
ribbon,
click
.
or—
•
Right
‐
click
on
the
build
tray,
and
select
Insert
from
the
context
menu.
Summary of Contents for Eden350V
Page 1: ...User Guide English Eden350V 3D Printer System ...
Page 2: ......
Page 8: ......
Page 20: ......
Page 30: ......
Page 176: ......
Page 182: ...Handling Printed Models 7 6 DOC 03050 Rev A ...


