33
2
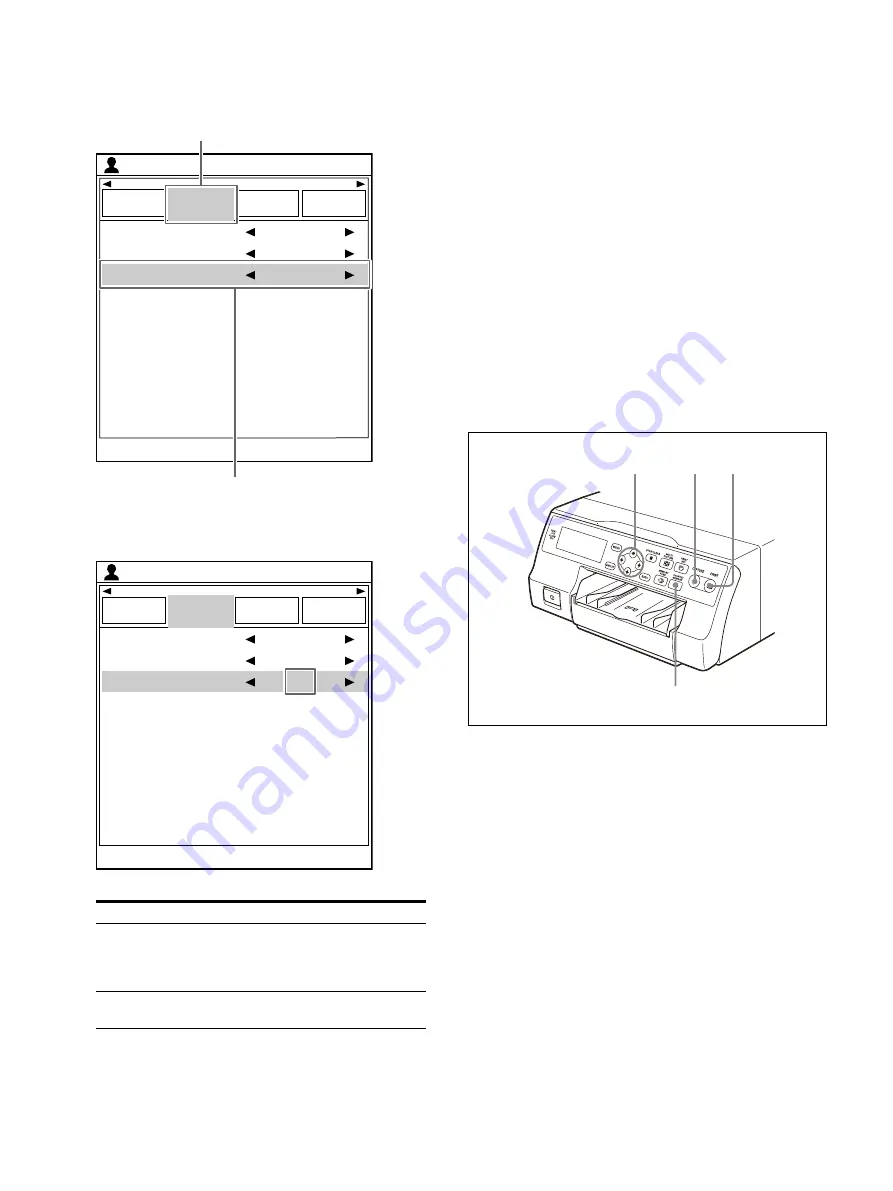
Use the
or
button to select the
[Function Setup] tab (
), then the
or
button to select [Auto Live] (
).
3
Use the
or
button to select which image
appears after being captured to memory.
4
Press the MENU button.
The [User Setup] screen is closed.
Making a printout with reduced images
This section explains how to make printouts of
reduced images using a printout of four reduced
images as an example. Printouts can be made
with the same operations for other numbers of
reduced images.
Check
Before making the printout of four reduced
images, complete the following steps. If you have
not, see the reference page.
• Check the sharpness. (page 58)
• Set the layout to four reduced images. (page 31)
• Select the appropriate memory page. (page 30)
• Select which image will appear after the image
has been captured into memory. (page 32)
• Select whether to add white frames. (page 34)
The white border setting for printouts of four
reduced images can be made before or after the
four images are captured to memory.
Option
Description
On
Displays the image captured in
memory, then displays the source
image on the video monitor several
seconds later.
Off (default
value)
Keeps the image captured in memory
on the video monitor.
End : MENU
Load
User Setup
Clear Button
User Setup
Function
Setup
Output
Setup
Print Setup
Clear Function
Auto Live
All Images
Normal
2ı
ͦ
ͧ
End : MENU
Load
User Setup
Clear Button
User Setup
Function
Setup
Output
Setup
Print Setup
Clear Function
Auto Live
All Images
Normal
On
3
5
2
,
,
,
buttons
Summary of Contents for UP-27MD
Page 90: ......


